dont know if it will last forever but this should flow
i'm tired
![]() by seeker1056 » Wed Jan 23, 2008 6:13 am
by seeker1056 » Wed Jan 23, 2008 6:13 am
![]() by DTanklage » Wed Jan 23, 2008 9:36 am
by DTanklage » Wed Jan 23, 2008 9:36 am

![]() by seeker1056 » Wed Jan 23, 2008 11:36 am
by seeker1056 » Wed Jan 23, 2008 11:36 am
![]() by DTanklage » Wed Jan 23, 2008 1:55 pm
by DTanklage » Wed Jan 23, 2008 1:55 pm
seeker1056 wrote:
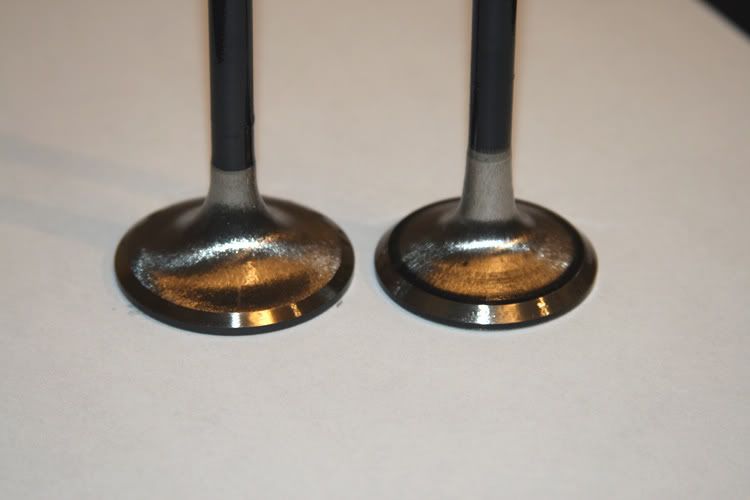
I have no idea in a deisel how narrow you can make a valve seat.
Is it for strictly racin or will it have to live on the street?
For the street I say leave it wide for heat dissipation.
For racin we always used one of those multi seat cutters (multiple angle seats and valve faces)and the widths are preset
Most of your flow gains on a street head are just behind the seat where it transitions around the corner into the port, and around the actual valve stem as i already suggested.
![]() by BC847 » Wed Jan 23, 2008 6:09 pm
by BC847 » Wed Jan 23, 2008 6:09 pm
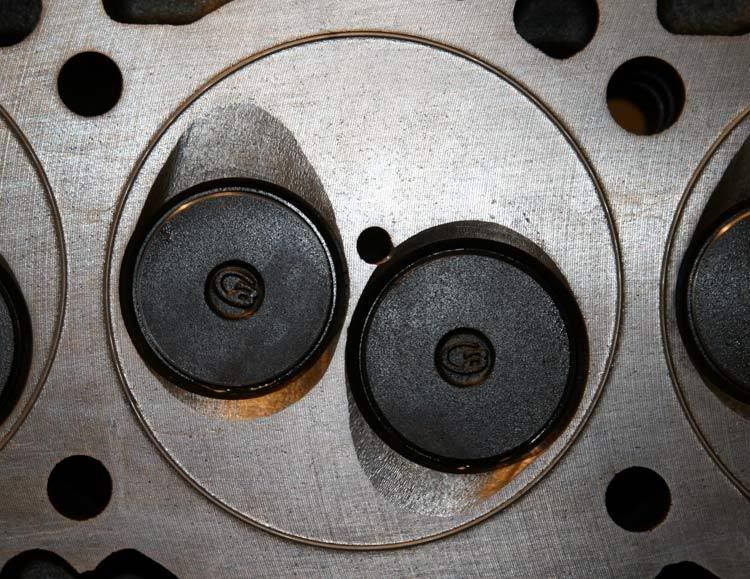
DTanklage wrote:not really lookin for huge gains
just thought i would help the low lift numbers
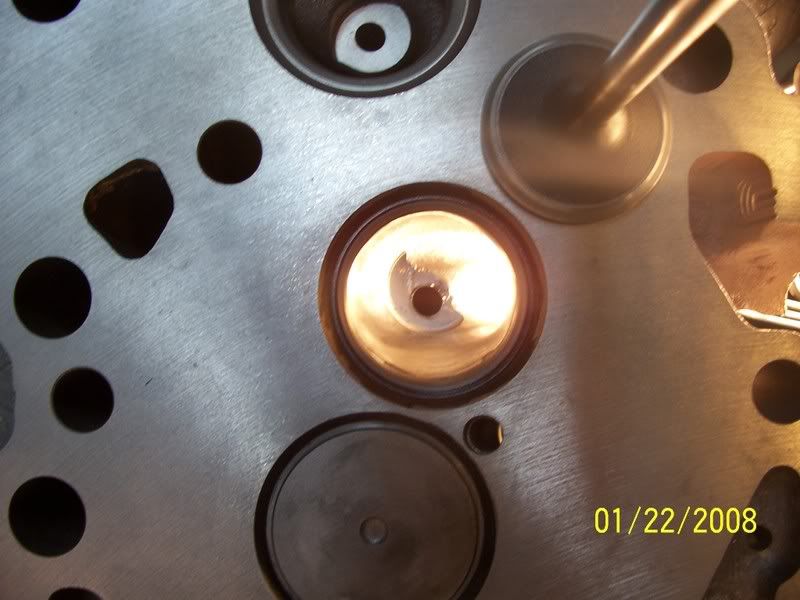
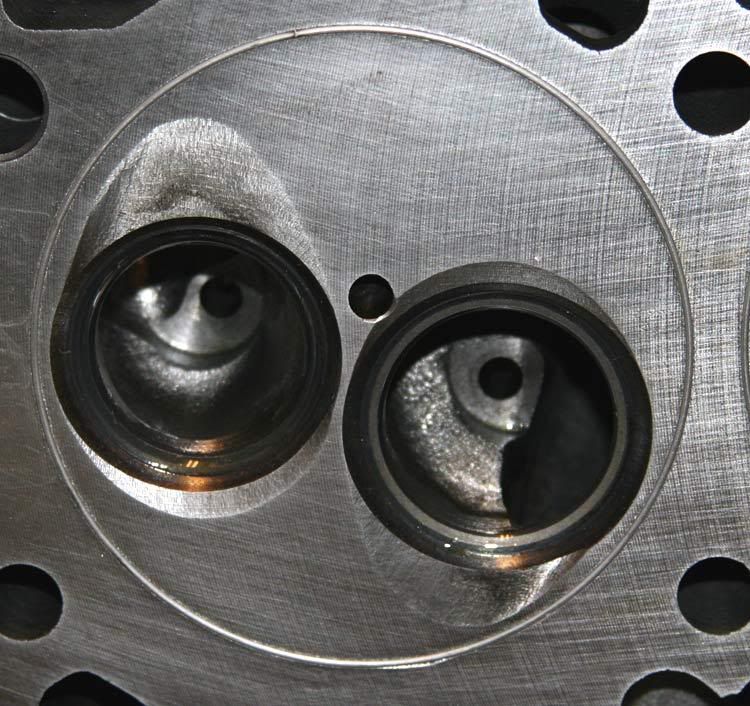
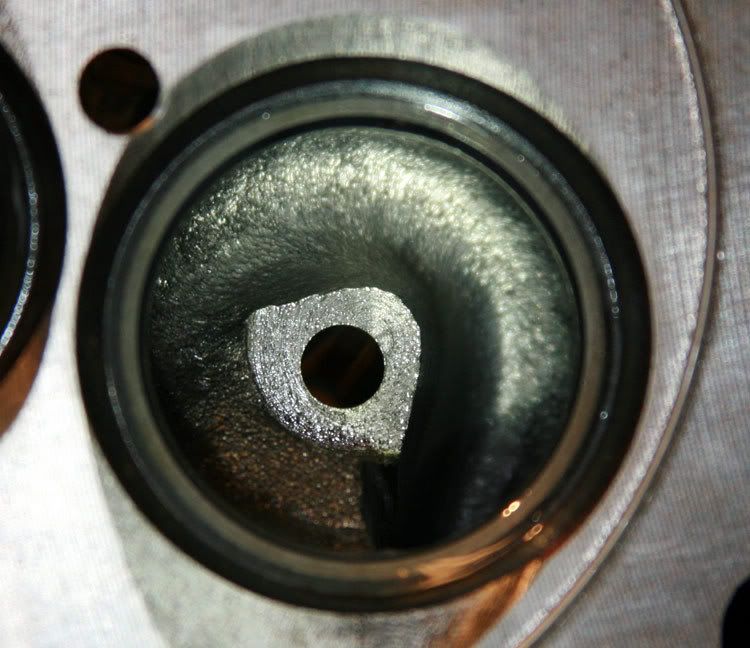
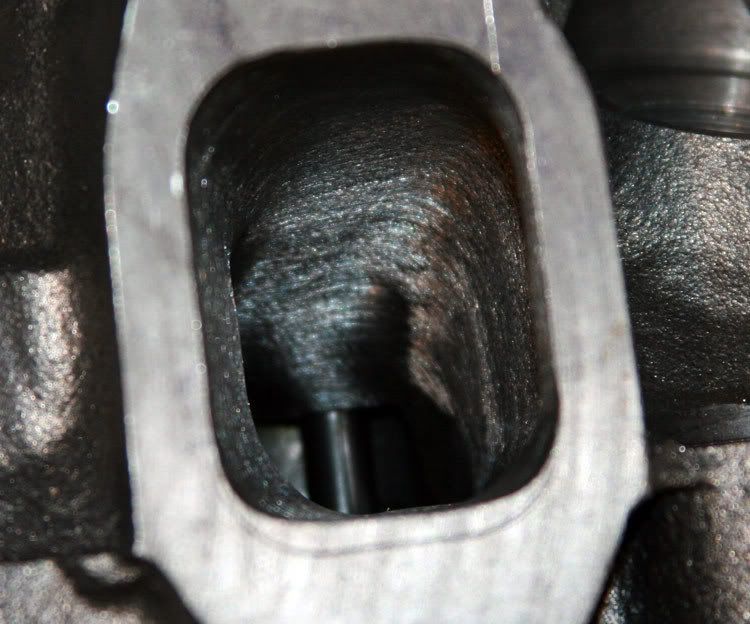
quicky pocket port job before grinding seats
open to ALL suggestions
![]() by DTanklage » Wed Jan 23, 2008 9:21 pm
by DTanklage » Wed Jan 23, 2008 9:21 pm
![]() by GLHS » Wed Jan 23, 2008 10:40 pm
by GLHS » Wed Jan 23, 2008 10:40 pm
![]() by BC847 » Thu Jan 24, 2008 8:16 am
by BC847 » Thu Jan 24, 2008 8:16 am
GLHS wrote:BC; Those are the flow numbers for you head? If so is that at .400 or .500?
I looked at PDR's website and the website numbers are a lot lower.
Just wondering.
Is that a PDR head?
![]() by DTanklage » Thu Jan 24, 2008 2:08 pm
by DTanklage » Thu Jan 24, 2008 2:08 pm
![]() by BC847 » Thu Jan 24, 2008 2:12 pm
by BC847 » Thu Jan 24, 2008 2:12 pm
DTanklage wrote:400 tho and how many inches of mercury?
how often is there vacuum in your intake tract?
how often is there not 10 psi or better of back pressure in your ex tract?
what kind of air speed do you think there is when there is 60 psi of back pressure in it and you are only at 3000 rpm?
see where i am goin with this?
don
![]() by DTanklage » Thu Jan 24, 2008 4:56 pm
by DTanklage » Thu Jan 24, 2008 4:56 pm
BC847 wrote:
Don,
As you may well know, changing any of the variables you mention, changes the outcome. It's all a compromise of one degree or another.
![]() by BC847 » Thu Jan 24, 2008 5:39 pm
by BC847 » Thu Jan 24, 2008 5:39 pm
DTanklage wrote:not really...
that is what i am getting at
it is most likely a complete waste of time to do all this work
lol
because once there is boost i dont think any of it will be noticable
what i am hoping for is that it is more efficient when it is making little or no boost

![]() by DTanklage » Thu Jan 24, 2008 7:06 pm
by DTanklage » Thu Jan 24, 2008 7:06 pm
![]() by DTanklage » Thu Jan 24, 2008 7:09 pm
by DTanklage » Thu Jan 24, 2008 7:09 pm
Users browsing this forum: No registered users and 32 guests