Just a little more . . . . .
Moderators: Greenleaf, KTA, BC847, Richie O
Re: Just a little more . . . . .
![]() by spencerdiesel » Mon Apr 03, 2017 7:19 pm
by spencerdiesel » Mon Apr 03, 2017 7:19 pm
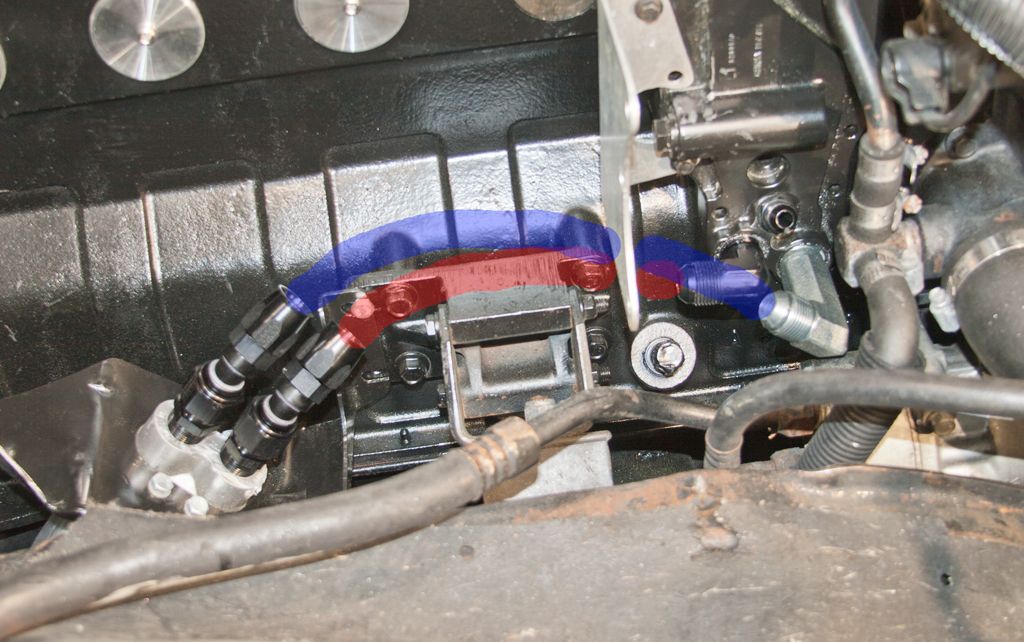
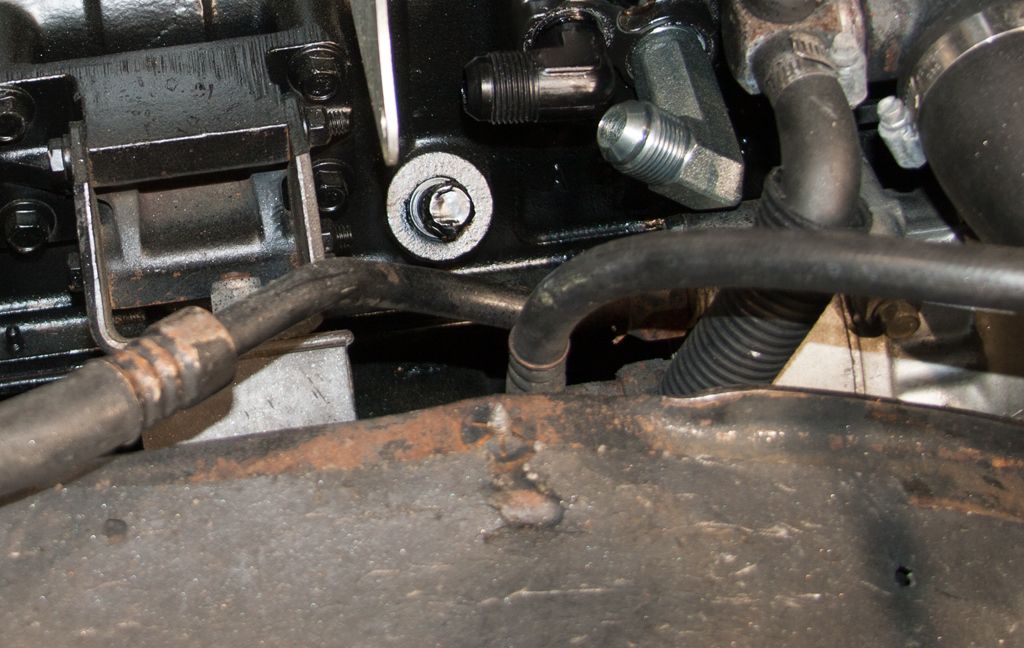
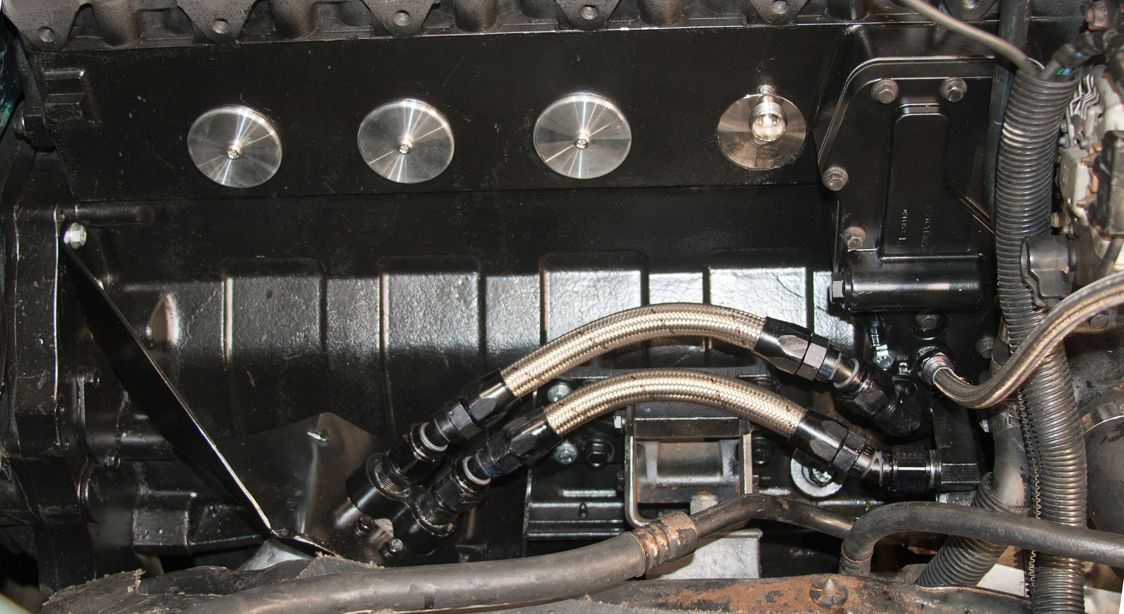
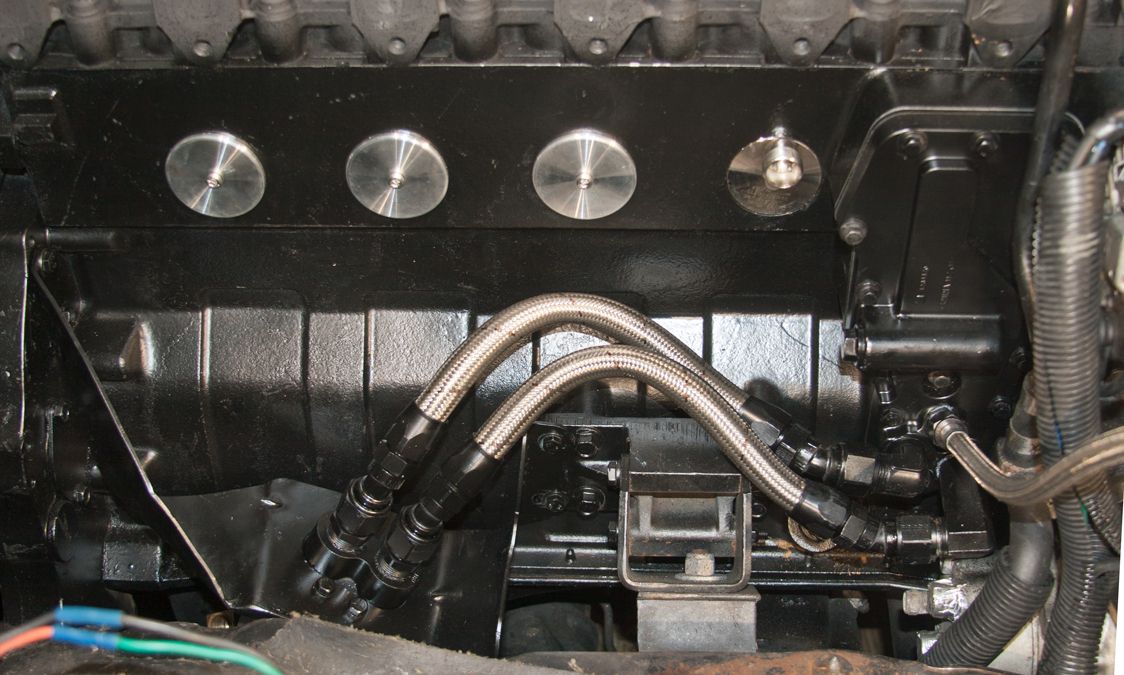
You sir don't mess around
1992 W250, 5 speed, 4.10, Ext. cab Ext. bed, 12.5k winch, 75 gal. fuel tank
H1C/18
Fuel: THD 6x10 VCO sticks, THD 12 psi piston pump, THD fuel pin, 366 spring, fuel screw 2 turns in, timing to the head/ >1/4”
Muffler delete
Minimum 60% WMO full time since Sep. 2018
H1C/18
Fuel: THD 6x10 VCO sticks, THD 12 psi piston pump, THD fuel pin, 366 spring, fuel screw 2 turns in, timing to the head/ >1/4”
Muffler delete
Minimum 60% WMO full time since Sep. 2018
- spencerdiesel
- 14mm rotor
- Posts: 1106
- Joined: Tue Oct 27, 2015 4:02 pm
- Location: Brevard, NC
Re: Just a little more . . . . .
![]() by BC847 » Mon Apr 03, 2017 8:28 pm
by BC847 » Mon Apr 03, 2017 8:28 pm
Thanks.
Feb. 02,2017:
Trying to sort-out in my head the general sequence of the mess. No need in duplicating work along the way.
- Pressure-wash the engine and bay, including underside as it sits so I don't draw back as much black goo on my knuckles.
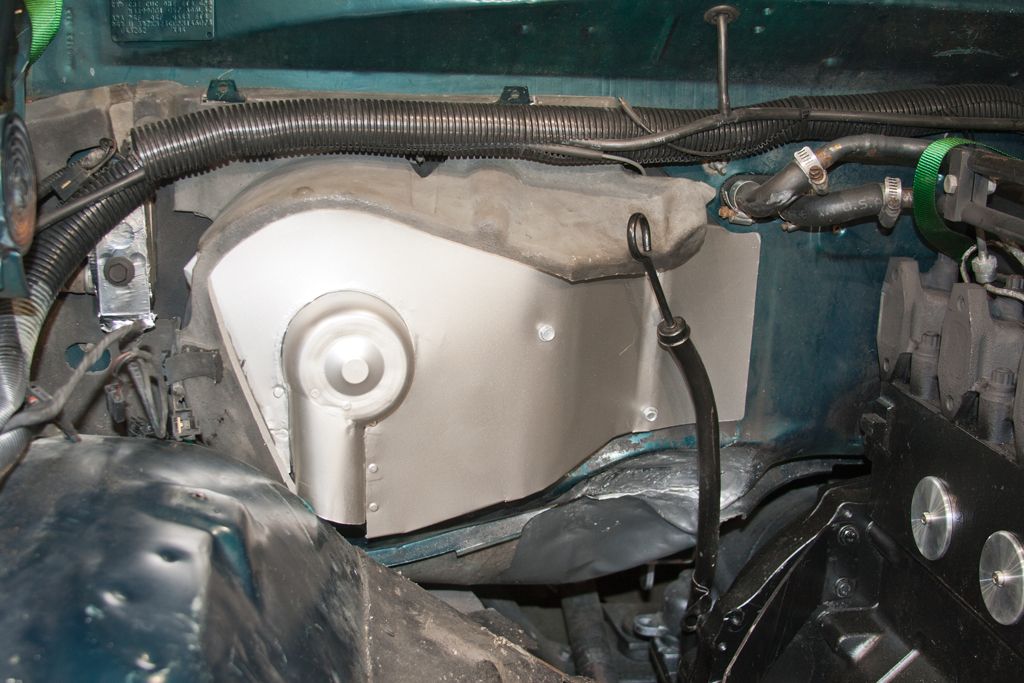
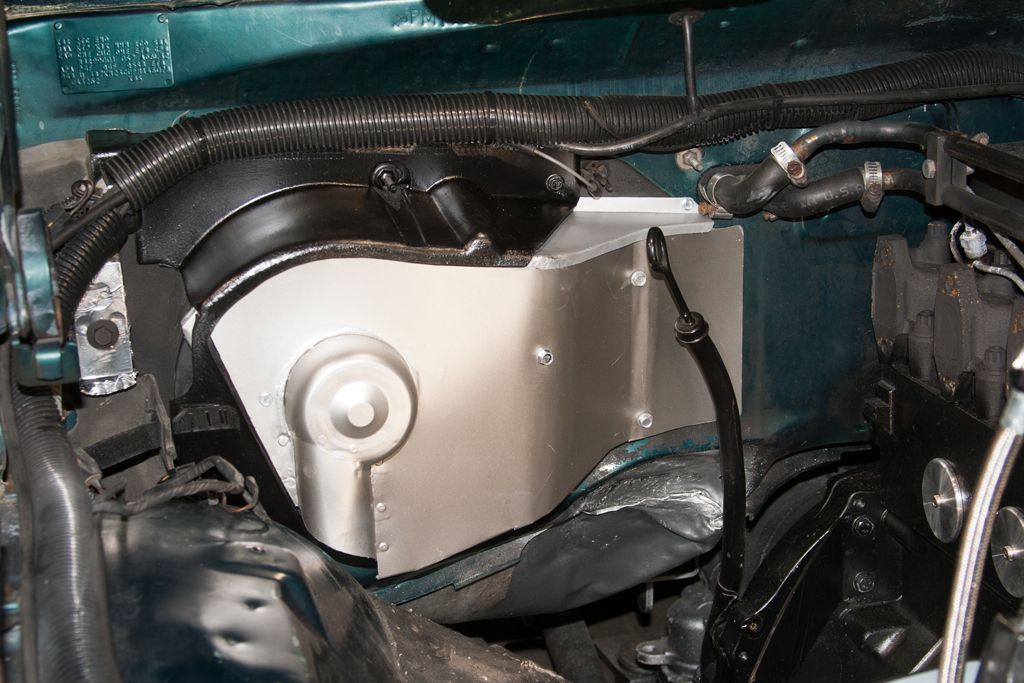
- Remove stock/OEM oil filter/cooler cover and with a couple of bolts, replace with the marine cooler cover.
- Using few bolts, install the new assembly, less gaskets.
- Be tickled chitless because my earlier ciphering was spot-on regarding the overall fit. (Fingers crossed).
- After getting the general positioning of the assembly right, complete the fabrication of the front assembly mount (to the new oil cooler cover).
- Be pleasantly surprised that I won't have to tweak the passenger's inner fender well. (Fingers crossed).
- Cipher and complete fabrication of 5" down-pipe past the transfer-case including proper mount at transmission bell-housing. (This will take a couple of evenings, or so).
- Cipher and order parts to make hoses and, locate and fabricate remote engine lube-oil filter-head mount.
- Stand back and stare at it a while to figure out what I'm missing . . . . . like where to install those bungs for inter-stage drive-pressure and boost-pressure for example . . .
- Remove entire new assembly including the marine oil cooler cover.
- Install those stupid bungs!
- Blast all hot-stuff, inside and out with 120grit Aluminum-Oxide.
- Apply internal ceramic coat as appropriate and oven-cure.
- Apply external ceramic coat as appropriate and allow one full week to air-cure.
While the ceramic mess is curing:
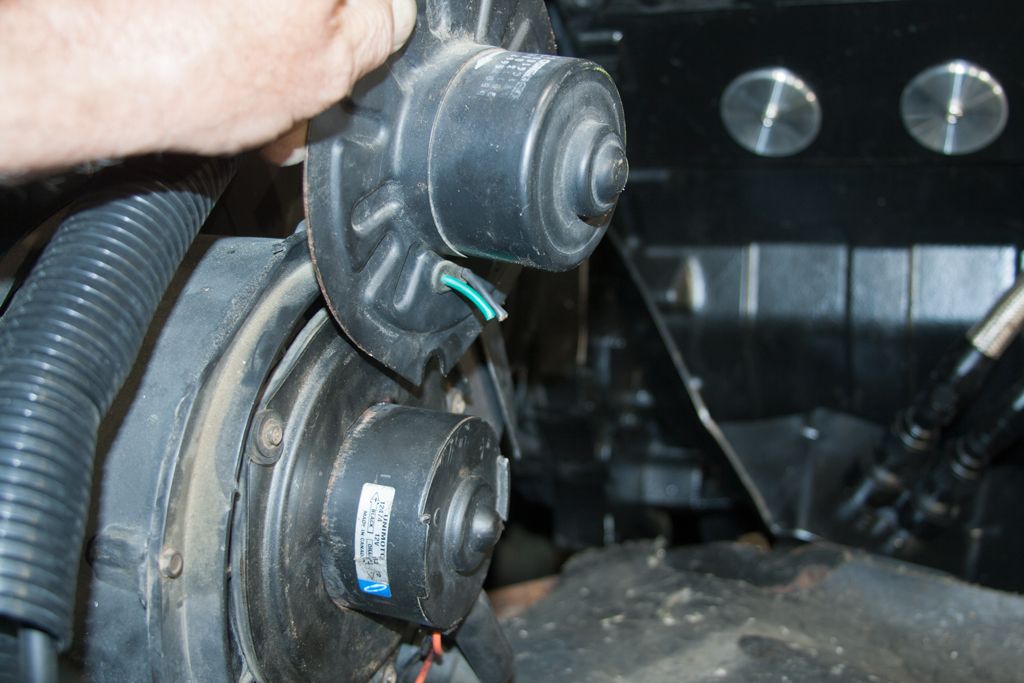
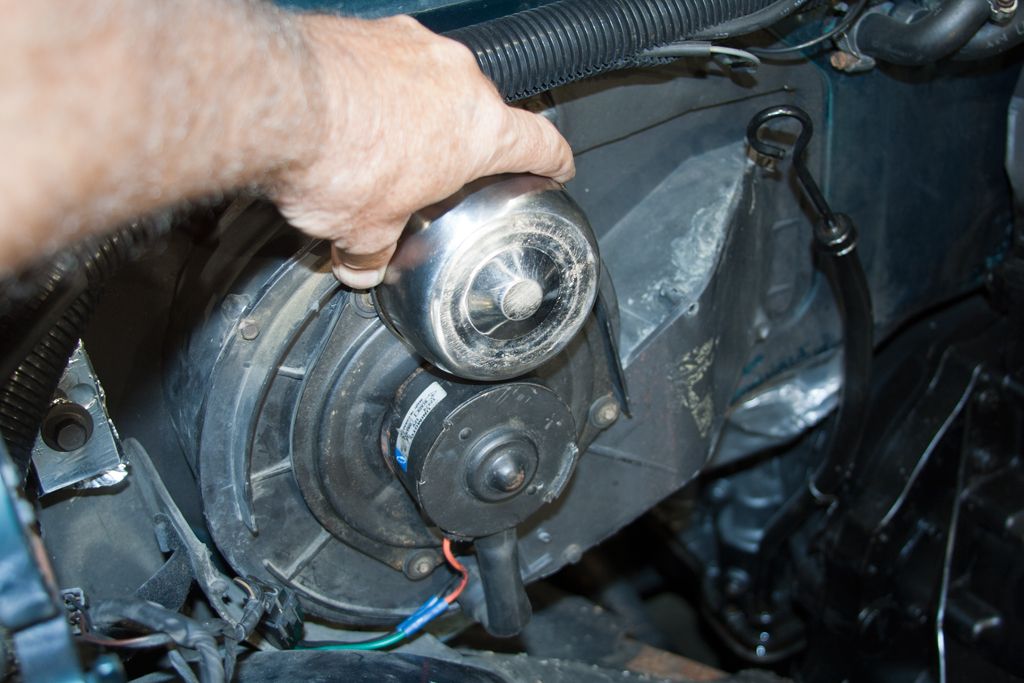
- Remove the weeping ( ) block freeze-plugs along with the stock/OEM block-heater.
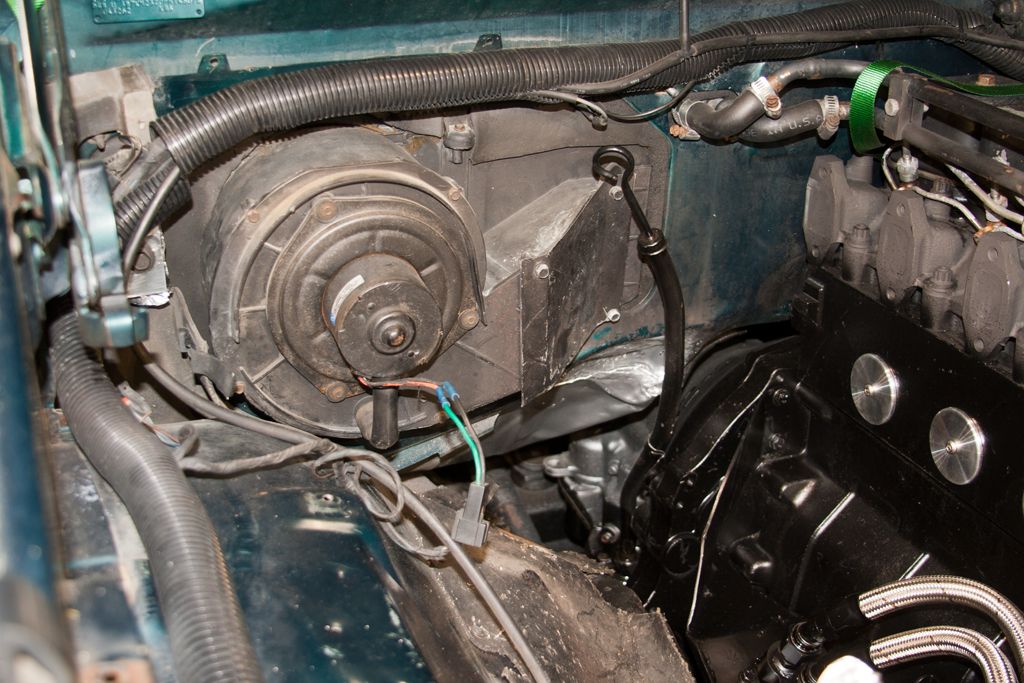
- Recover the R12 refrigerant and remove the HVAC compressor's suction and hot-gas discharge hoses.
- Thoroughly clean the freeze-plug bores as well as all that side of the engine and bay.
- Paint as required the block and that side of engine bay.
- Install new fancy freeze-plugs.
- Install new engine block heater.
- Install new engine lube-oil cooler cover including all new gaskets, oil pressure regulator, associated hoses and remote filter head assembly.
- Initially set the waste-gate actuator.
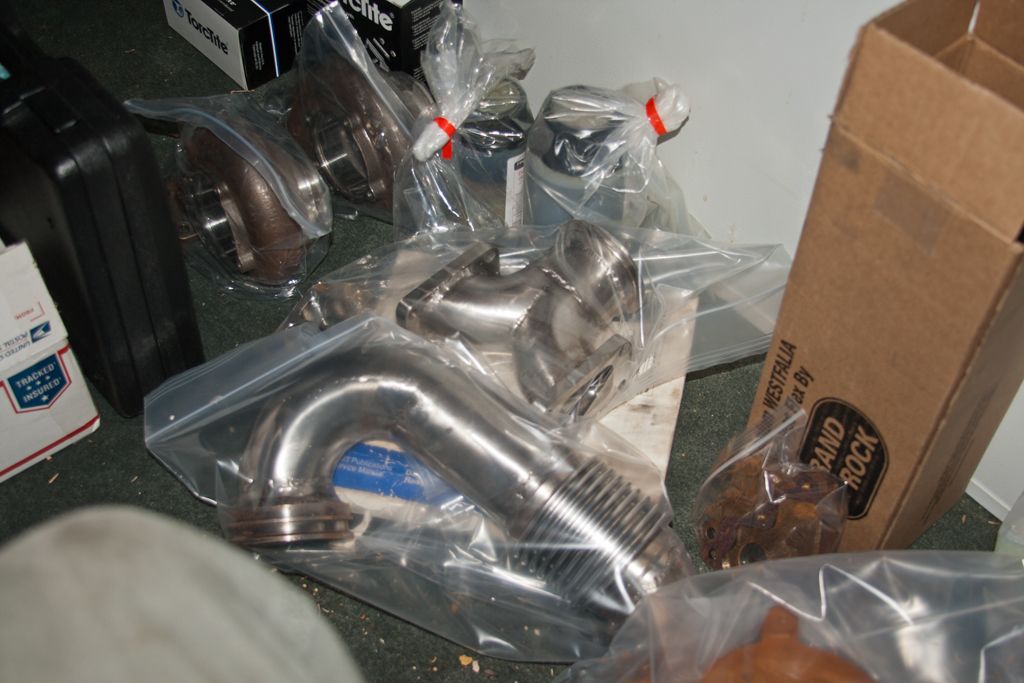
- Install new trublo assembly including new lube-oil supply plumbing.
- Reconfigure/fabricate and install Secondary to IC plumbing.
- Cipher, fabricate and install new turbo lube-oil drain-lines.
- Install new down-pipe assembly past transfer case.
Shit!
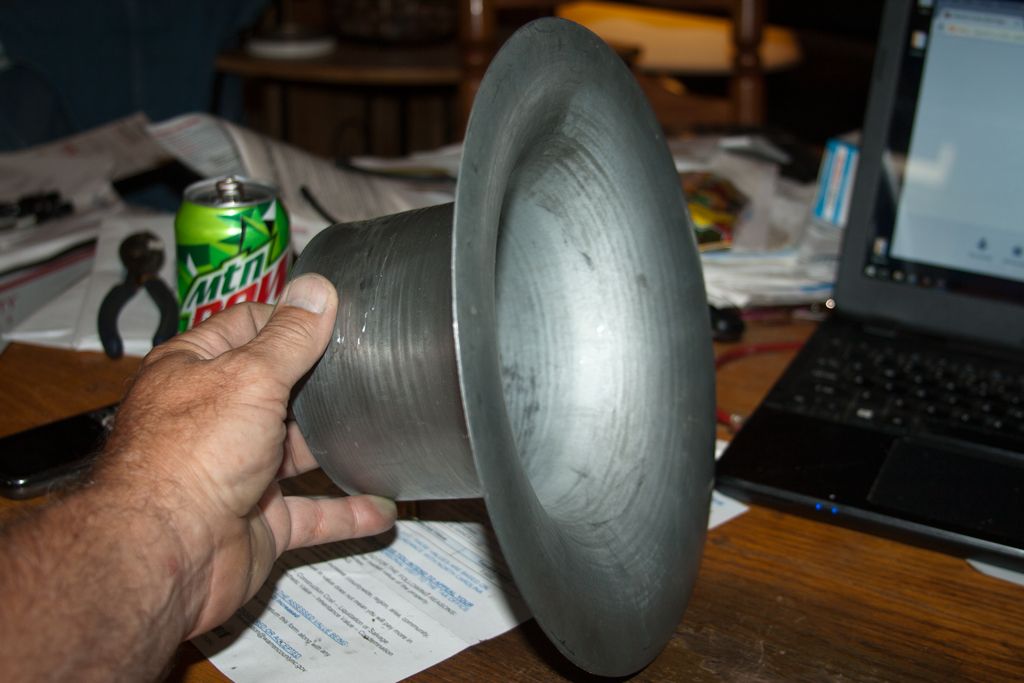
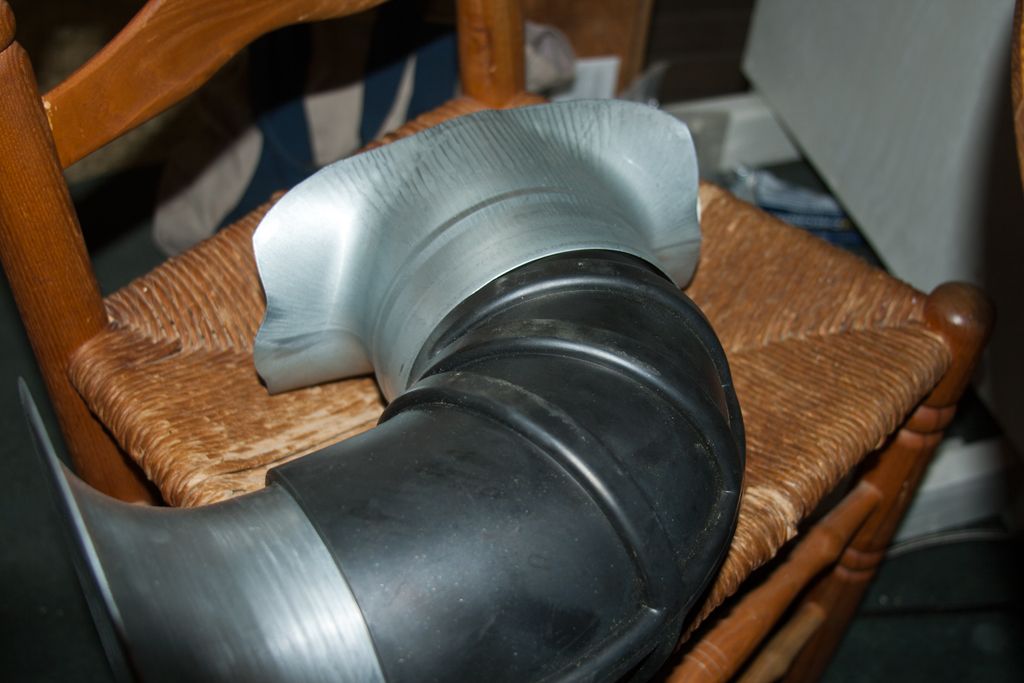
- Figure out how in the Hell I'm gonna build the primary intake feed from the stock-pot mess, then do it.
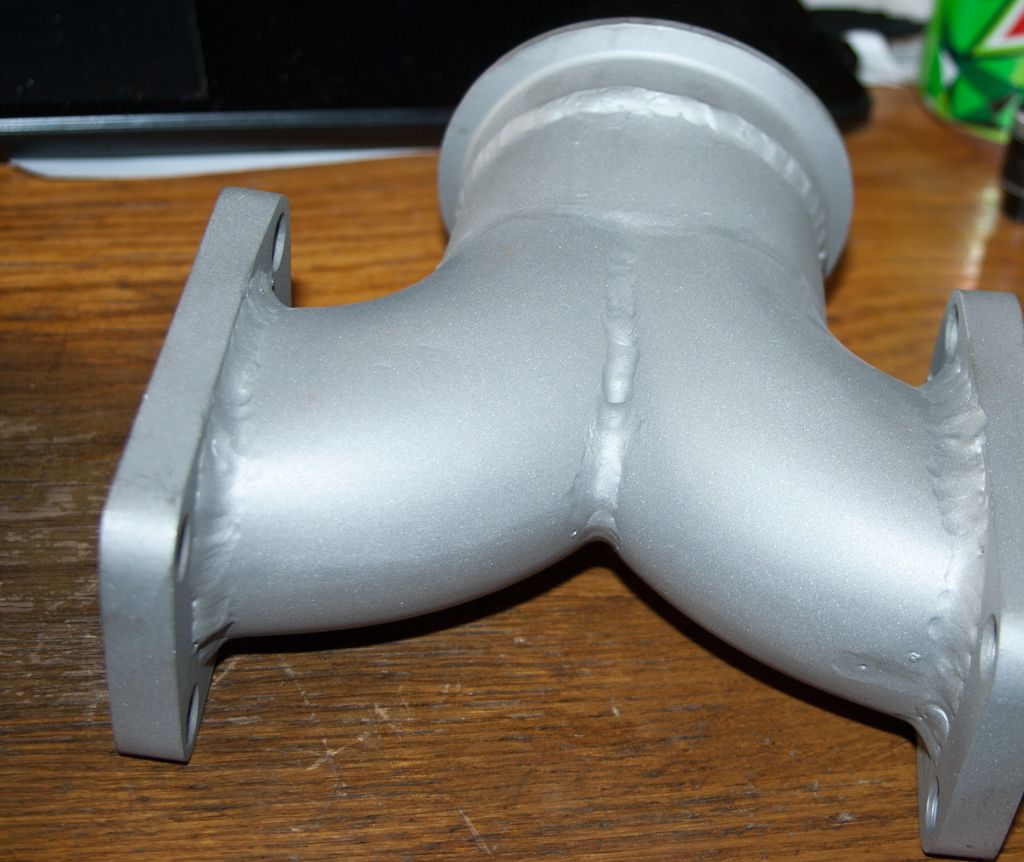
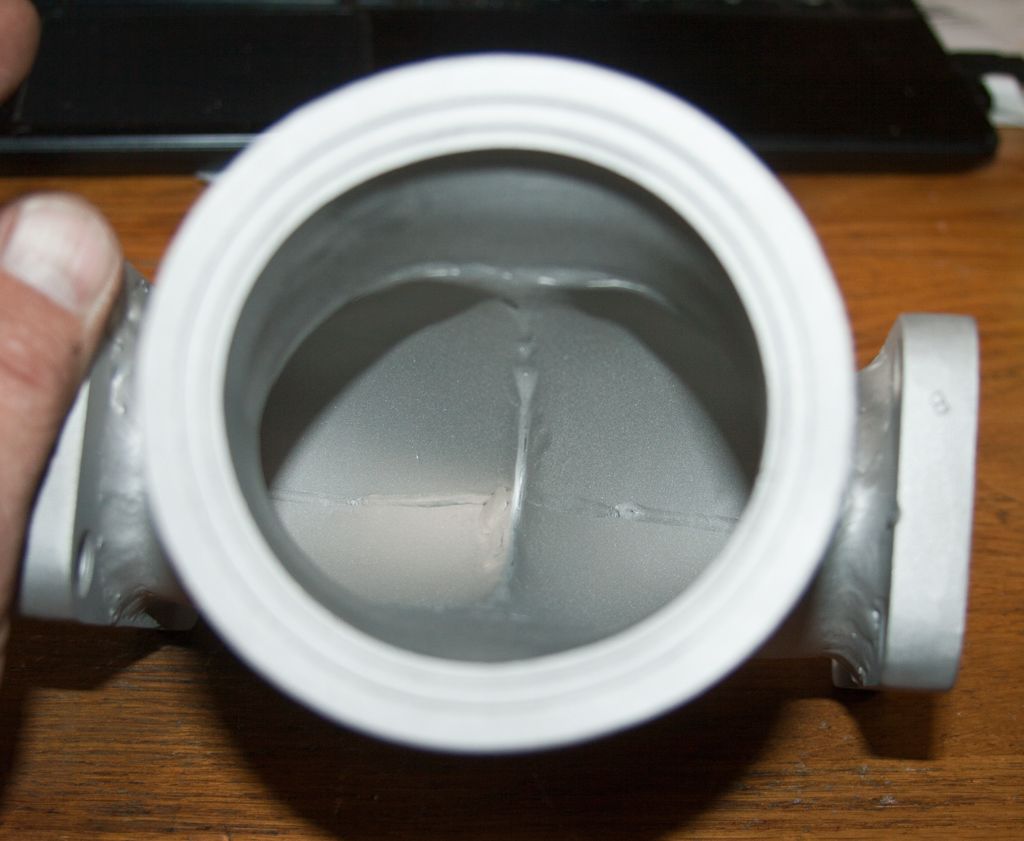
- Complete fabrication/installation of the exhaust including a new 5" Wye-pipe for the existing bed mounted 5" temporary stack.
- Reroute and install/dress the EGT sensor (new replacement), Secondary drive-pressure sensor, Primary discharge pressure sensor as well as the associated AFC reference plumbing. (Still gotta acquire/install the Primary drive-pressure sensor and cipher how I'm gonna make the DATA logger accept it).
- Repair engine intake-log boost sensor/gauge including a new sensor (It's all over the map with BS readings for the last number of months. I hope a new sensor fixes it).
- Reconfigure/fabricate and install HVAC compressor suction and hot-gas discharge lines as well as the liquid-line and new filter/drier. Recharge system.
- Relocate and install a windshield washer fluid reservoir hopefully using the original.
It won't be as long as it has been.
Feb. 02,2017:
Trying to sort-out in my head the general sequence of the mess. No need in duplicating work along the way.
- Pressure-wash the engine and bay, including underside as it sits so I don't draw back as much black goo on my knuckles.
- Remove stock/OEM oil filter/cooler cover and with a couple of bolts, replace with the marine cooler cover.
- Using few bolts, install the new assembly, less gaskets.
- Be tickled chitless because my earlier ciphering was spot-on regarding the overall fit. (Fingers crossed).
- After getting the general positioning of the assembly right, complete the fabrication of the front assembly mount (to the new oil cooler cover).
- Be pleasantly surprised that I won't have to tweak the passenger's inner fender well. (Fingers crossed).
- Cipher and complete fabrication of 5" down-pipe past the transfer-case including proper mount at transmission bell-housing. (This will take a couple of evenings, or so).
- Cipher and order parts to make hoses and, locate and fabricate remote engine lube-oil filter-head mount.
- Stand back and stare at it a while to figure out what I'm missing . . . . . like where to install those bungs for inter-stage drive-pressure and boost-pressure for example . . .
- Remove entire new assembly including the marine oil cooler cover.
- Install those stupid bungs!
- Blast all hot-stuff, inside and out with 120grit Aluminum-Oxide.
- Apply internal ceramic coat as appropriate and oven-cure.
- Apply external ceramic coat as appropriate and allow one full week to air-cure.
While the ceramic mess is curing:
- Remove the weeping (
- Recover the R12 refrigerant and remove the HVAC compressor's suction and hot-gas discharge hoses.
- Thoroughly clean the freeze-plug bores as well as all that side of the engine and bay.
- Paint as required the block and that side of engine bay.
- Install new fancy freeze-plugs.
- Install new engine block heater.
- Install new engine lube-oil cooler cover including all new gaskets, oil pressure regulator, associated hoses and remote filter head assembly.
- Initially set the waste-gate actuator.
- Install new trublo assembly including new lube-oil supply plumbing.
- Reconfigure/fabricate and install Secondary to IC plumbing.
- Cipher, fabricate and install new turbo lube-oil drain-lines.
- Install new down-pipe assembly past transfer case.
Shit!
- Figure out how in the Hell I'm gonna build the primary intake feed from the stock-pot mess, then do it.
- Complete fabrication/installation of the exhaust including a new 5" Wye-pipe for the existing bed mounted 5" temporary stack.
- Reroute and install/dress the EGT sensor (new replacement), Secondary drive-pressure sensor, Primary discharge pressure sensor as well as the associated AFC reference plumbing. (Still gotta acquire/install the Primary drive-pressure sensor and cipher how I'm gonna make the DATA logger accept it).
- Repair engine intake-log boost sensor/gauge including a new sensor (It's all over the map with BS readings for the last number of months. I hope a new sensor fixes it).
- Reconfigure/fabricate and install HVAC compressor suction and hot-gas discharge lines as well as the liquid-line and new filter/drier. Recharge system.
- Relocate and install a windshield washer fluid reservoir hopefully using the original.
It won't be as long as it has been.
David
1993 12mm VE Fueled W250 CC, Green
12.67 @ 103.35
Your basic farm truck ;)
1993 12mm VE Fueled W250 CC, Green
12.67 @ 103.35
Your basic farm truck ;)
- BC847
- Administrator
- Posts: 2203
- Joined: Wed Jan 03, 2007 5:22 pm