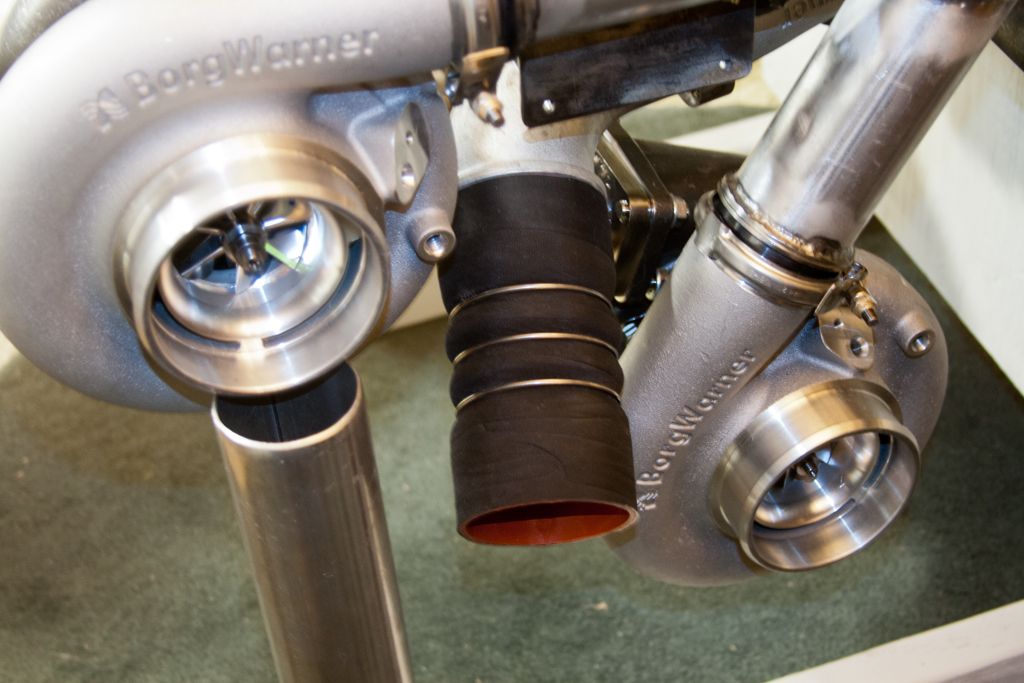
DMan1198 wrote:If you open up the gate ports I don't think you'll have an issue with it not flowing enough for the ve's fueling, . . . . .
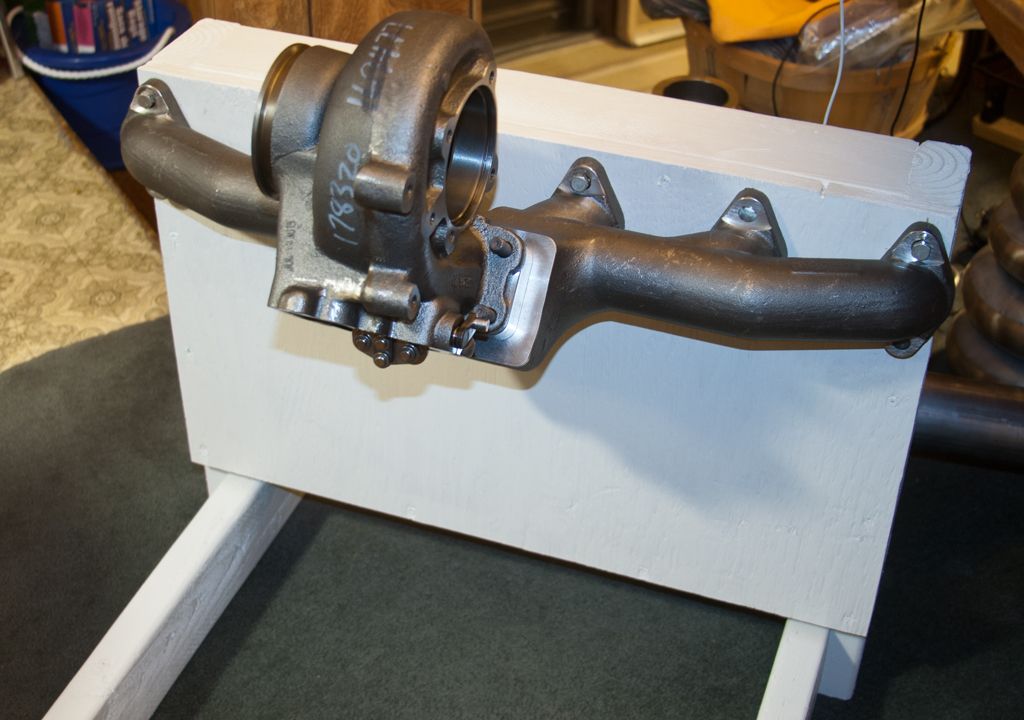
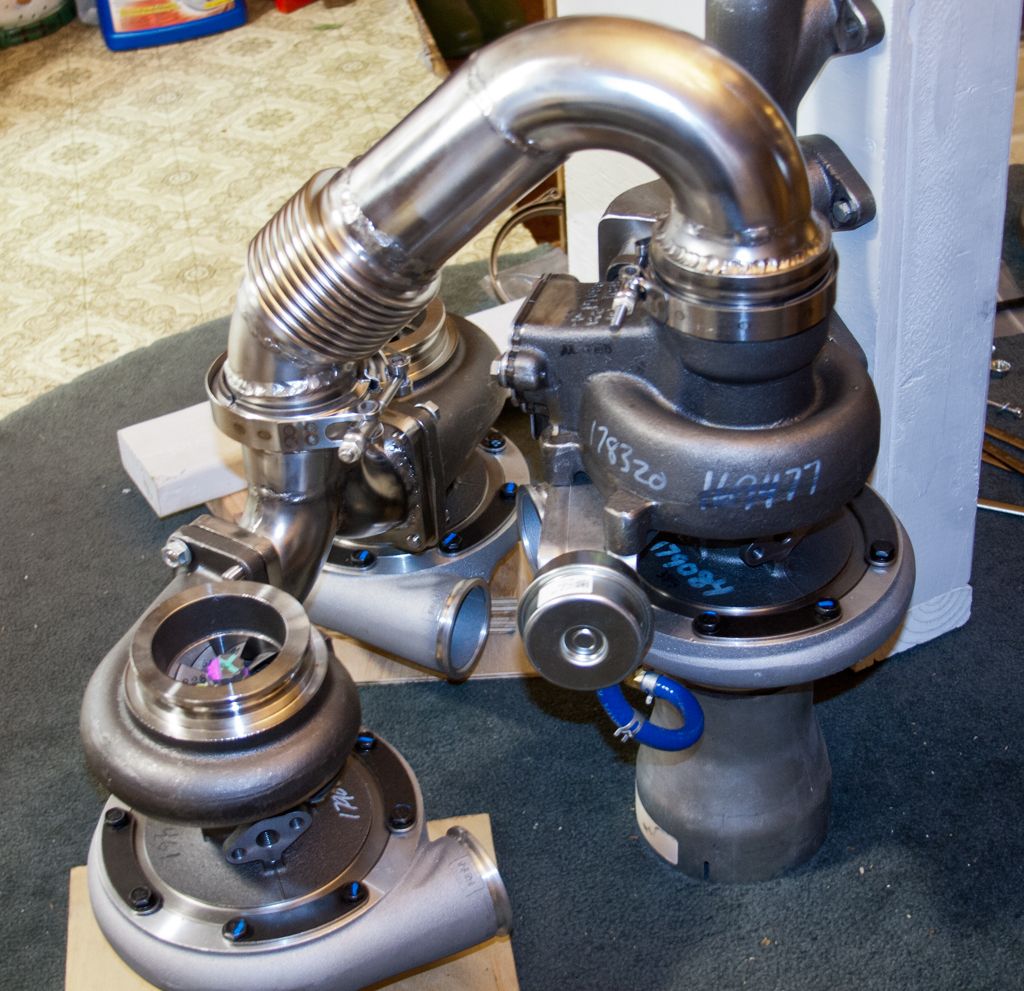
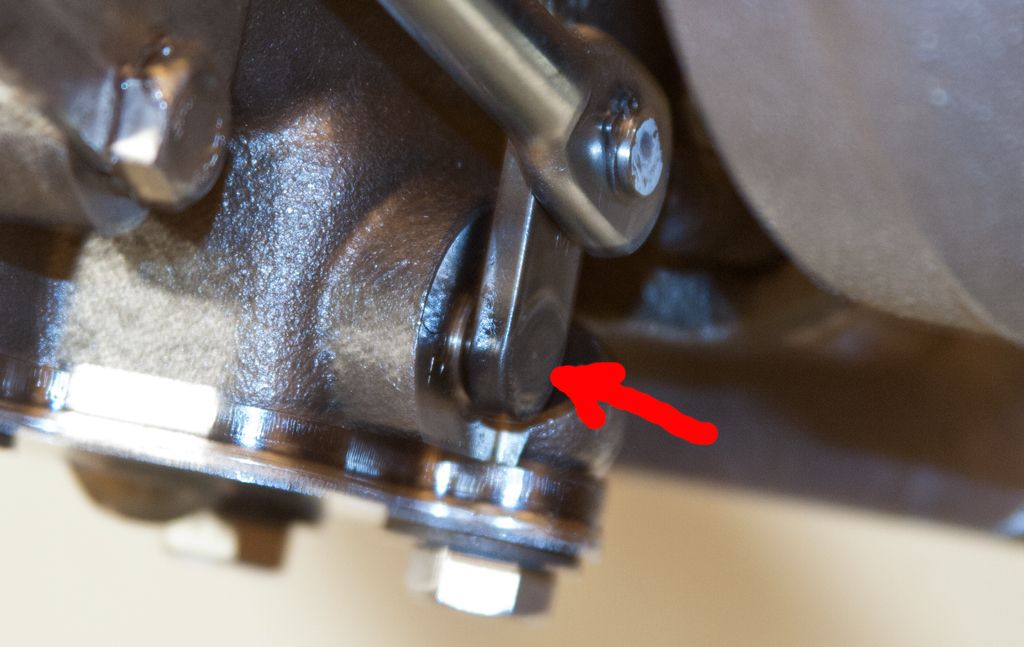
As assembled, the valve-plates (flappers) won't swing up, and back out of the way for accessing the ports. The WG shaft lever has a stop milled into an adjacent bolt-boss that limits rotation. The only means of taking things apart appears to be drilling out the spot-weld at the end of the WG shaft, inside the WG shaft lever. SEE IMAGE BELOW.
Kinda skert to mess with it.
It looks like I can trim said boss a little to allow the gate to open a bit more.
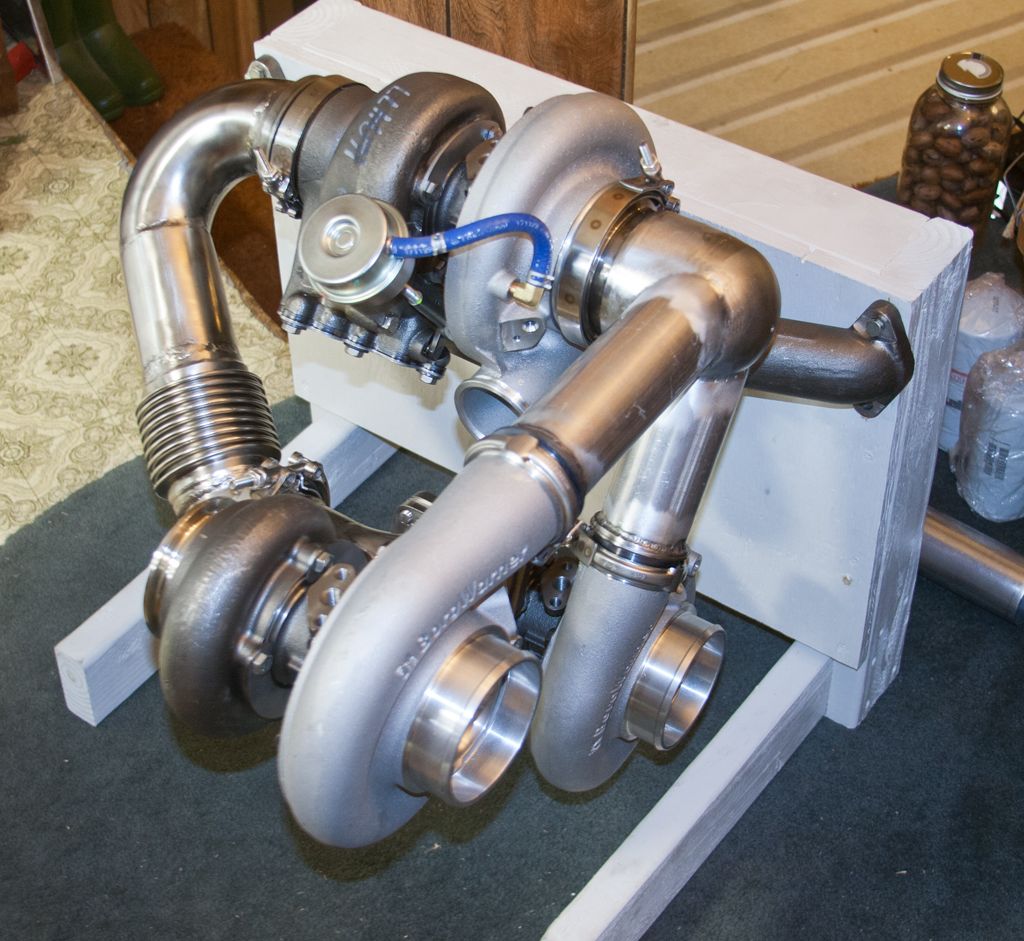
While the end result seems small, I got a lot of chit done today.
1 - Voted.
2 - Mated the Milwaukee PortaBand-Saw to the Band-Saw table thingy. It took a few minutes to make the blade 90* to the table, . . . . and stay there.
3 - Quickly found the top-cut, goes a different direction, from the bottom-cut, of the donut . . . . .cutting straight across using the table to hold the work. Shit!
Found it best to rotate the work against the blade thus scribing the work prior to going all the way through. These donuts are in fact
14 gauge 304SS.
4 - Used the 12" disc-sander to straighten the cut and true the end. Works NICE!
5 - So, now I've got a 3" OD / 105*ish bend. NOTE: As received, the donut's outer seam is welded. The inner seam, is not.
6 - Setup the TIG with a new 1/16" Thoriated Tungsten electrode, gas lens, no 6 cup, 15ish cfh pure Argon. 1/16" 309L filler (where needed).
7 - Mixed up some Solar Flux (allows welding SS without using a true gas purge of the backside of the weld). Much more cost effective for the scope of my needs.
8 - Ran a stringer-bead across the inner seam of the cut donut. Ehh. OK, I guess.
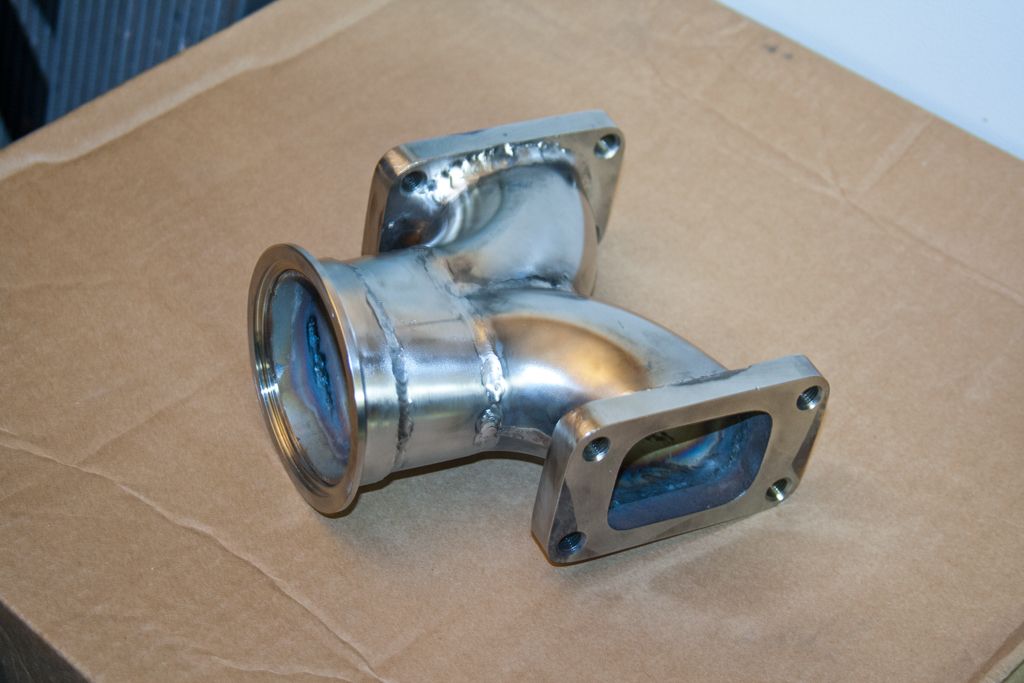
9 - Now, I need to swage one end of the 3" OD bend to fit the 3.5" ID of the turbine exhaust housing V-Band flange. So, I whoop-out the HD exhaust-pipe swaging kit.
10 - I promptly split the pipe at the factory weld of the outer seam. Shit!
11 - The 4' piece of 3", 14 gauge, 304SS pipe is the Mandrel-Formed variety (no welded seam), as such, it's easily swaged to 3.5" OD at one end. I cut that end off so that I've got a very short 3" OD x 3.5' OD adapter.
12 - Slid the turbo exhaust housing flange over the adapter and tack-welded it every inch around. Then completed the bead. That was a PITA as I had to keep the vast majority of the heat on the thick flange so as to make a fluidous puddle, without under-cutting the thin tubing. Suffice it to say I undercut the tubing, but it's a sound weld. UUUG-GLY! . . . but well attached.
13 - Cut out
another 3" OD x 105*ish bend and welded its inner seam.
14 - Found that the exhaust-pipe swager works really well to spot-on align the butt-joint of the adapter and bend. Tack-welded said together.
15 - Completed the bead joining the 3.5" to 3" adapter to the bend. Looks like sthi. I'm over-thinking all this welding SS sthi! It appears to me that welding 14 gauge SS works best with simply running a sequential spot-weld stringer bead with no filler. I've got a Wah-Wah pedal for pulsing the TIG heat.
Tomorrow, I like to think I can fabricate the 3" OD x 2 T3 flange WYE pipe. It ought to be a hoot.