Just a little more . . . . .

How to make it go fast

Moderators: Greenleaf, KTA, BC847, Richie O

Re: Just a little more . . . . .

Postby PToombs » Sat May 06, 2017 4:43 pm

Don't beat yourself up over the welds, I'm sure the coating will hide a lot. ;)
:jumpsmile:
pete

Just enough power to break everything behind the crankshaft.
User avatar
PToombs
14mm rotor
 
Posts: 11367
Joined: Sun Jan 07, 2007 6:13 pm
Location: Syracuse NY. Snow central!

Re: Just a little more . . . . .

Postby BC847 » Sun May 07, 2017 8:10 pm

We'll see, Pete. :lol:

Got 98% of the AC plumbing stuff on the way.

Getting down to the short rows. 8)
David

1993 12mm VE Fueled W250 CC, Green
12.67 @ 103.35
Your basic farm truck ;)
BC847
Administrator
 
Posts: 2203
Joined: Wed Jan 03, 2007 5:22 pm

Re: Just a little more . . . . .

Postby BC847 » Mon May 08, 2017 4:38 pm

Some hose to hook it all up and I should be able to shoot the hot-stuff this week.

Image
David

1993 12mm VE Fueled W250 CC, Green
12.67 @ 103.35
Your basic farm truck ;)
BC847
Administrator
 
Posts: 2203
Joined: Wed Jan 03, 2007 5:22 pm
Top

Re: Just a little more . . . . .

Postby BC847 » Tue May 16, 2017 5:06 pm

Got all the HVAC refrigerant line-set fittings made/modified. All I've got to do with them now is temporarily bolt in place, cut to length the hoses and slip into the fittings, and mark their positions. Remove and crimp keeping the marks in alignment. Install with new gaskets and O-rings.

Image


The biggest change is that, regarding the suction line leaving the evaporator, where it used to immediately turn down the wheel-well on its way to the compressor . . .. now, it goes straight along the top of the passenger's fender-well to just past the filter/drier. Then it turns down to the compressor. Had to include making a new temperature sensor well (small pipe going into the side of the big pipe).

Image


You'll see. ;)
David

1993 12mm VE Fueled W250 CC, Green
12.67 @ 103.35
Your basic farm truck ;)
BC847
Administrator
 
Posts: 2203
Joined: Wed Jan 03, 2007 5:22 pm
Top

Re: Just a little more . . . . .

Postby BC847 » Sat May 20, 2017 5:23 pm

Overall, what a PITA!

Image
David

1993 12mm VE Fueled W250 CC, Green
12.67 @ 103.35
Your basic farm truck ;)
BC847
Administrator
 
Posts: 2203
Joined: Wed Jan 03, 2007 5:22 pm
Top

Re: Just a little more . . . . .

Postby BC847 » Mon May 22, 2017 7:16 pm

I'm taking a week off work, next week.

In the mean time . . . . .


Image
One day, while sitting in line at the track, I'm gonna
slip the heap into 4wd, and shove the cars in front
of me, over those motorcycles who just cut in line.
David

1993 12mm VE Fueled W250 CC, Green
12.67 @ 103.35
Your basic farm truck ;)
BC847
Administrator
 
Posts: 2203
Joined: Wed Jan 03, 2007 5:22 pm
Top

Re: Just a little more . . . . .

Postby PToombs » Tue May 23, 2017 4:51 pm

Awesome! 8)
pete

Just enough power to break everything behind the crankshaft.
User avatar
PToombs
14mm rotor
 
Posts: 11367
Joined: Sun Jan 07, 2007 6:13 pm
Location: Syracuse NY. Snow central!
Top

Re: Just a little more . . . . .

Postby BC847 » Wed May 24, 2017 4:32 pm

Feb. 02,2017:
Trying to sort-out in my head the general sequence of the mess. No need in duplicating work along the way.

- Pressure-wash the engine and bay, including underside as it sits so I don't draw back as much black goo on my knuckles. Image
- Remove stock/OEM oil filter/cooler cover and with a couple of bolts, replace with the marine cooler cover. Image
- Using few bolts, install the new assembly, less gaskets. Image
- Be tickled chitless because my earlier ciphering was spot-on regarding the overall fit. (Fingers crossed). Image
- After getting the general positioning of the assembly right, complete the fabrication of the front assembly mount (to the new oil cooler cover). Image
- Be pleasantly surprised that I won't have to tweak the passenger's inner fender well. (Fingers crossed). Image
- Cipher and complete fabrication of 5" down-pipe past the transfer-case including proper mount at transmission bell-housing. (This will take a couple of evenings, or so). Image
- Cipher and order parts to make hoses and, locate and fabricate remote engine lube-oil filter-head mount. Image
- Stand back and stare at it a while to figure out what I'm missing . . . . . like where to install those bungs for inter-stage drive-pressure and boost-pressure for example . . .
- Remove entire new assembly including the marine oil cooler cover. Image
- Install those stupid bungs!
- Blast all hot-stuff, inside and out with 120grit Aluminum-Oxide. Image
- Apply internal ceramic coat as appropriate and oven-cure. Image
- Apply external ceramic coat as appropriate and allow one full week to air-cure. Image

While the ceramic mess is curing:
- Remove the weeping ( :shock: ) block freeze-plugs along with the stock/OEM block-heater. Image
- Recover the R12 refrigerant and remove the HVAC compressor's suction and hot-gas discharge hoses. Image
- Thoroughly clean the freeze-plug bores as well as all that side of the engine and bay. Image
- Paint as required the block and that side of engine bay. Image
- Install new fancy freeze-plugs. Image
- Install new engine block heater. Image
- Install new engine lube-oil cooler cover including all new gaskets, oil pressure regulator, associated hoses and remote filter head assembly. Image
- Initially set the waste-gate actuator.
- Install new trublo assembly including new lube-oil supply plumbing.
- Reconfigure/fabricate and install Secondary to IC plumbing.
- Cipher, fabricate and install new turbo lube-oil drain-lines.
- Install new down-pipe assembly past transfer case.


Shit!

- Figure out how in the Hell I'm gonna build the primary intake feed from the stock-pot mess Image, then do it.
- Complete fabrication Image /installation of the exhaust including a new 5" Wye-pipe for the existing bed mounted 5" temporary stack.
- Reroute and install/dress the EGT sensor (new replacement), Secondary drive-pressure sensor, Primary discharge pressure sensor as well as the associated AFC reference plumbing. (Still gotta acquire/install the Primary drive-pressure sensor and cipher how I'm gonna make the DATA logger accept it).
- Repair engine intake-log boost sensor/gauge including a new sensor (It's all over the map with BS readings for the last number of months. I hope a new sensor fixes it).
- Reconfigure/fabricate Image and install HVAC compressor suction and hot-gas discharge lines as well as the liquid-line and new filter/drier. Recharge system.
- Relocate and install a windshield washer fluid reservoir hopefully using the original.
David

1993 12mm VE Fueled W250 CC, Green
12.67 @ 103.35
Your basic farm truck ;)
BC847
Administrator
 
Posts: 2203
Joined: Wed Jan 03, 2007 5:22 pm
Top

Re: Just a little more . . . . .

Postby BC847 » Fri May 26, 2017 7:36 pm

The doctor said I need more iron in my diet, so . . . . .


Image
David

1993 12mm VE Fueled W250 CC, Green
12.67 @ 103.35
Your basic farm truck ;)
BC847
Administrator
 
Posts: 2203
Joined: Wed Jan 03, 2007 5:22 pm
Top

Re: Just a little more . . . . .

Postby BC847 » Sun May 28, 2017 6:35 pm

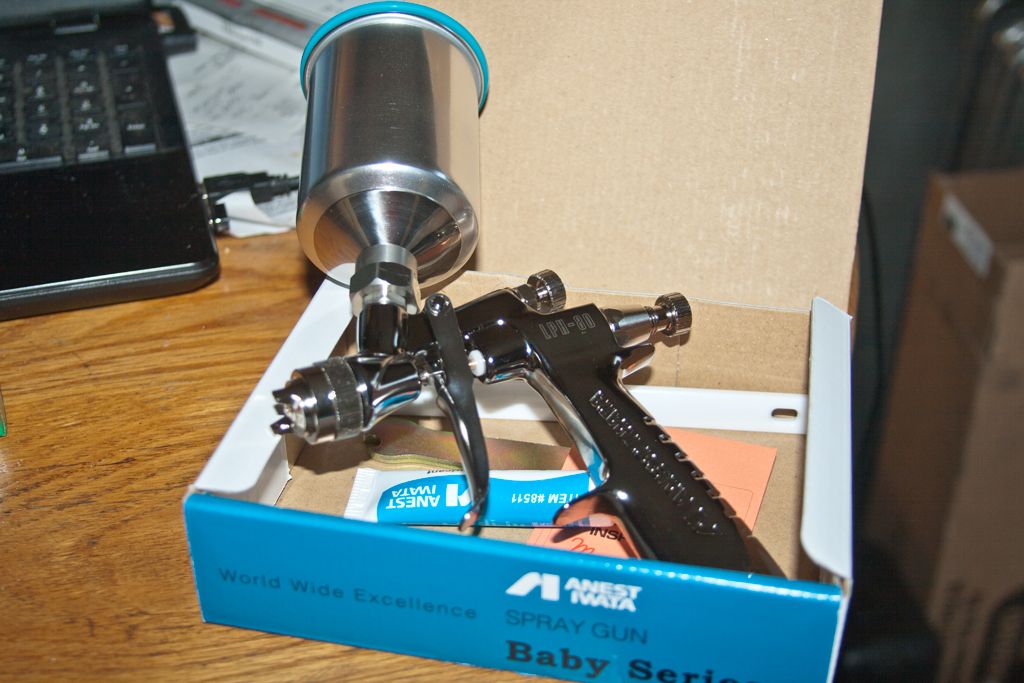
So, well over two years ago (Wed Sep 17, 2014 6:17 pm), I made a post talking about getting more air in my heap. With a LOT of input of most of our members during that time, I come up with this mess . . . . .

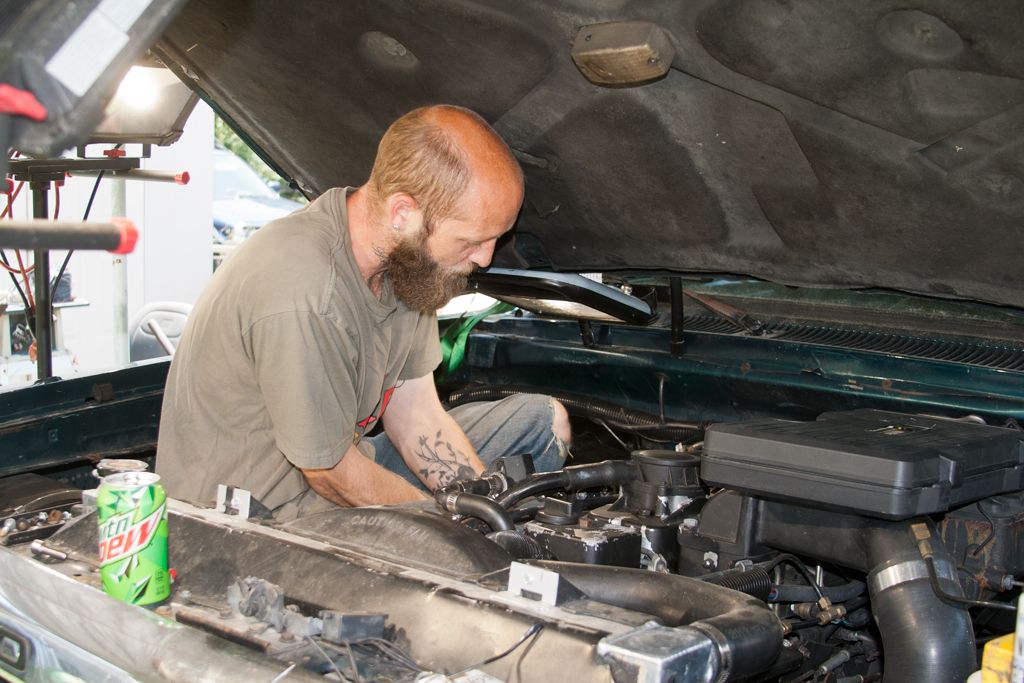
To start with, my wonderful Son, Adam, has been most gracious and is basically doing all the grunt-work of installing the sub-assemblies I've fabricated. . . . . . + I've no gaskets blown in my back, + he's on FB right now talking about his day literally installing trips on a 6bta. 8)

Anyhoo, the man crawled his young skinny self right in there . . .

Image


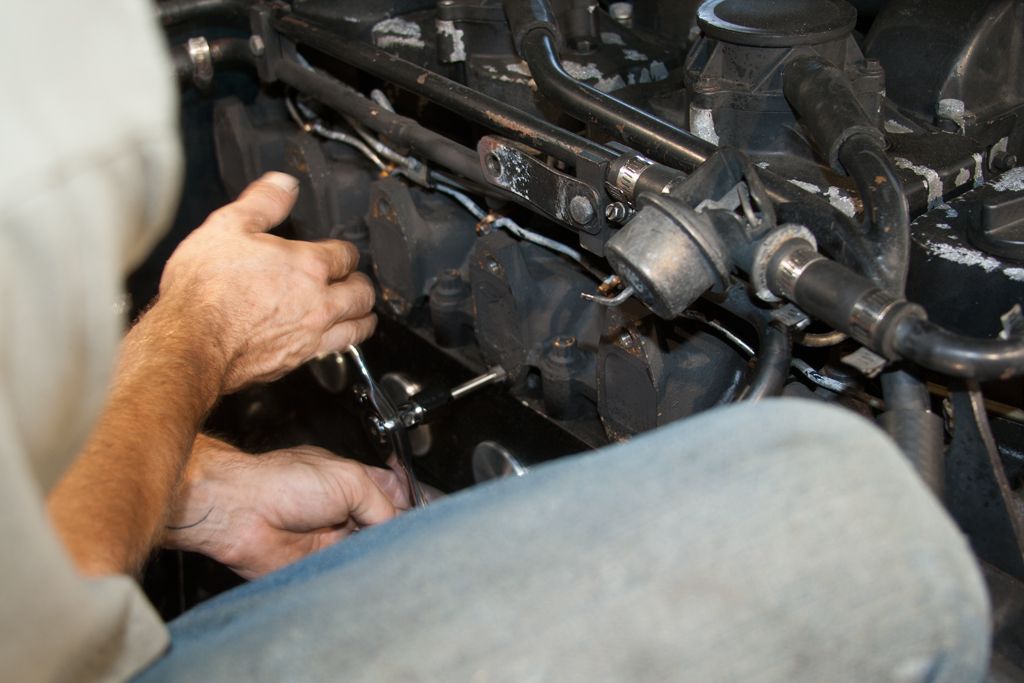
And started with chasing the exhaust manifold bolt holes on the head. Using a Q-Tip, he daubed a booger of nickle-based anti-seize in the threads.

Image


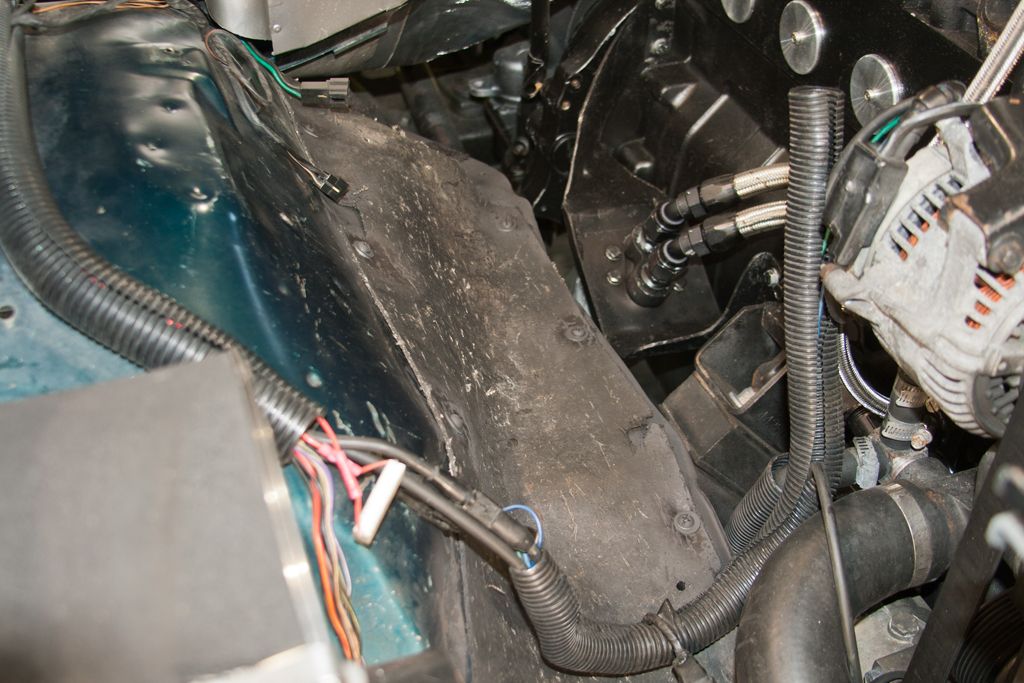
So, during all this, the rubber splash-shield eventually slipped out of place and his foot went through. Lets fix that he said . .

Image


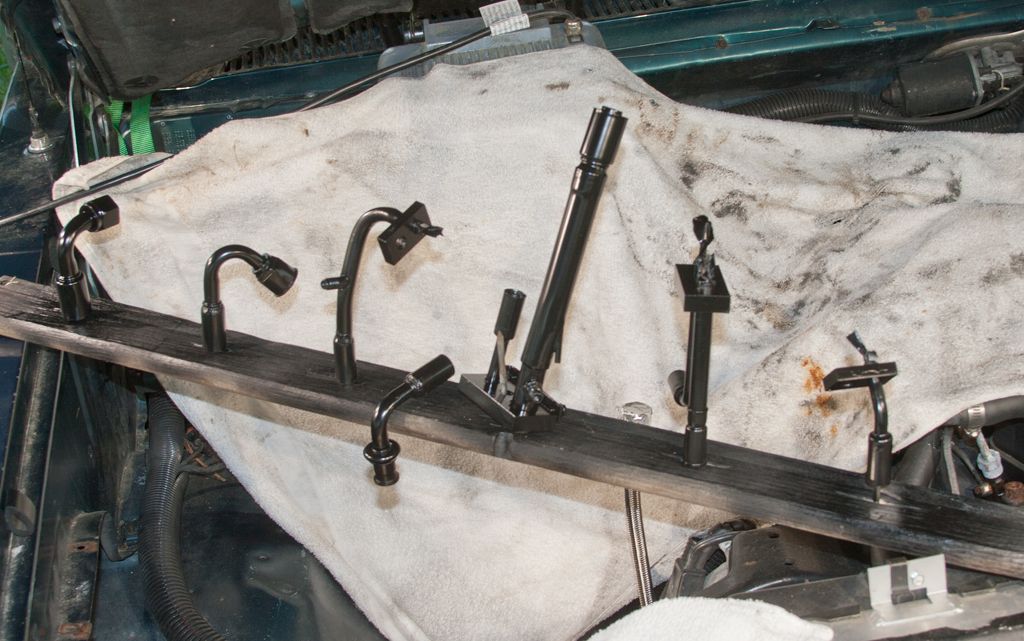
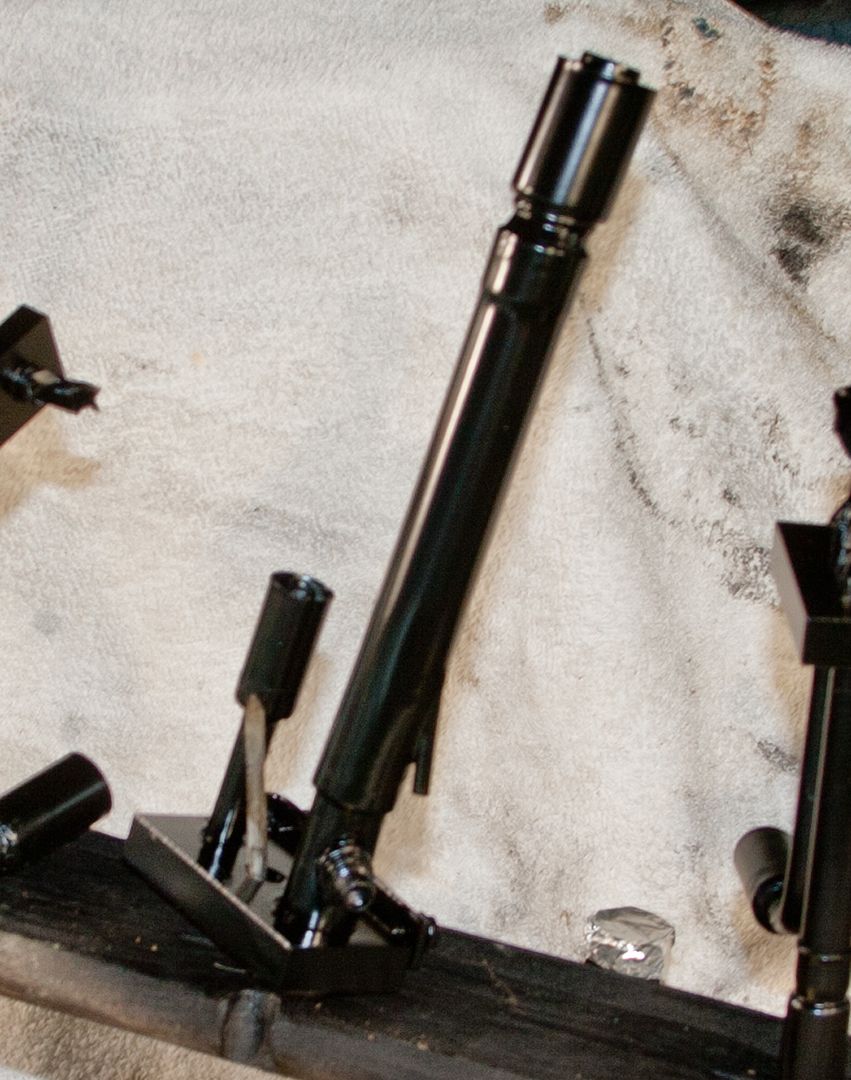
A number of well placed bolts, washers, etc later, it's done with a spot of flat black.

Image


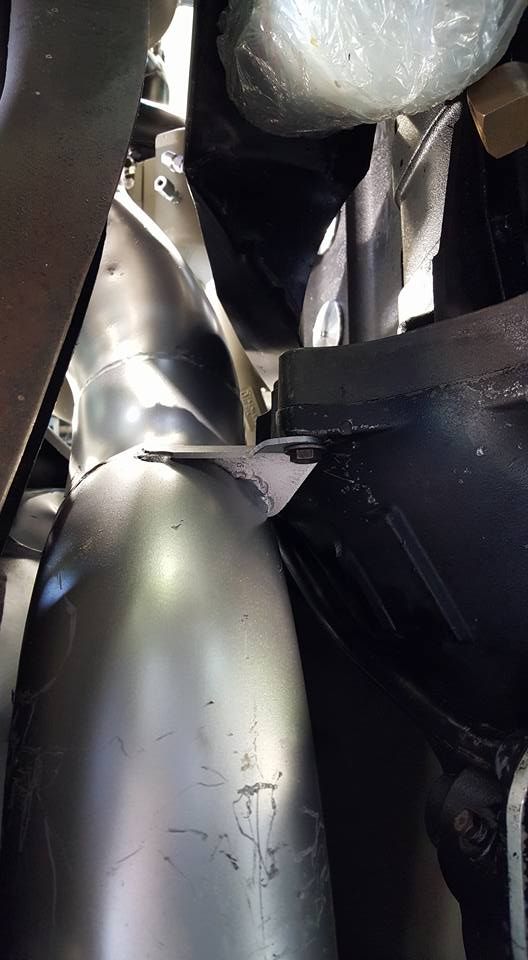
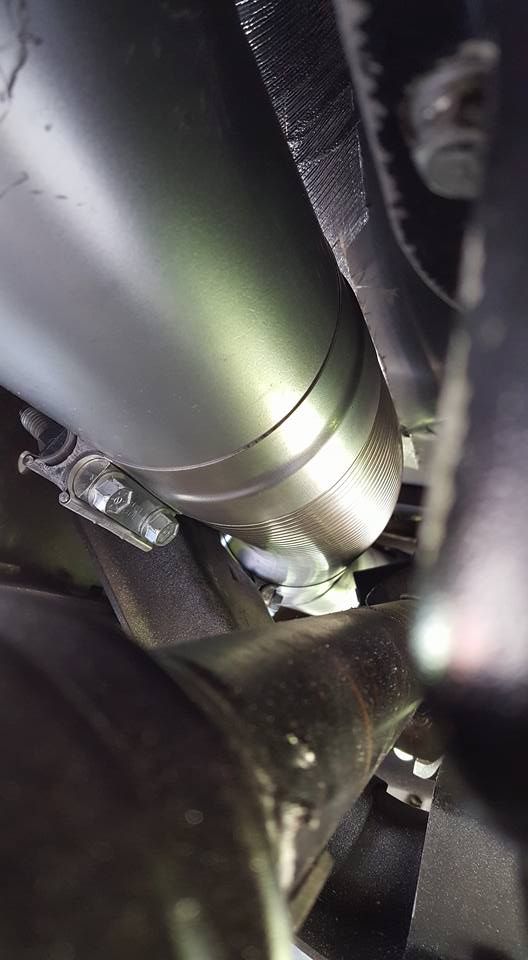
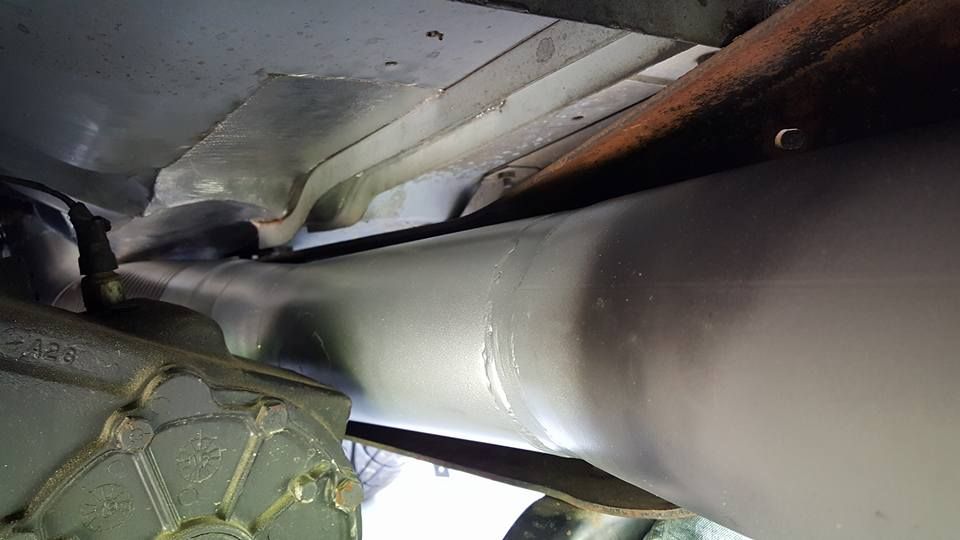
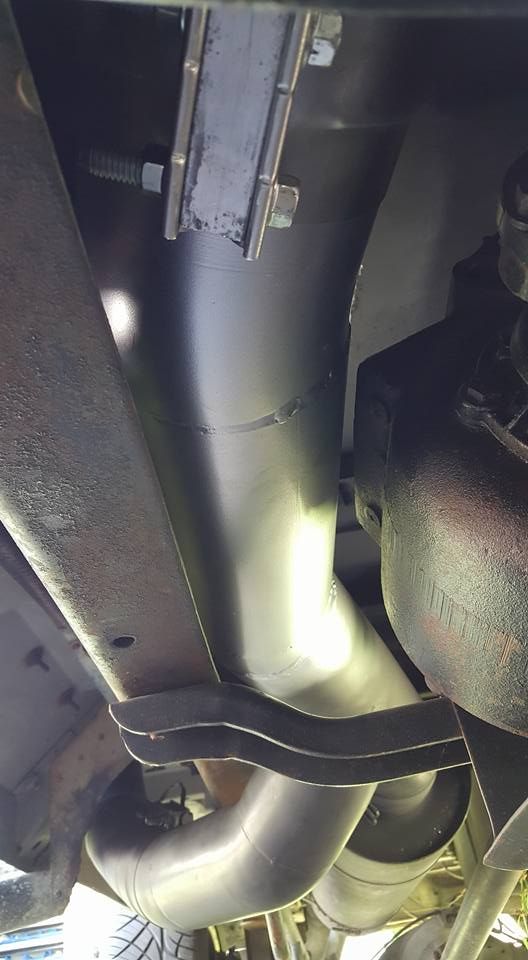
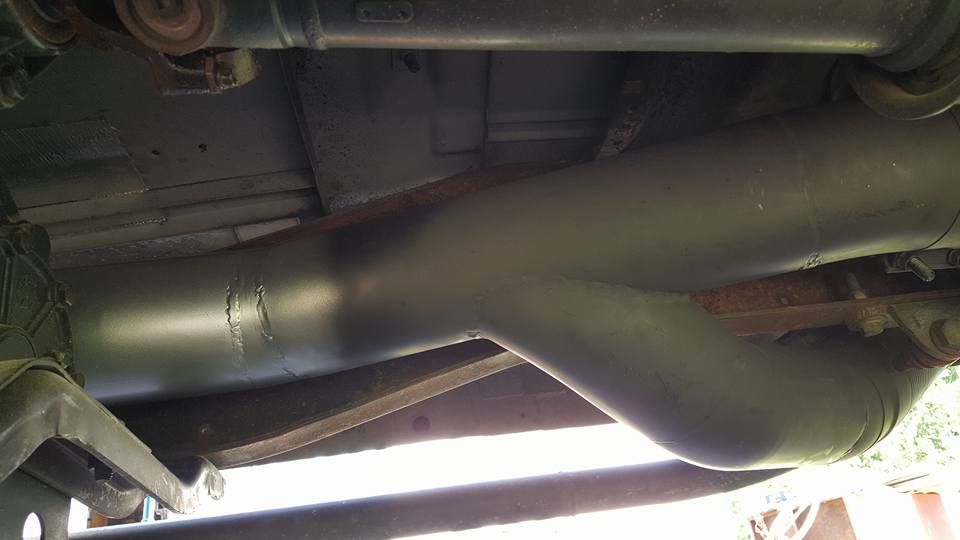
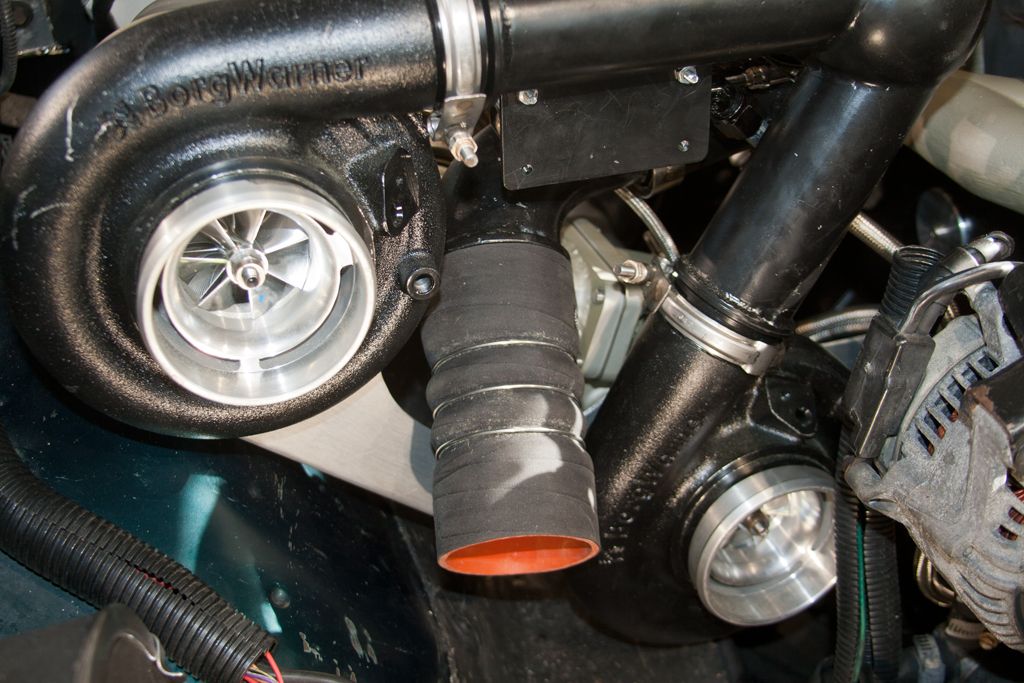
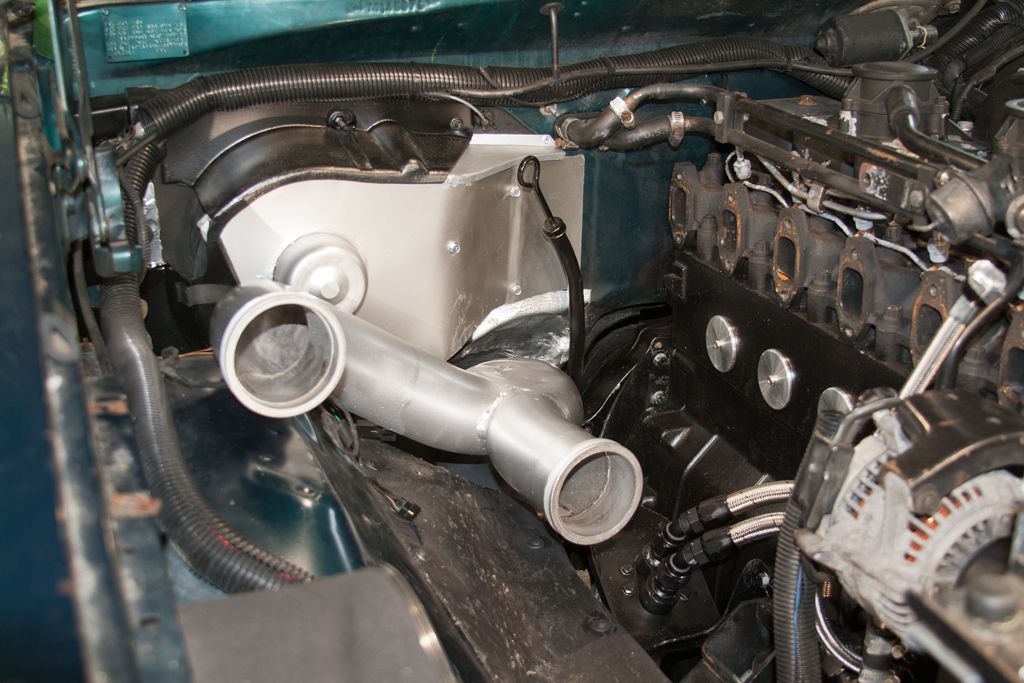
Alright, moving forward . . . . went to stabbing-in the new down-pipe and was reminded that, after five of so minutes move this way, and that way, that, there's a 27.04-step maneuver to get the stupid thing in there.

But before that, he, from under the truck went to bolt the transmission's fluid dip-stick to the bell-housing . . . and after a PITA ten minutes of dicking with it, realized that earlier, last week, when I tried simply blasting the dirt-daubers house from the bolt-holes with a garden hose, didn't get all of it. Adam's bolt was jamming in the bee-spit & Earth. :roll:

Had to back the bolt out, and using the proper tap, chase the two bolt-holes we're after.

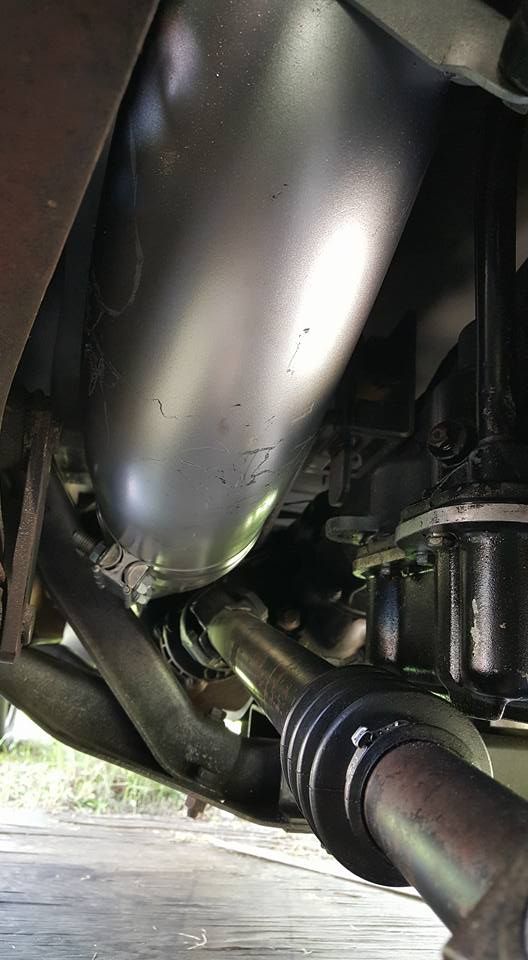
Crap. Finally got the down-pipe and dip-stick nailed to the bell-housing . . .

Image


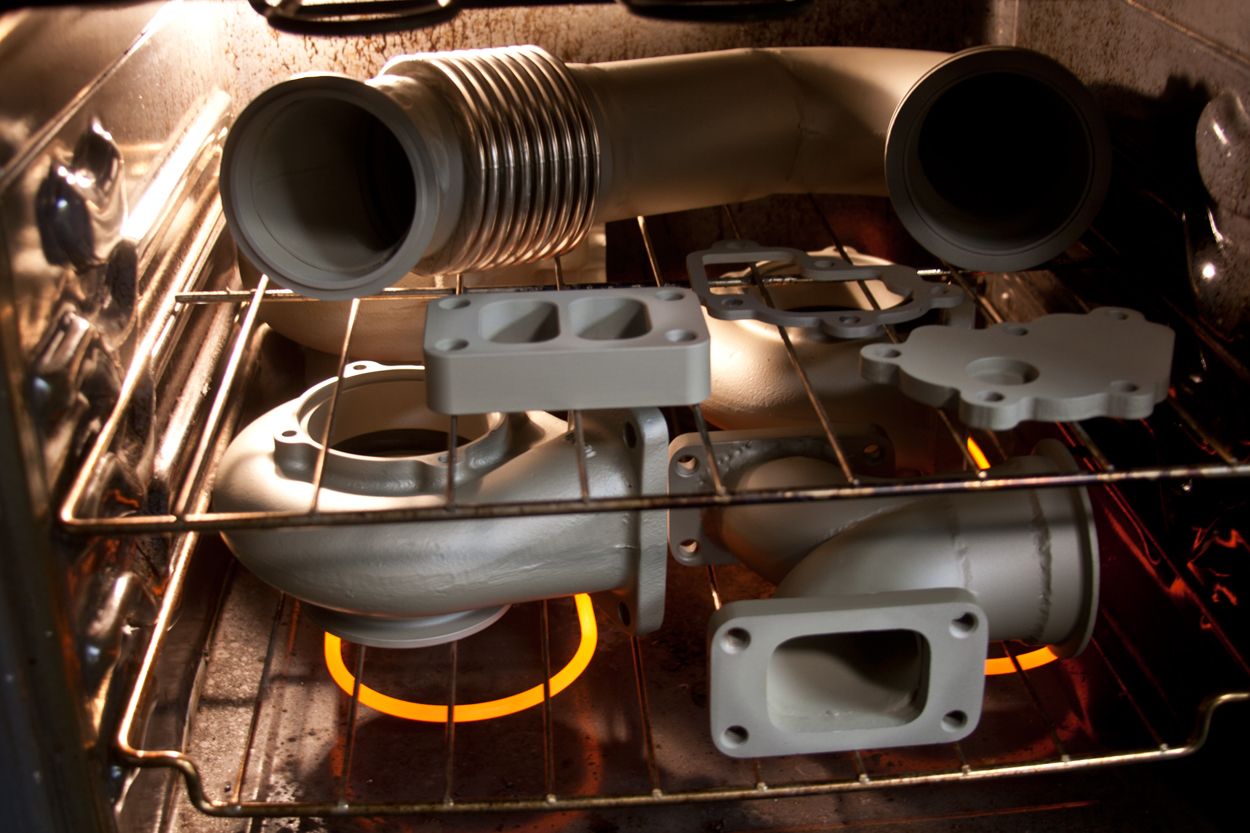
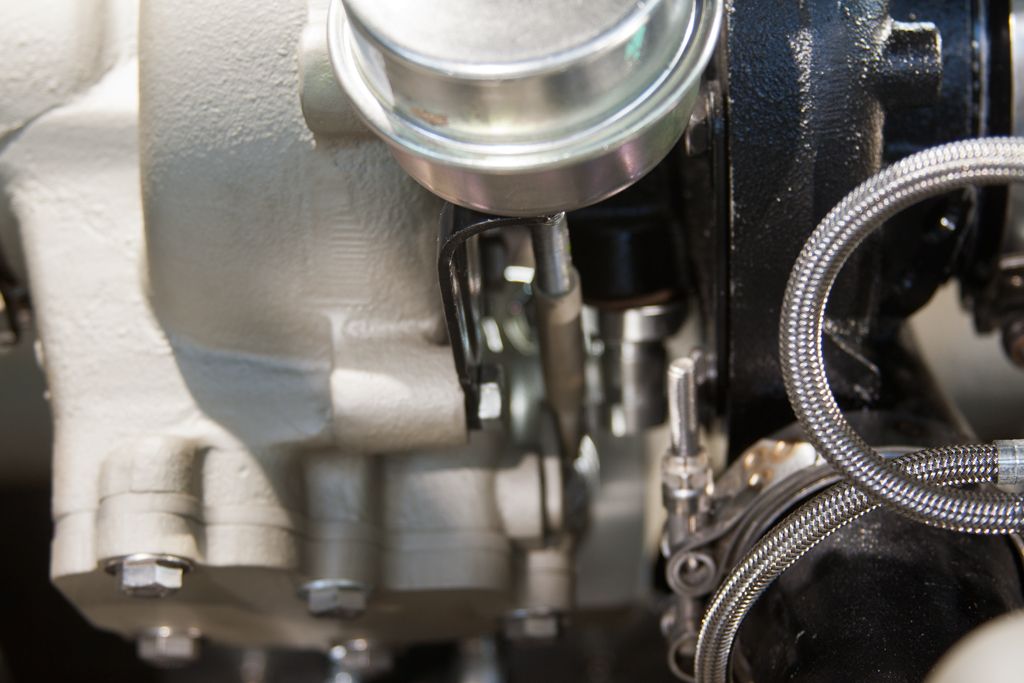
Now, moving on to installing the exhaust manifold, we used anti-seize on new Allen-headed stainless-steel bolts with split lock-washers. Brought them equally up to 20ft/lbs . . two consecutive rounds to ensure they're all equally at 20ft/lbs, then . . .. pulled them up to 32ft/lbs. All the while using the spiral from the center out, method.

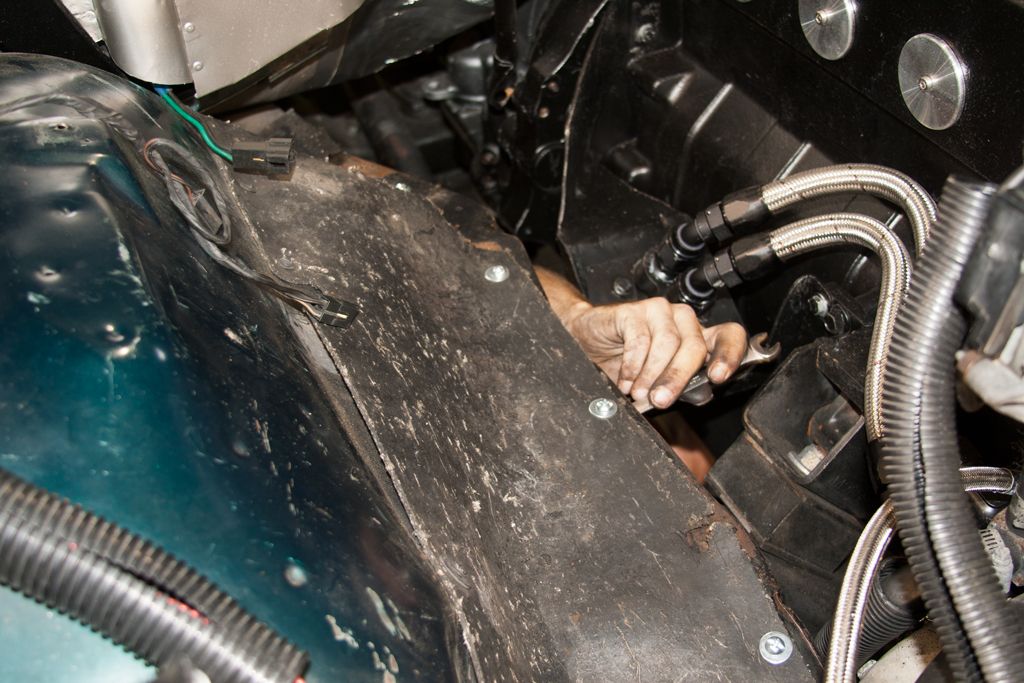
BTW, those two bolts directly under the center section where the turbo sits? Yeah, there is NO Allen-headed socket-drive nothing that fits in there. It's my experience that you just have to suck it up and use two regular headed bolts there. And then only be able to pull them up with an open-ended wrench. Same thing with the ATP manifold I used with the former twins. Yes, I stole the two bolts from that mess.

Had to trim-to-fit the cab-heat hot water line's mount so it'd sit right in the new manifold's bolt slot thingy . . . .

Image


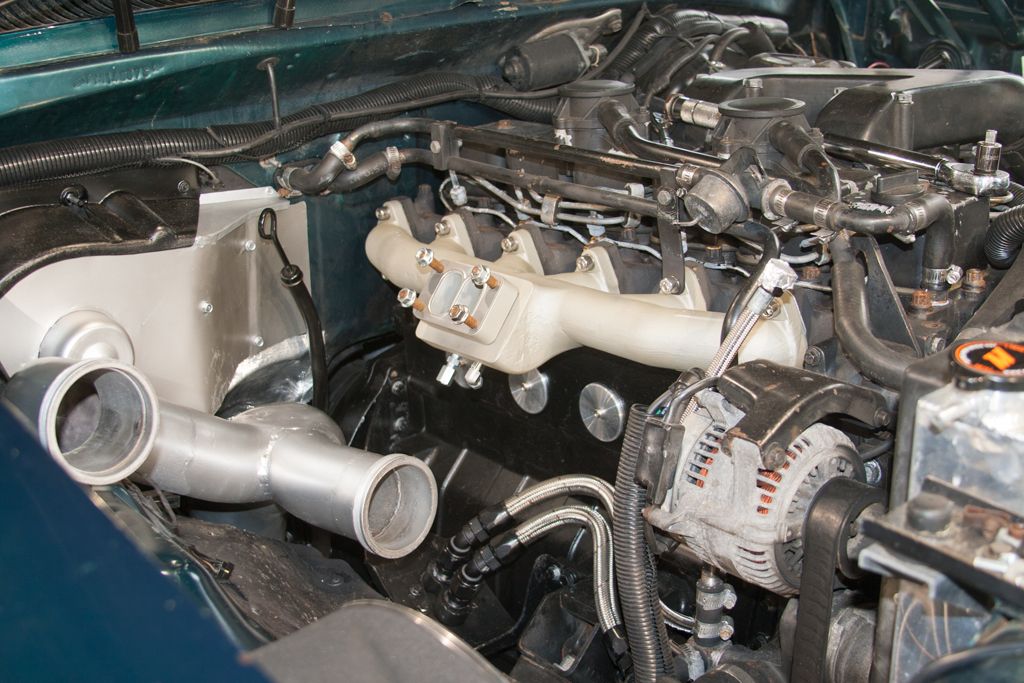
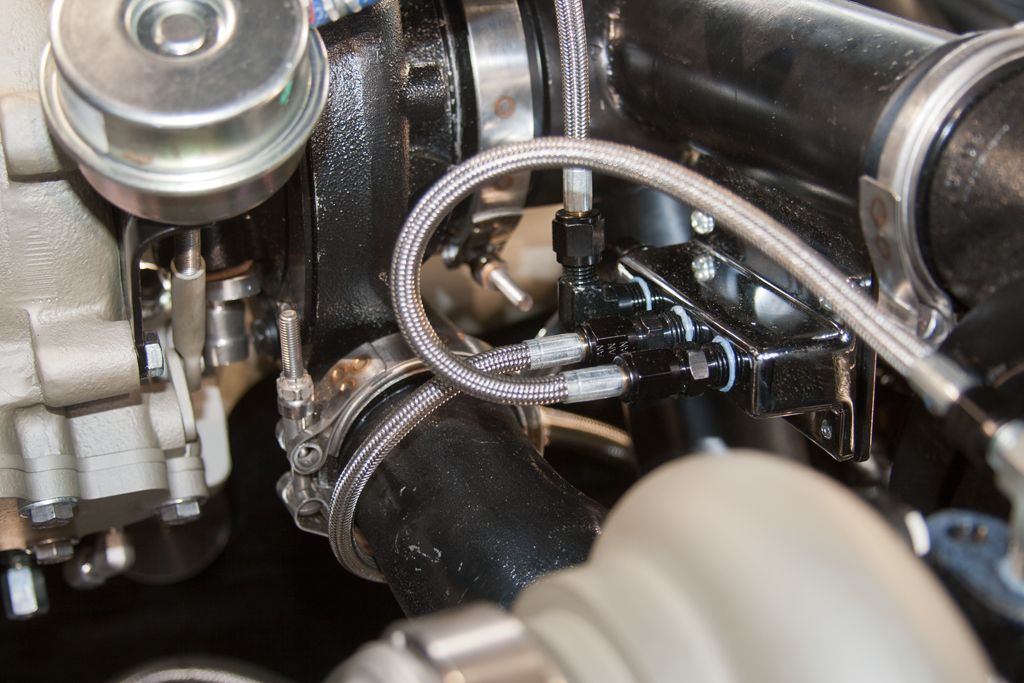
OK, fine, . . . . slathered the anti-seize on the studs for the secondary (they rusted a little, earlier when I had the mess on the engine for fabbing). Then mounted the secondary itself . . .


Image


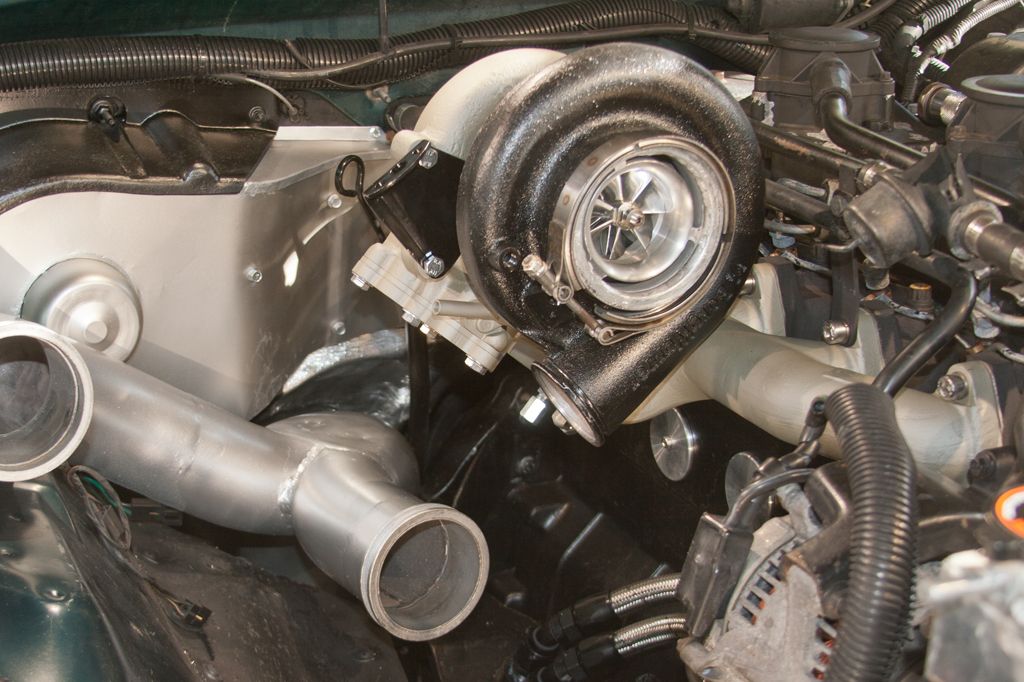
With that, it was time to hang the primaries . . . . . but wait! Let's slip in the new HVAC refrigerant hoses at the rear of the compressor. NO.

I got the correct size fittings for the hose and that at the ass of the compressor, . . . . but apparently/inadvertently interchanged the angles of the two. Won't fit like that. I'll have to get the correct - angle fittings and install the HVAC plumbing later. :oops:

. . . so, in goes the twin-primary assembly . . . ..

Image


Tomorrow, God allowing, we'll . . . .
- Install the balance of the exhaust plumbing,
- Fabricate and install the turbo lube-oil drain-lines,
- Install and initially calibrate the secondary's waste-gate actuator,
- Plumb/install and connect the EGT sensor, drive-pressure sensor, and primary output pressure sensor,
- Fabricate and install the cold-pipe that's between the secondary's outlet and the IC's inlet.
- Add engine lube-oil, antifreeze, and . . . . . sthi! Charge the battery. :lol:


We'll see, huh?
David

1993 12mm VE Fueled W250 CC, Green
12.67 @ 103.35
Your basic farm truck ;)
BC847
Administrator
 
Posts: 2203
Joined: Wed Jan 03, 2007 5:22 pm
Top

Re: Just a little more . . . . .

Postby BC847 » Mon May 29, 2017 3:39 pm

Whelp, didn't get as much done today as I would have liked to but, still . . . . .

Got the exhaust plumbing installed complete.


Here's the main down-pipe as it leaves the engine bay. Got it secured to the transmission's bell-housing

Image


Doesn't hang too low as it turns back . . .

Image


Just before the cross-member's diagonal brace, the pipe transitions to SS flex . . .

Image


It's tight to the frame-rail from there . . .

Image


. . .. on its way to the WYE . . .

Image


That Wye has a leg drop off and under the frame-rail on its way to the temporary stack mount. Else, the pipe goes on the the BHM under the bed.

Image


From there, we moved on to installing the secondary's wastegate and set it initially to be fully open at 35psig. Will adjust later as needed.

Image


Then we got on with completing the installation of the turbo's lube-oil supply plumbing. NOTE: Before I start the engine, I'll temporarily hold the three turbo oil feed lines over a bucket, and spin the engine till all three lines are flowing clean oil. Then I'll finally attach the lines to the turbos.

Image


Finally, we completed the clocking of the secondary compressor housing and installation of the associated outlet pipe . . . .

Image


I gotta go to the hardware store and get some small stuff to complete other stuff so, . . . . . .
David

1993 12mm VE Fueled W250 CC, Green
12.67 @ 103.35
Your basic farm truck ;)
BC847
Administrator
 
Posts: 2203
Joined: Wed Jan 03, 2007 5:22 pm
Top

Re: Just a little more . . . . .

Postby BC847 » Mon May 29, 2017 5:32 pm

Oh crap!

I just obtained a NOS grill complete for a reasonable price, . . .. shipped!
David

1993 12mm VE Fueled W250 CC, Green
12.67 @ 103.35
Your basic farm truck ;)
BC847
Administrator
 
Posts: 2203
Joined: Wed Jan 03, 2007 5:22 pm
Top

Re: Just a little more . . . . .

Postby dazedandconfused » Mon May 29, 2017 6:03 pm

Damn you are making it look easy. I'm sure my patience isn't there for trying this project.
Big Andy
1983 Dodge D150 that has been repowered with a 93 Cummins/518 running gear AKA The Ugly Duck! I would much rather build them then buy them.[
User avatar
dazedandconfused
14mm rotor
 
Posts: 6119
Joined: Thu Apr 05, 2007 6:25 pm
Location: Walton, Kentucky
Top

Re: Just a little more . . . . .

Postby t_ruffcorn » Tue May 30, 2017 7:35 pm

Great work here!! I can't wait to hear how the 1st test drive goes!
1993 w250 280k, 5 speed, 6x13 @80lpm, BD pin, 63/68/.80, 4200 gov, fluidampr, studs, springs, pushrods, 182/214 hamilton, W/M, steedspeed, PS I/C
t_ruffcorn
fuel screw!!!!
 
Posts: 59
Joined: Sun Jan 11, 2015 7:53 pm
Location: Iowa
Top

Re: Just a little more . . . . .

Postby BC847 » Tue May 30, 2017 7:40 pm

Didn't get much bolted on the truck today. :(

Spent an hour on the floor in the plumbing isle at the local Lowe's ciphering turbo lube-oil drain lines and fittings. After a nice lunch with my Son, we got on with making the secondary's oil drain. It went pretty well. Looks good.


The primary drains . . . . . yeah . . . . not so much. Spent three or so hours on something that flat will not work right, . . . in its entirety.
- Gonna have to make version 2 tomorrow.

Spun in a couple of fittings for the sensor stuff . . . . .

Imagine an 8" cubic box space at the azz of the AC compressor . . . . . . . I've got that space phacking packed with hoses and sthi. If anything ever leaks there, I'm gonna have to sell the truck, as is.
David

1993 12mm VE Fueled W250 CC, Green
12.67 @ 103.35
Your basic farm truck ;)
BC847
Administrator
 
Posts: 2203
Joined: Wed Jan 03, 2007 5:22 pm
Top

PreviousNext

Return to The good stuff

Who is online

Users browsing this forum: No registered users and 31 guests