Yeah. One of the voice's OCD caught a discrepancy in that spelling tonight. The ATSG manual spells it "Bellville". The Goerend Trans folks spell it "Belleville". I'm not sure where I got Bellvue from.
So, I did a Google search:
According to Wikipedia, everybody's right:
A Belleville washer, also known as a coned-disc spring, conical spring washer, disc spring, Belleville spring or cupped spring washer, is a conical shell which can be loaded along its axis either statically or dynamically. A Belleville washer is a type of spring shaped like a washer.
(I'm gonna fix that).
Just a little more . . . . .
Moderators: Greenleaf, KTA, BC847, Richie O
Re: Just a little more . . . . .
![]() by BC847 » Sun Nov 03, 2019 6:22 pm
by BC847 » Sun Nov 03, 2019 6:22 pm
David
1993 12mm VE Fueled W250 CC, Green
12.67 @ 103.35
Your basic farm truck ;)
1993 12mm VE Fueled W250 CC, Green
12.67 @ 103.35
Your basic farm truck ;)
- BC847
- Administrator
- Posts: 2203
- Joined: Wed Jan 03, 2007 5:22 pm
Re: Just a little more . . . . .
![]() by BC847 » Sun Nov 03, 2019 7:54 pm
by BC847 » Sun Nov 03, 2019 7:54 pm
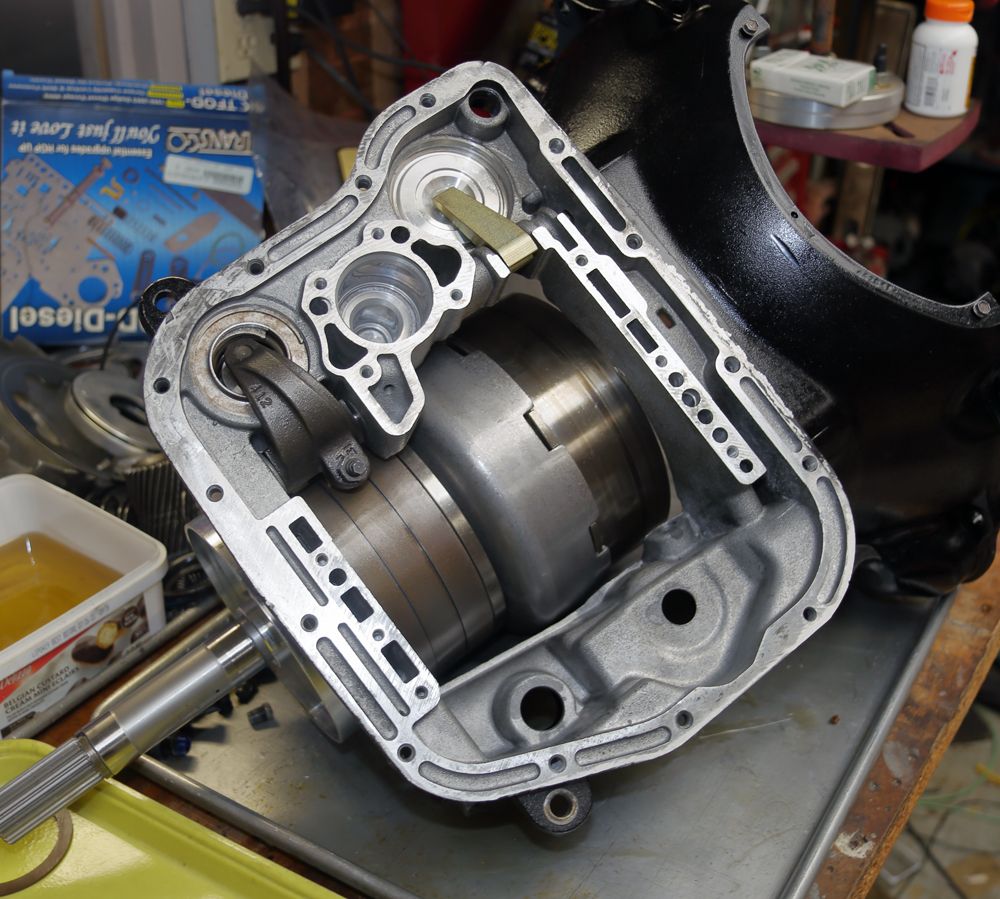
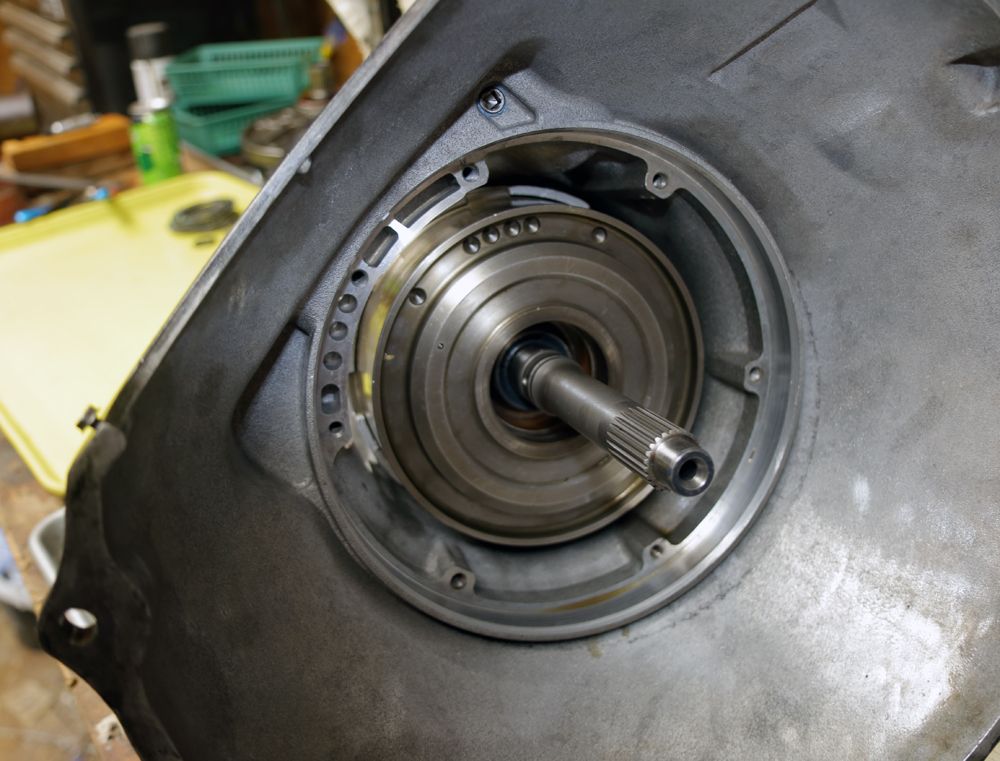
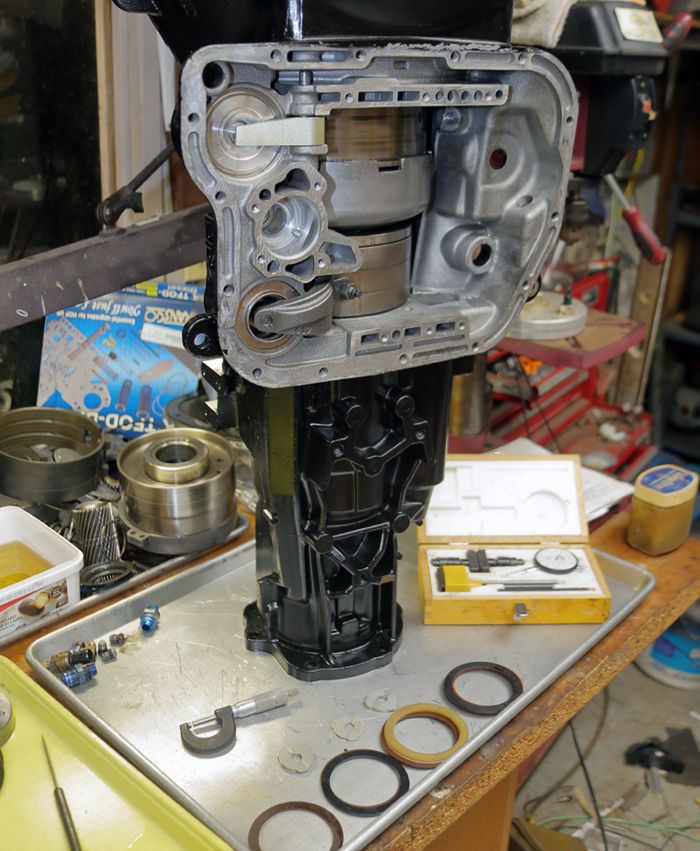
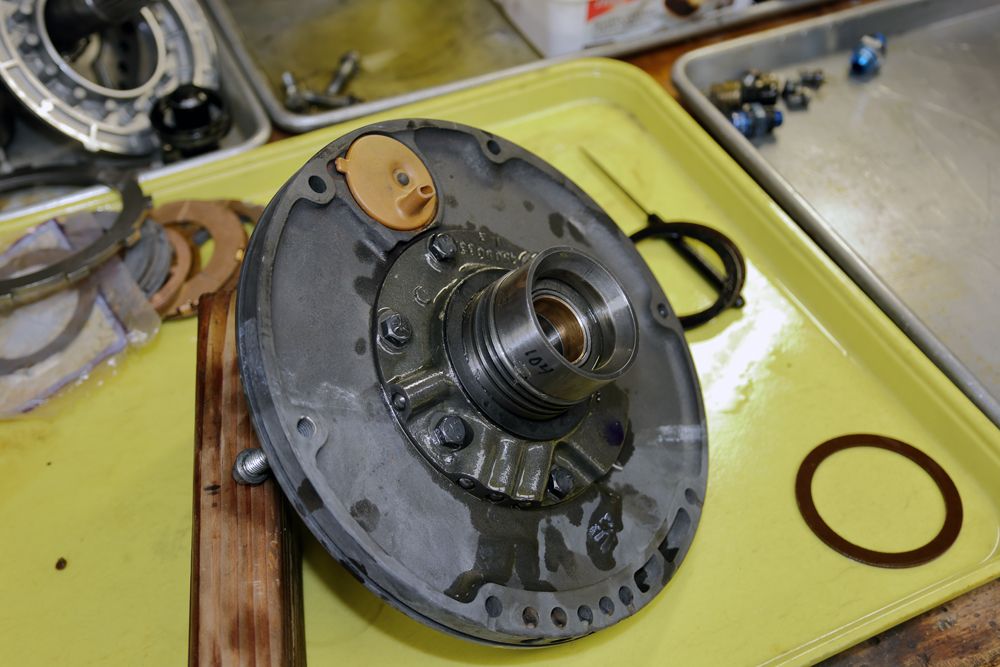
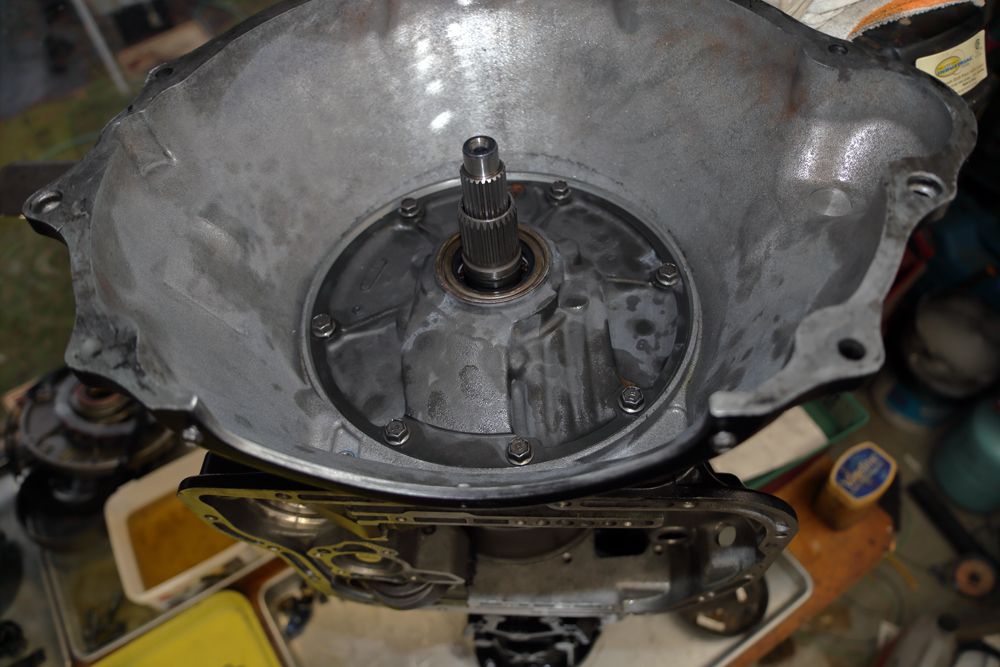
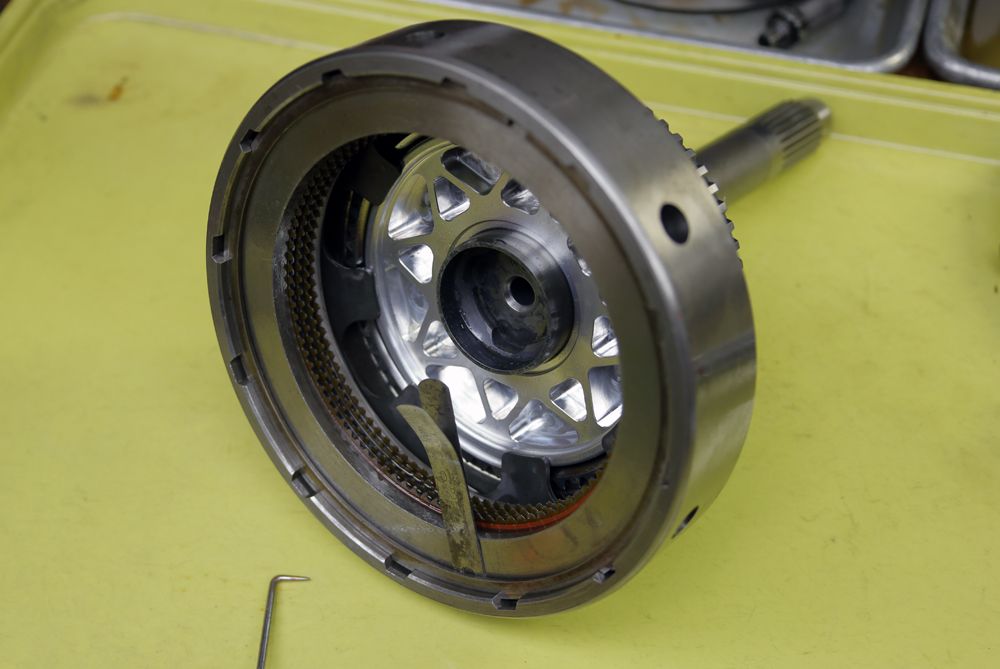
Anyhoo, messing with it a little this evening got the Rear (Forward) Clutch, including the input-shaft assembled.
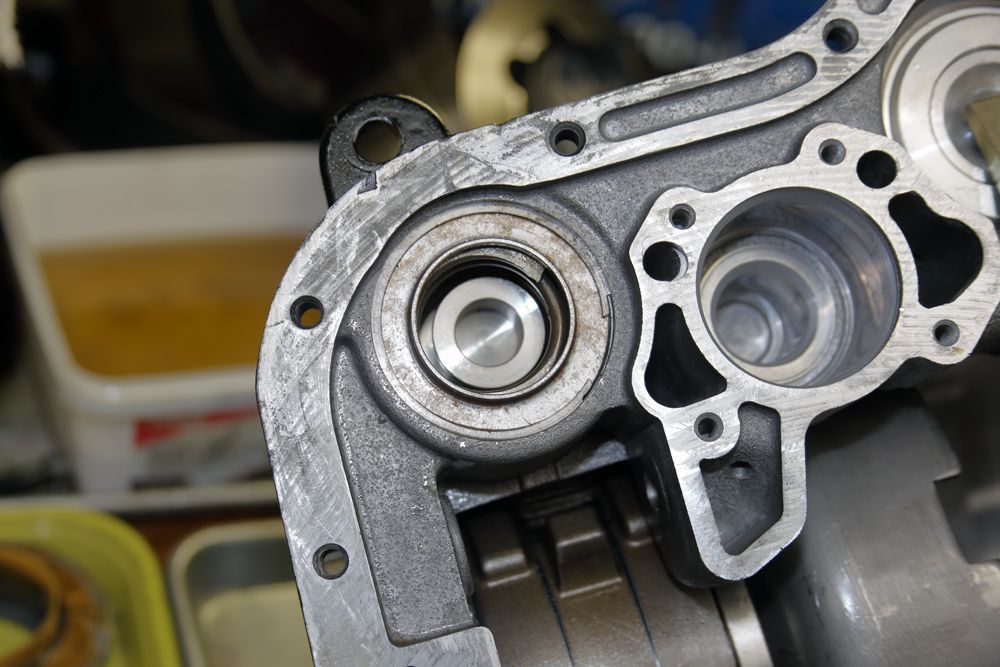
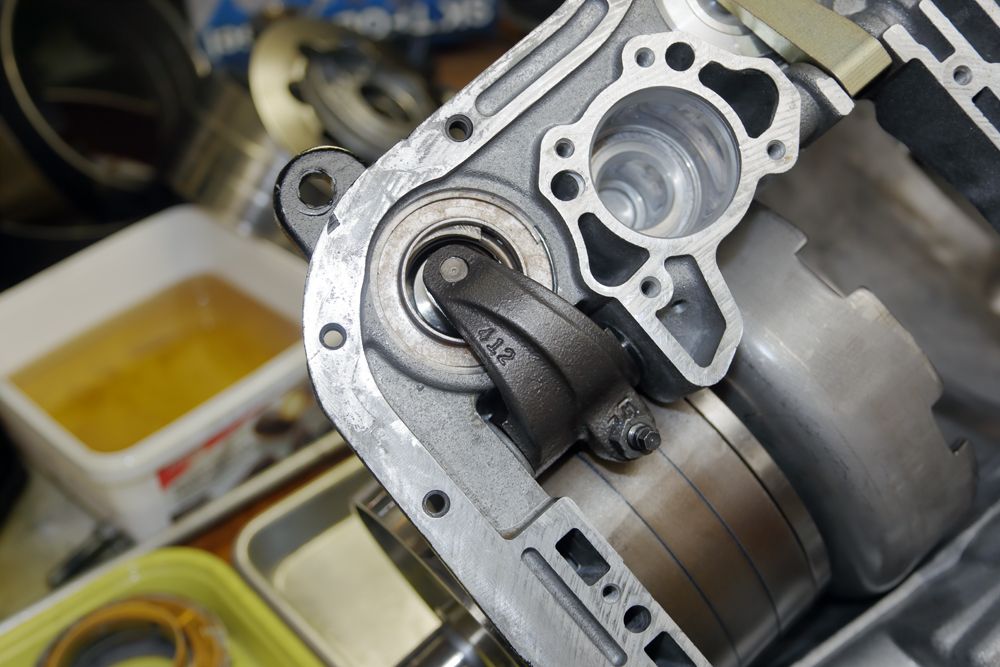
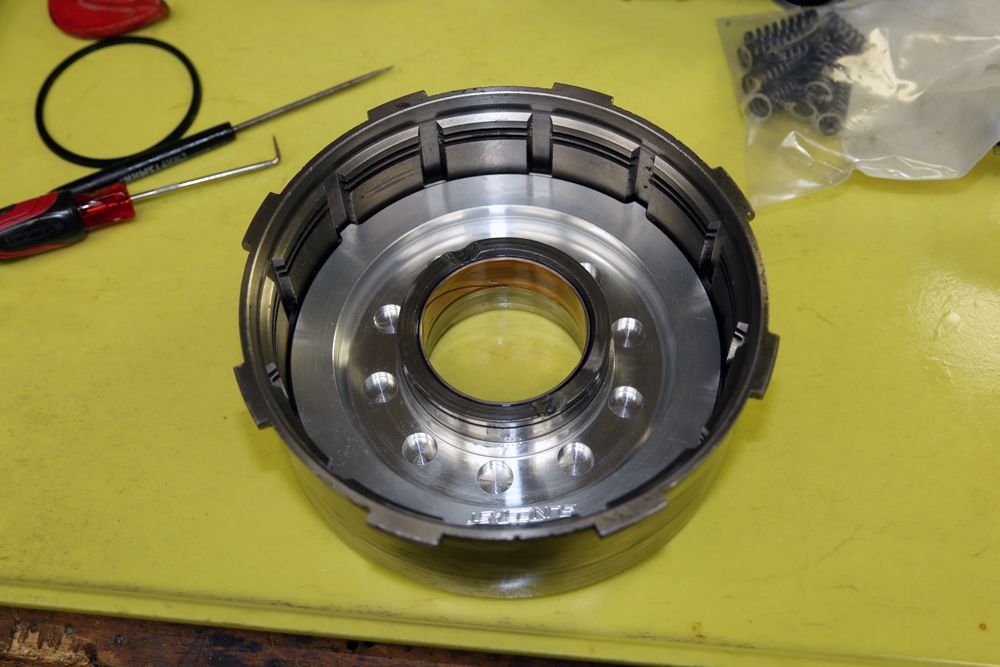
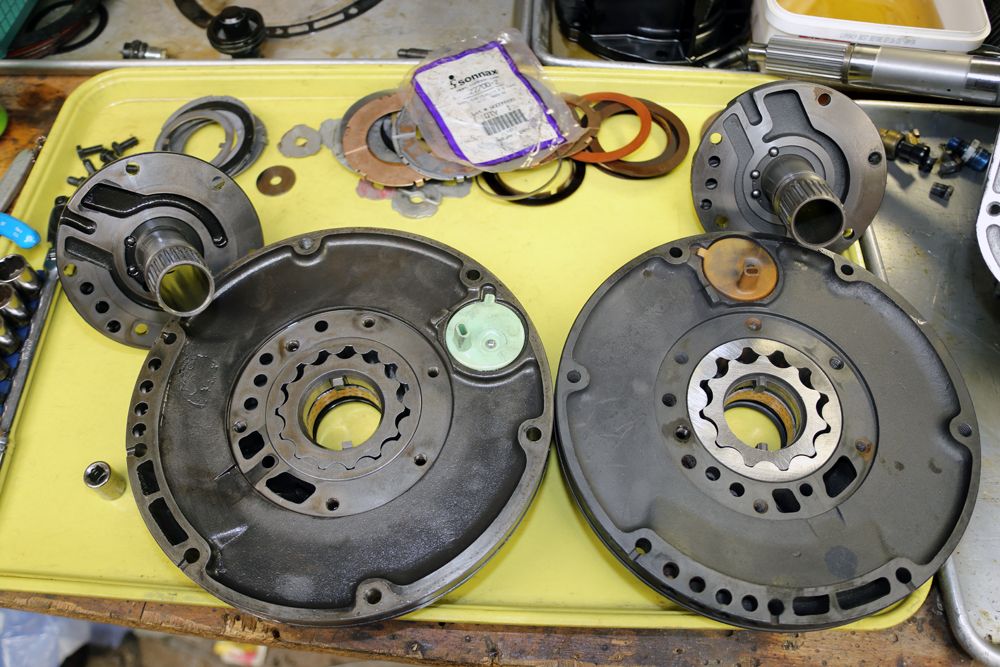
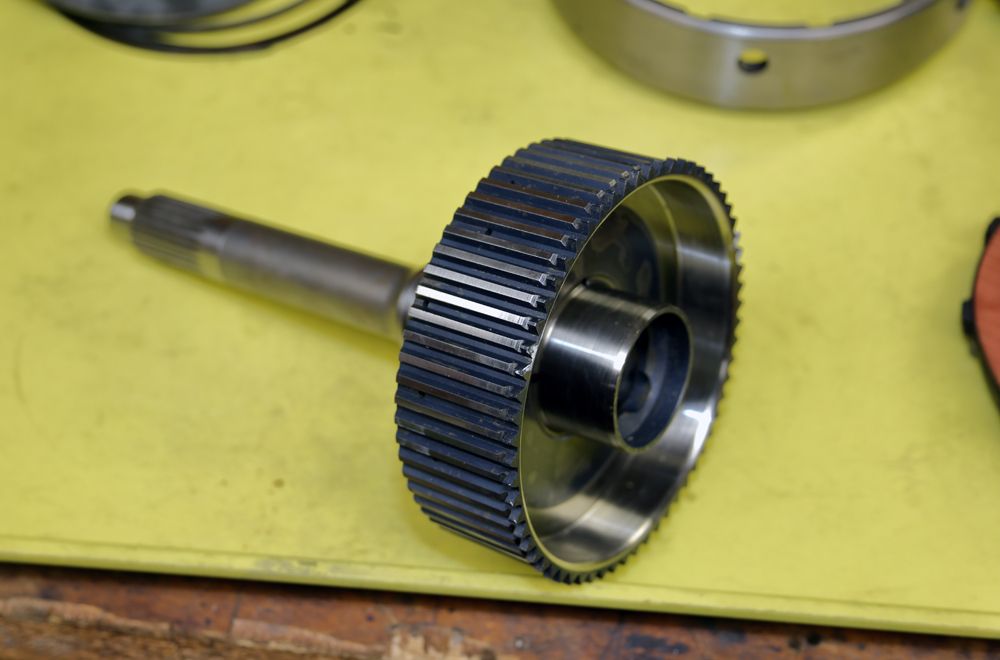
So, start with a clean 48RE billet/alloy input shaft.
Now, we want to install the rear clutch's apply-piston. I'm upgrading to one that's a little more ridged via more meat and reinforcing ribs. Further, where my OEM apply-piston is of the earlier design, it's 0.840" tall. This new apply-piston is of the late design in that it's 0.780" tall.
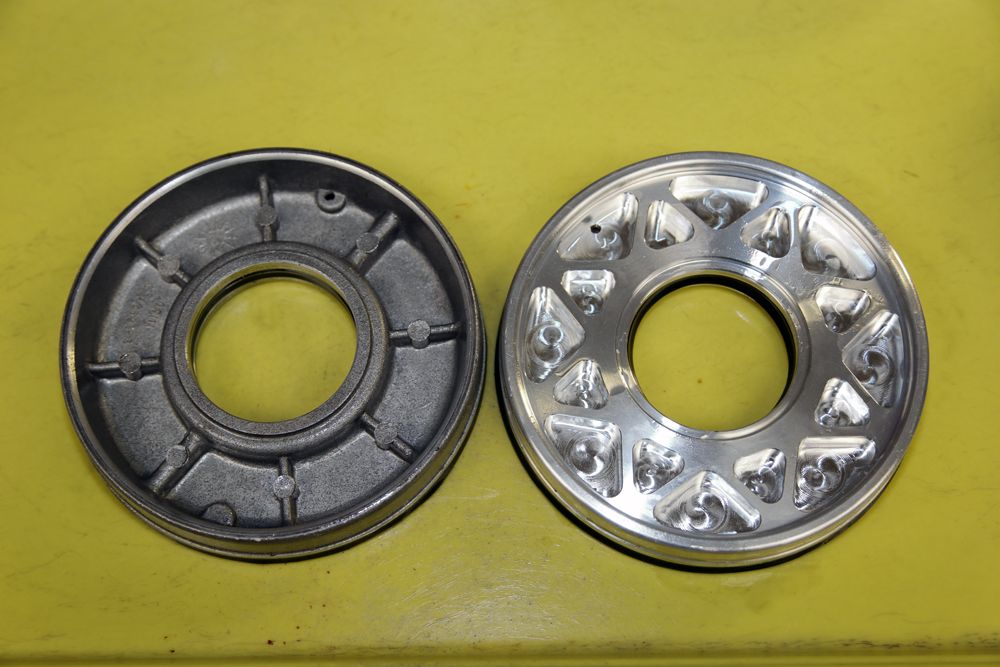
After lubricating all appropriate surfaces, install the apply-piston with a twisting motion so as to lessen the chance of the seal's lip from inverting.
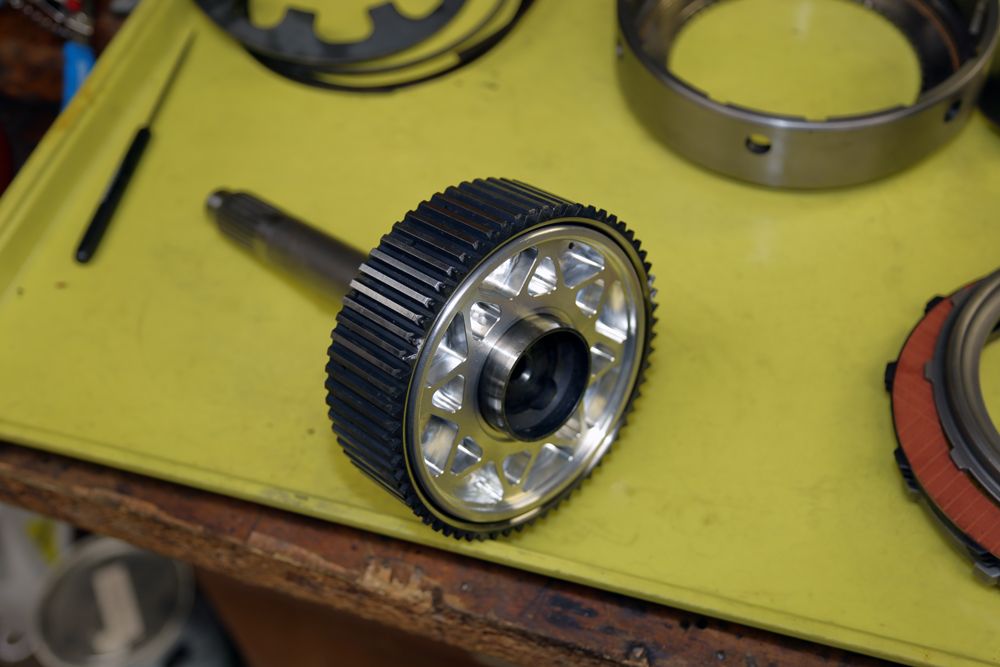
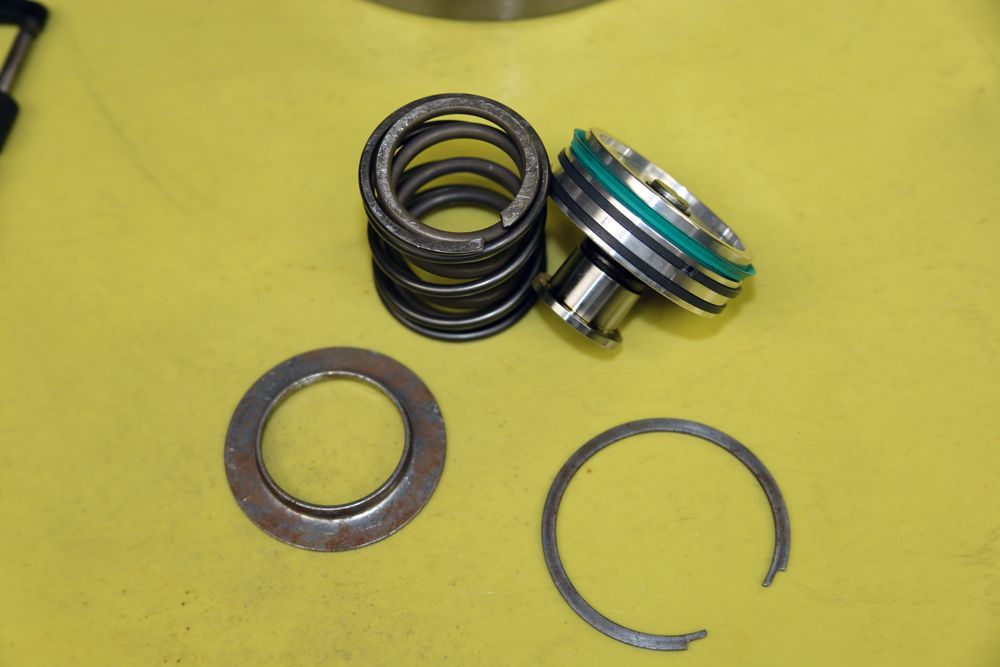
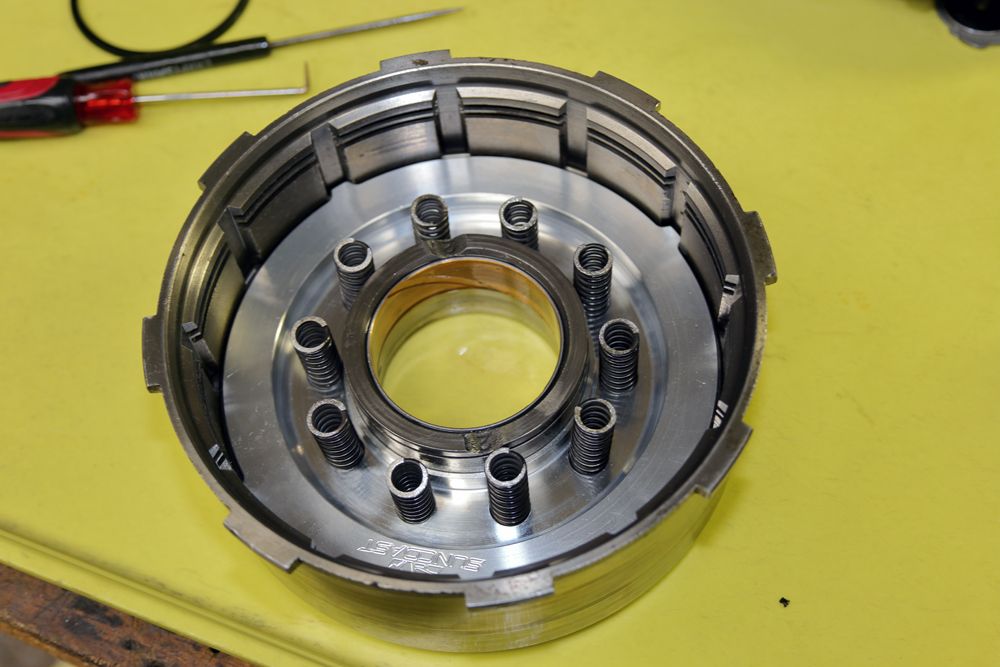
Next, we'll install the belleville-spring and it's associated hardware.
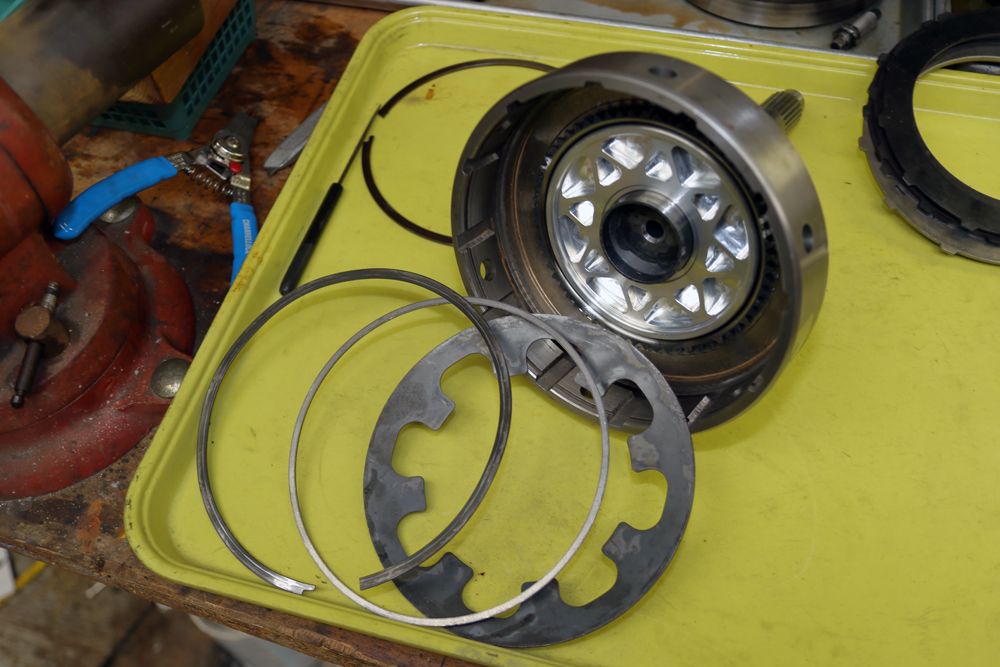
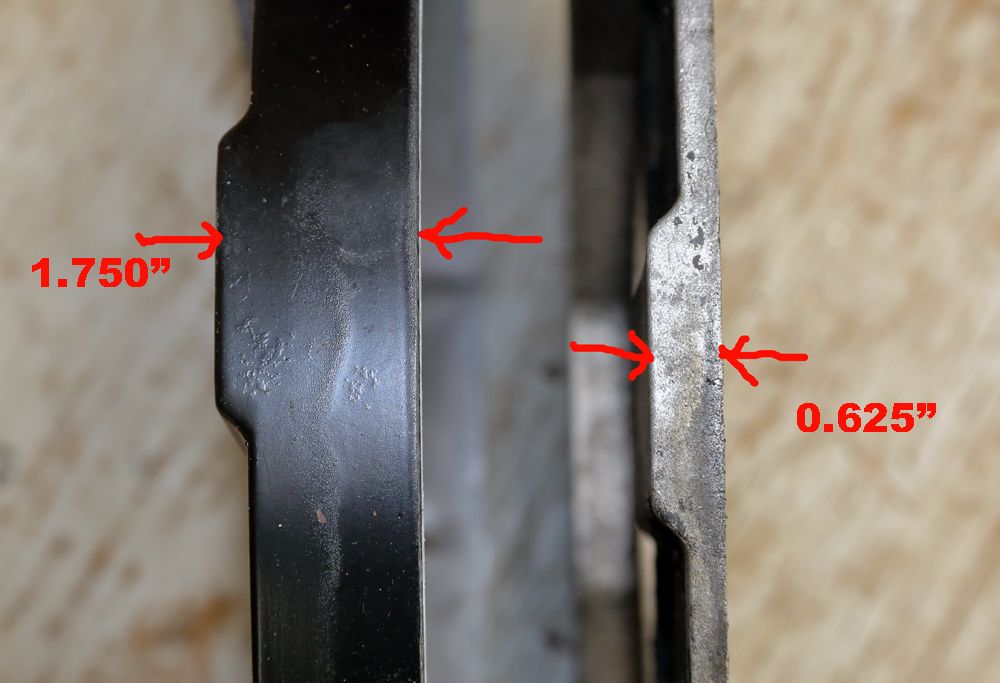
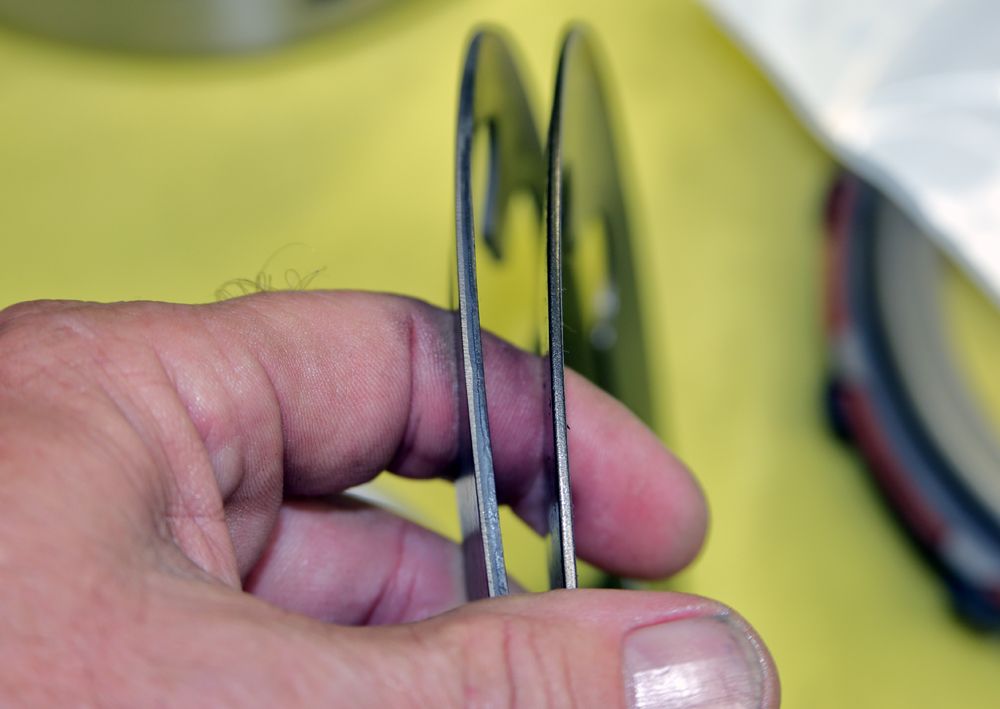
Here again, I'm upgrading the belleville-spring by going back to the earlier design. My OEM late design belleville-spring is notably thinner than the earlier design. It's my understanding that the thicker, earlier design hold up better to applications running higher operating pressures.
The hardware that holds the belleville-spring in place amounts to a steel spacer (my OEM spacer is plastic) and a thin wavy retaining ring. The wavy retaining ring allows some cushioning in addition to holding stuff in place.
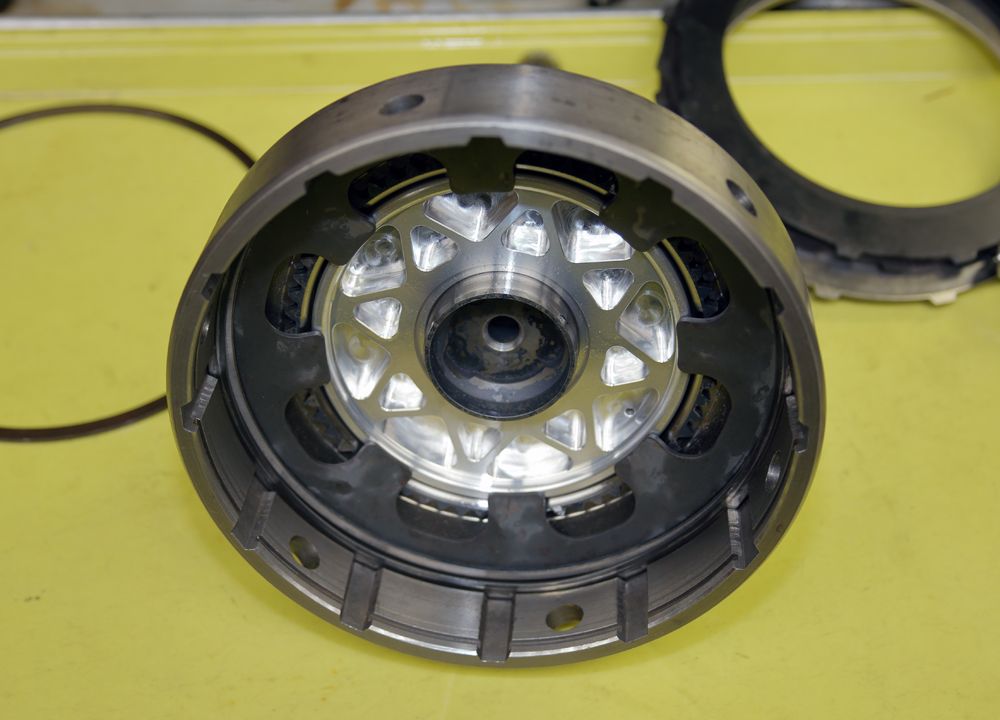
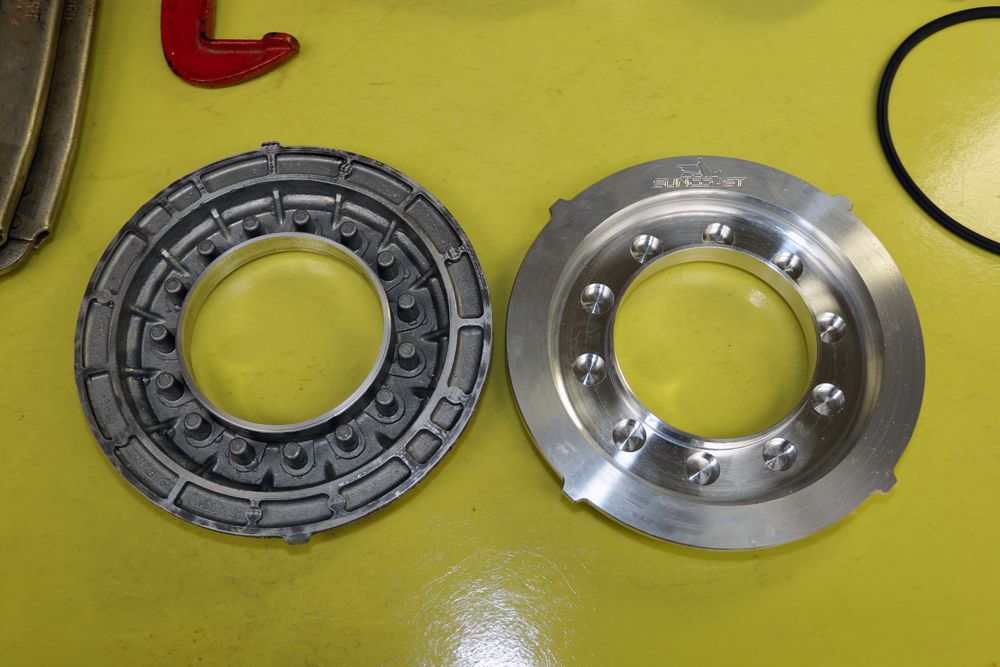
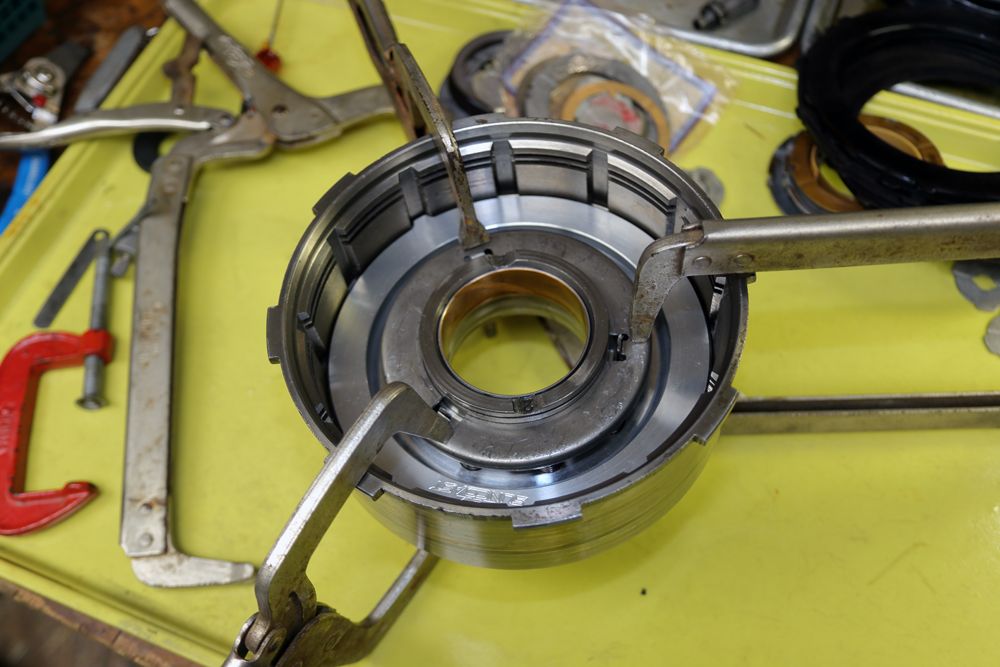
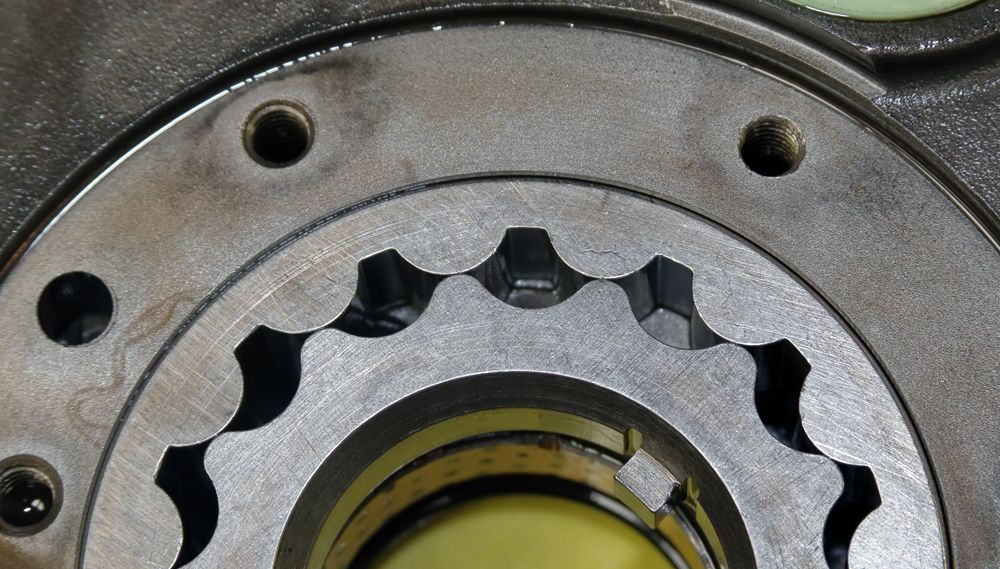
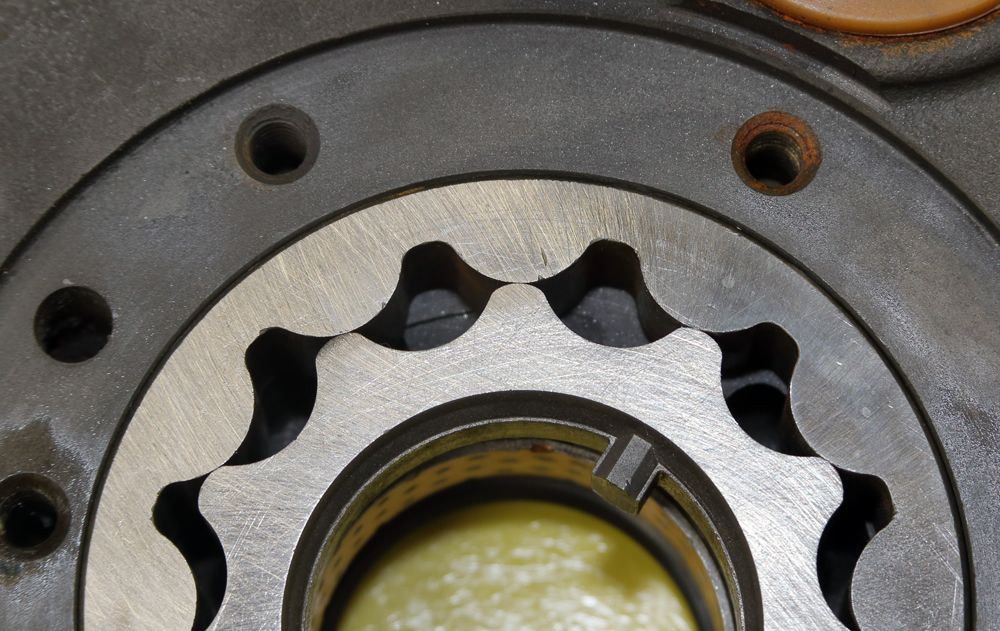
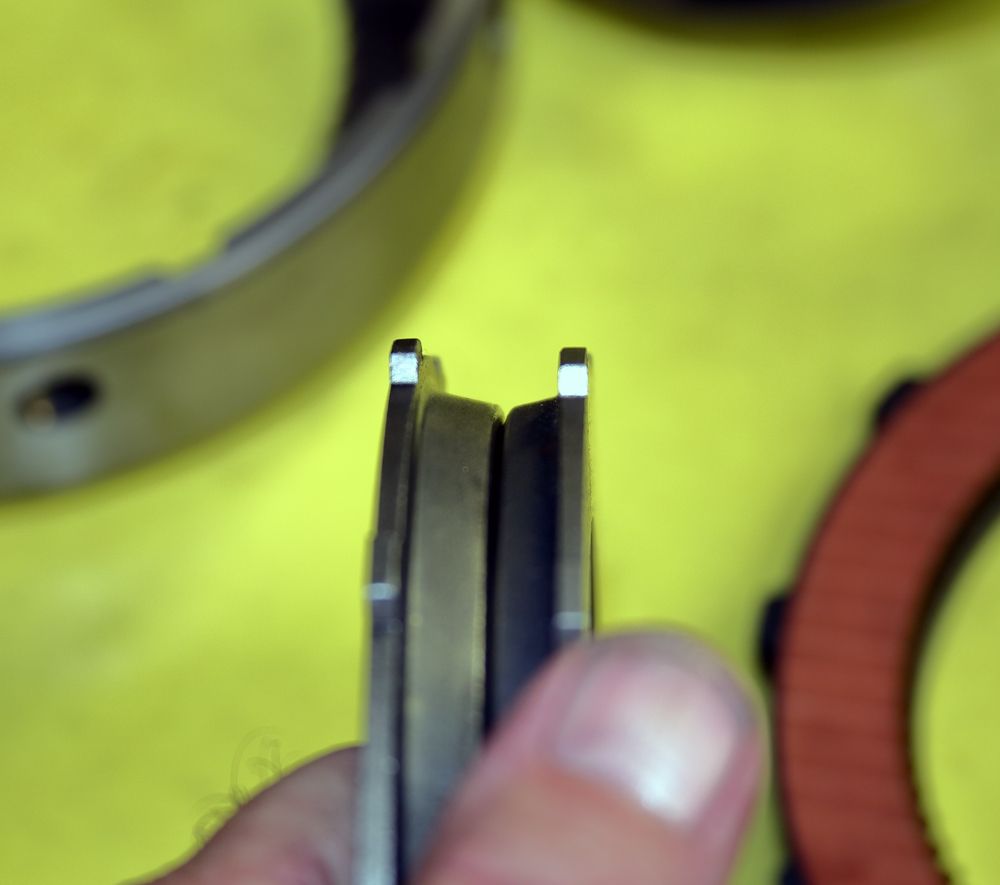
To start the clutch-pack install, we start with the clutch pressure-plate. Notice it's of a seemingly stepped design. That step is in the shape of a V. Wide at the base and thinner at the peak.
Here's the thing, think of the belleville-spring as a teeter-board on a common seesaw. That step in the clutch pressure-plate can be viewed as the pivot-point of the seesaw.
If we move that seesaw's pivot-point a little more toward the outer diameter of the clutch retainer, we've created a very basic lever.
The apply-piston presses on the long end of the seesaw's teeter-board. The short end of the teeter-board rests in a groove, locked in place. As such the piston's movement is multiplied and translated to the clutch-pack's pressure-plate.

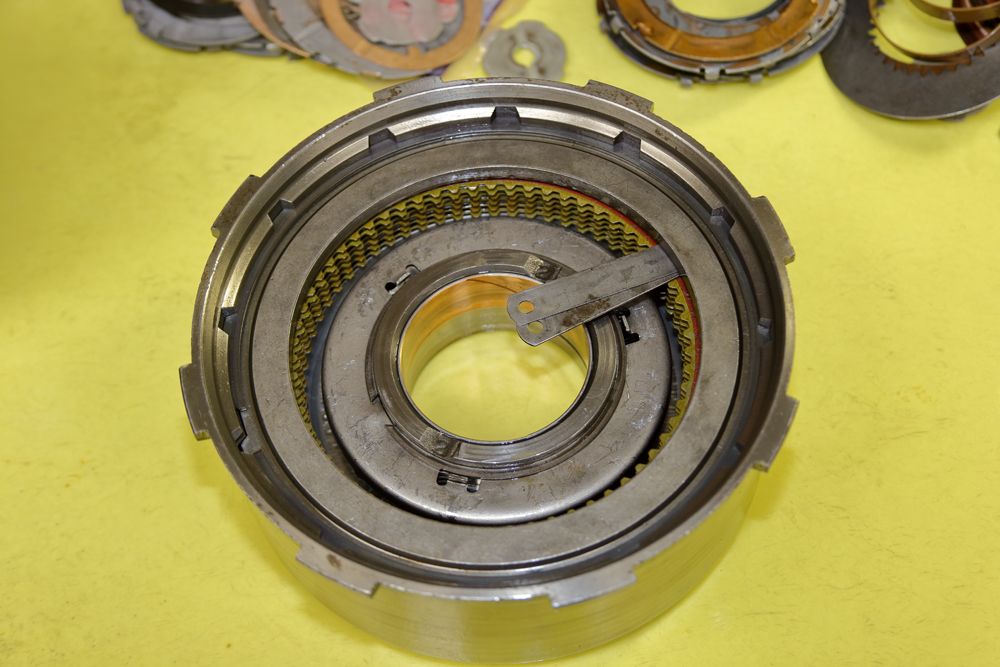
We can finally start on the actual rear clutch disc / steel disc stack itself. After soaking the clutch discs in trans fluid, we start with a clutch disc up against the pressure-plate. Then we alternate with a steel disc. Back and forth till we've got four clutch discs stacked in front of the pressure-plate.
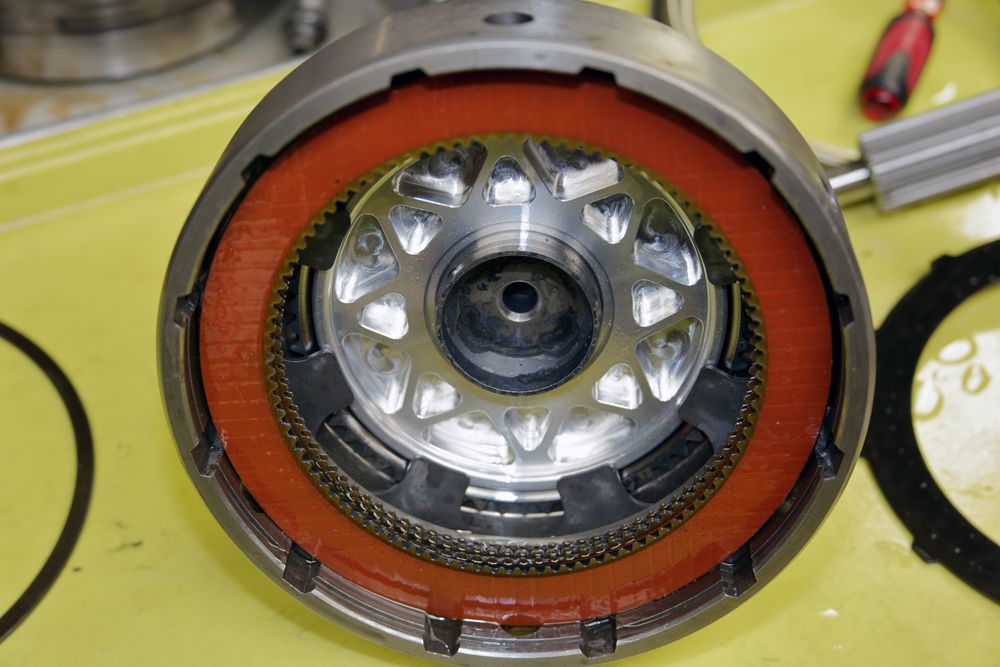
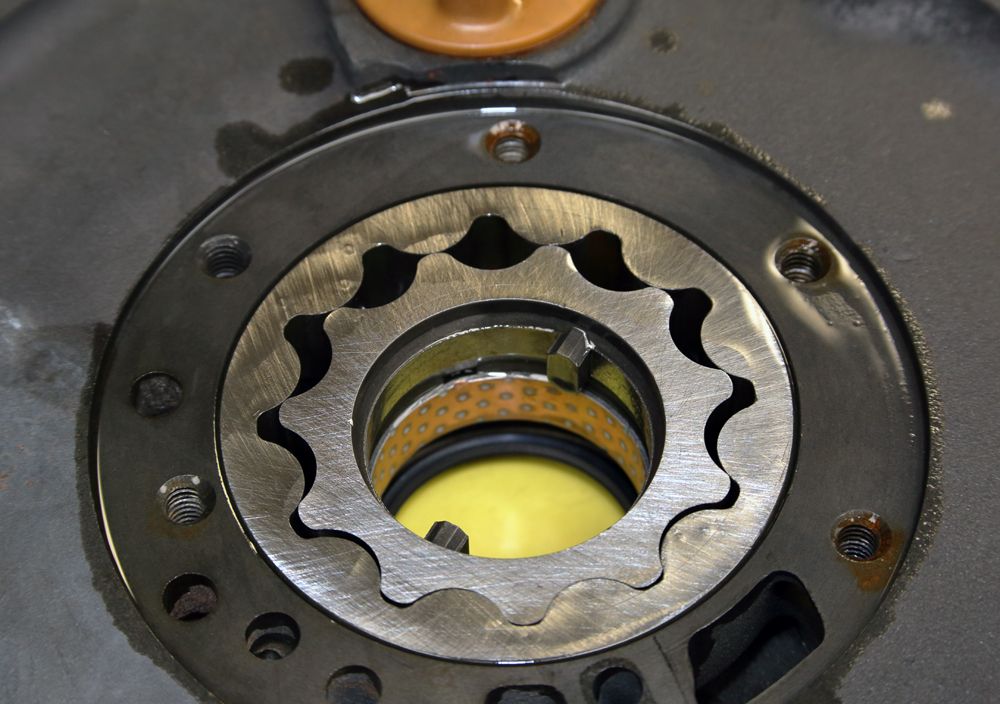
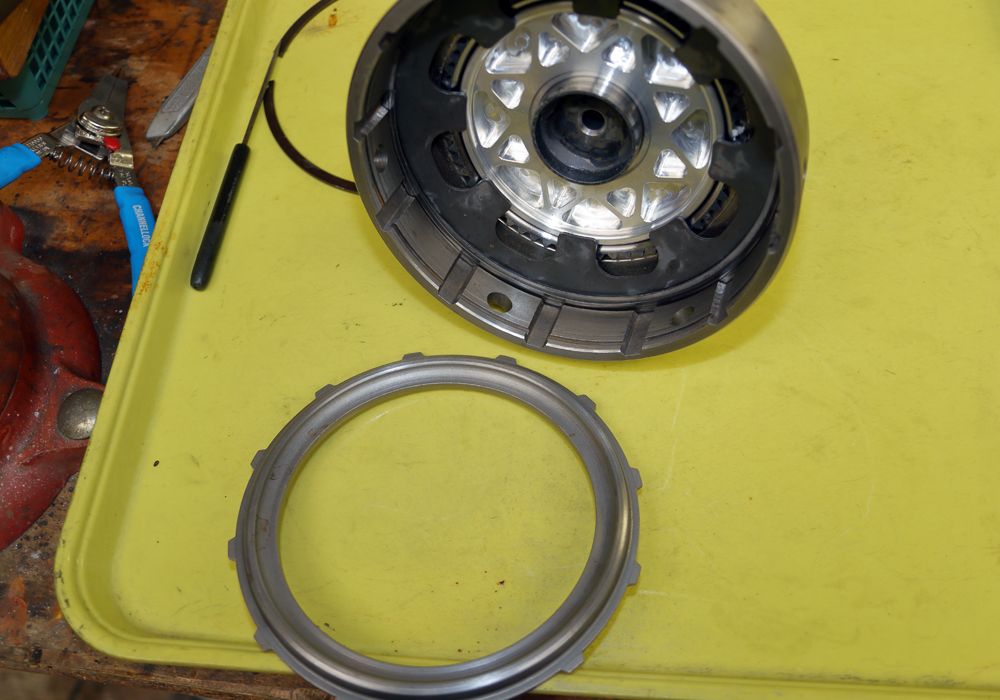
Now, install the reaction-plate and lock it all in with a flat retainer ring.
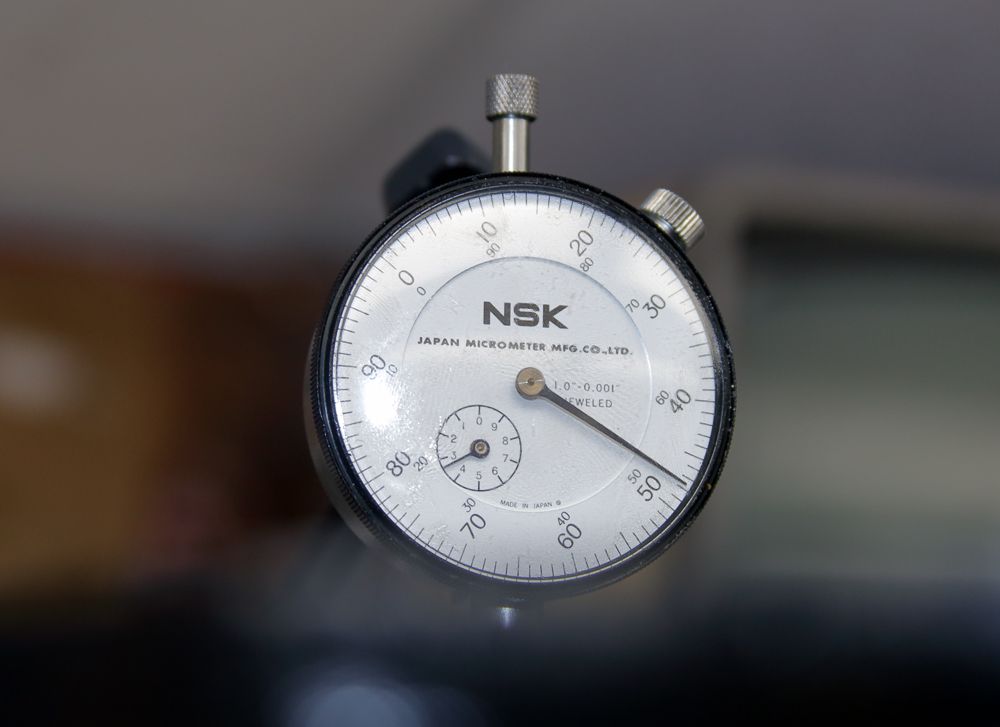
To complete the clutch assembly, we need to dial in the clearance in the clutch stack. Such can be done a number of ways to accomplish the goal even though a given application may use a different count of clutch discs and steels. There are different clutch disc and steel disc thicknesses to select from. There are varying thickness reaction-plates available. I even have a modified pressure-plate that's 0.050" shorter than my OEM one.
To use the clutch discs that came with my build-kit, I had to move/swap some of the components around. To start with, I prefer to run the thickest pressure and reaction plates possible so as to reduce the chance of the plates flexing and allowing inconsistent apply pressure on the clutch/steels.
The clutch retainer can be had in a number of styles that basically set it up for a specific count of clutch discs. Naturally, my OEM 46RH clutch retainer can't, by design, hold the clutch/steel count I'm after.
I've got a decent selection of different thickness reaction-plates as well as a pretty good selection of retaining rings to work with, so . . .
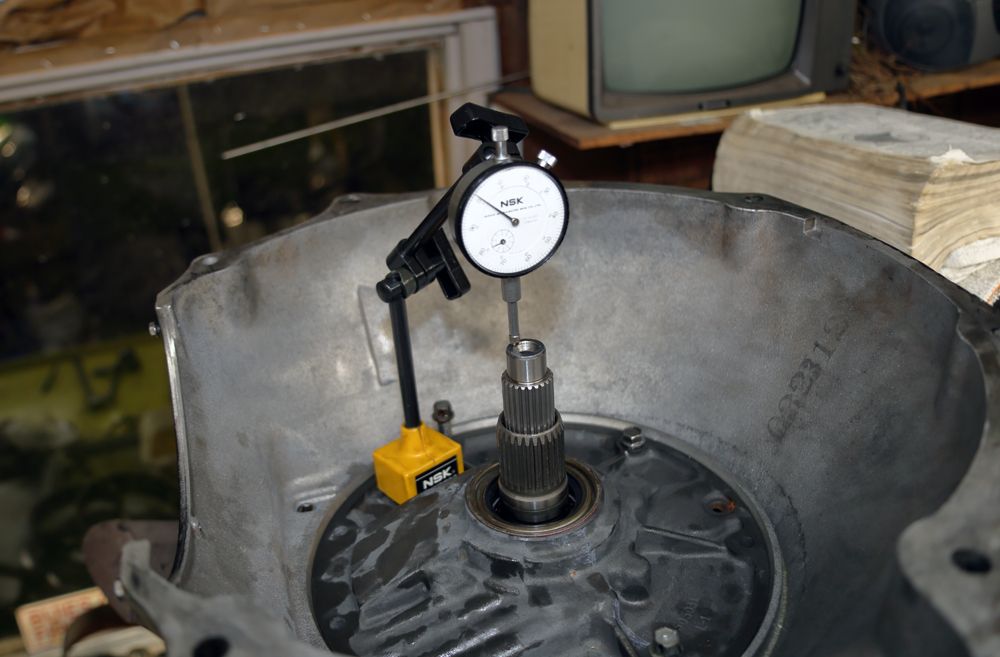
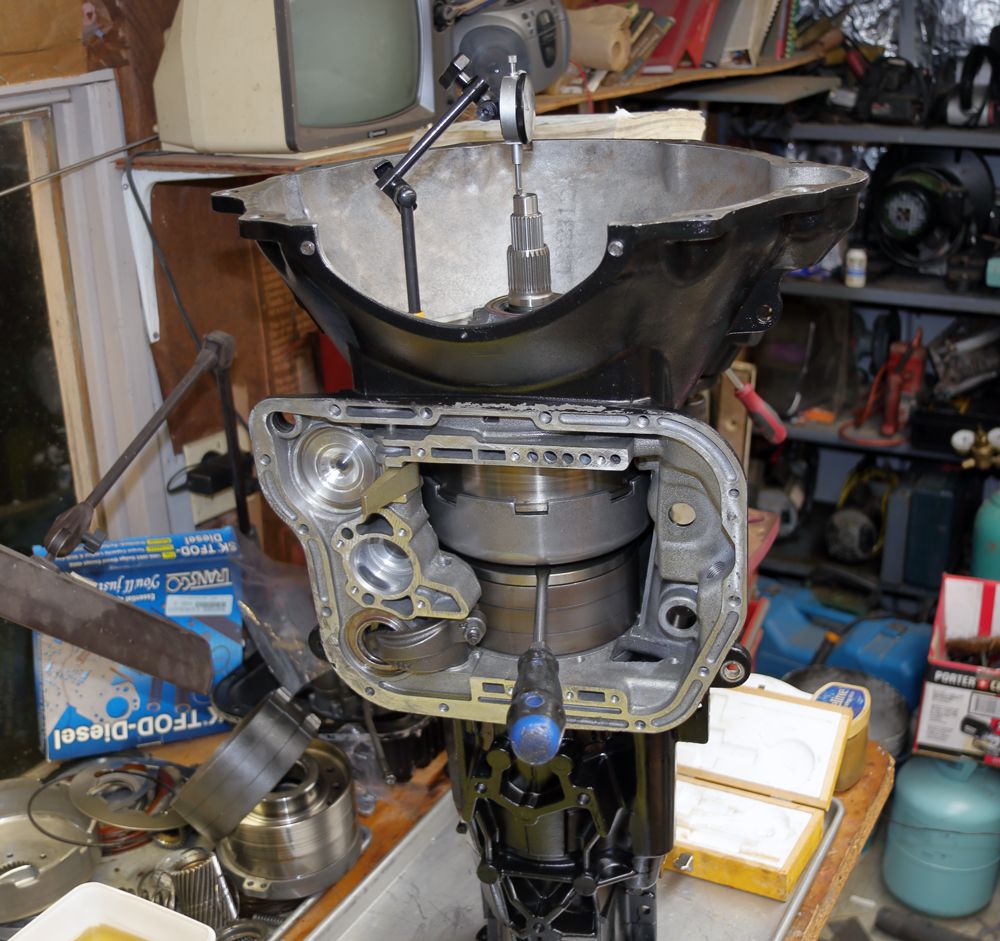
I selected/moved stuff till I got the rear (forward) clutch-pack set with a clearance of 0.025". (The 48RE spec is 0.025 ~ 0.045". This particular application of the thicker belleville-spring is looking for 0.020 ~ 0.036"). Getting too tight can result in the forward clutch dragging when released, while in reverse gear. As the forward clutch is engaged when going forward, it gets little wear compared to the other clutches of the transmission.

That's it for tonight. Monday will be on us shortly, if we're lucky.
So, start with a clean 48RE billet/alloy input shaft.
Now, we want to install the rear clutch's apply-piston. I'm upgrading to one that's a little more ridged via more meat and reinforcing ribs. Further, where my OEM apply-piston is of the earlier design, it's 0.840" tall. This new apply-piston is of the late design in that it's 0.780" tall.
After lubricating all appropriate surfaces, install the apply-piston with a twisting motion so as to lessen the chance of the seal's lip from inverting.
Next, we'll install the belleville-spring and it's associated hardware.
Here again, I'm upgrading the belleville-spring by going back to the earlier design. My OEM late design belleville-spring is notably thinner than the earlier design. It's my understanding that the thicker, earlier design hold up better to applications running higher operating pressures.
The hardware that holds the belleville-spring in place amounts to a steel spacer (my OEM spacer is plastic) and a thin wavy retaining ring. The wavy retaining ring allows some cushioning in addition to holding stuff in place.
To start the clutch-pack install, we start with the clutch pressure-plate. Notice it's of a seemingly stepped design. That step is in the shape of a V. Wide at the base and thinner at the peak.
Here's the thing, think of the belleville-spring as a teeter-board on a common seesaw. That step in the clutch pressure-plate can be viewed as the pivot-point of the seesaw.
If we move that seesaw's pivot-point a little more toward the outer diameter of the clutch retainer, we've created a very basic lever.
The apply-piston presses on the long end of the seesaw's teeter-board. The short end of the teeter-board rests in a groove, locked in place. As such the piston's movement is multiplied and translated to the clutch-pack's pressure-plate.
We can finally start on the actual rear clutch disc / steel disc stack itself. After soaking the clutch discs in trans fluid, we start with a clutch disc up against the pressure-plate. Then we alternate with a steel disc. Back and forth till we've got four clutch discs stacked in front of the pressure-plate.
Now, install the reaction-plate and lock it all in with a flat retainer ring.
To complete the clutch assembly, we need to dial in the clearance in the clutch stack. Such can be done a number of ways to accomplish the goal even though a given application may use a different count of clutch discs and steels. There are different clutch disc and steel disc thicknesses to select from. There are varying thickness reaction-plates available. I even have a modified pressure-plate that's 0.050" shorter than my OEM one.
To use the clutch discs that came with my build-kit, I had to move/swap some of the components around. To start with, I prefer to run the thickest pressure and reaction plates possible so as to reduce the chance of the plates flexing and allowing inconsistent apply pressure on the clutch/steels.
The clutch retainer can be had in a number of styles that basically set it up for a specific count of clutch discs. Naturally, my OEM 46RH clutch retainer can't, by design, hold the clutch/steel count I'm after.
I've got a decent selection of different thickness reaction-plates as well as a pretty good selection of retaining rings to work with, so . . .
I selected/moved stuff till I got the rear (forward) clutch-pack set with a clearance of 0.025". (The 48RE spec is 0.025 ~ 0.045". This particular application of the thicker belleville-spring is looking for 0.020 ~ 0.036"). Getting too tight can result in the forward clutch dragging when released, while in reverse gear. As the forward clutch is engaged when going forward, it gets little wear compared to the other clutches of the transmission.
That's it for tonight. Monday will be on us shortly, if we're lucky.
David
1993 12mm VE Fueled W250 CC, Green
12.67 @ 103.35
Your basic farm truck ;)
1993 12mm VE Fueled W250 CC, Green
12.67 @ 103.35
Your basic farm truck ;)
- BC847
- Administrator
- Posts: 2203
- Joined: Wed Jan 03, 2007 5:22 pm