Expandit 4" Exhaust and HX40 Style Downpipe Install

How to make it go fast

Moderators: Greenleaf, KTA, BC847, Richie O

Expandit 4" Exhaust and HX40 Style Downpipe Install

Postby RSWORDS » Sat Mar 21, 2009 3:06 pm

Got to work on the truck some more today and I got the Exhaust on and turbo mounted... I went with the Expandit exhaust because even though it has a 3.5" Down pipe I need my HX40 Style 2nd gen Downpipe for my silver bullet turbo. So I ordered teh expandit minus the Downpipe and got it shipped to my door for under $300... You cant beat that! This fit and went together just as easy as the stans headers 4" system we put on a buddies truck. I had the whole project done in about 3 hours. Go_overit helped clearence the fire wall for the down pipe but I hung all the rest my self with the help of a floor jack. VERY nice quality exhaust!!!

Image


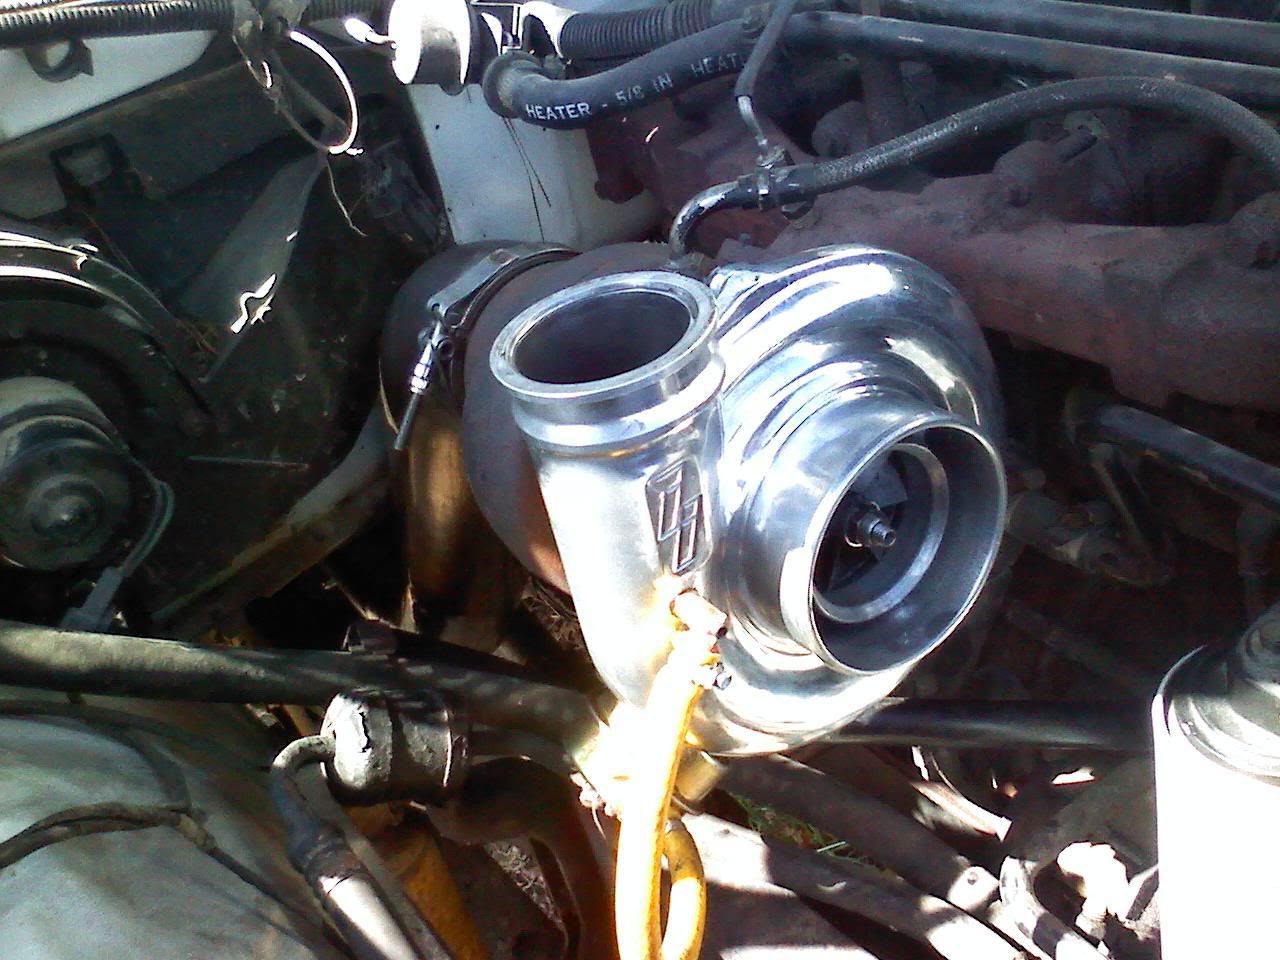
Had to clearance the fire wall a little with the sledge hammer for the 2nd gen 4" HX40 style down pipe to fit

Image

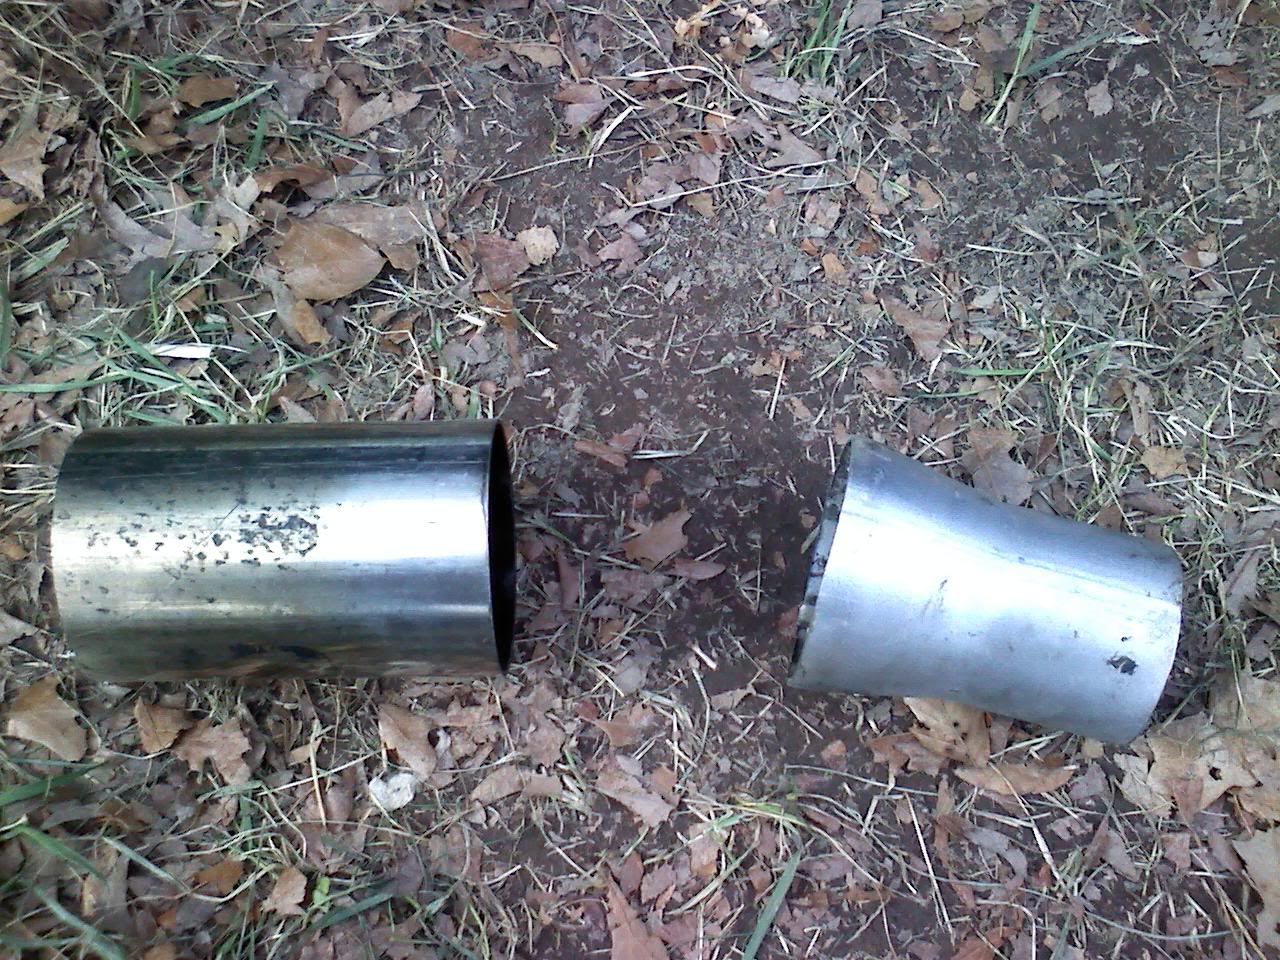
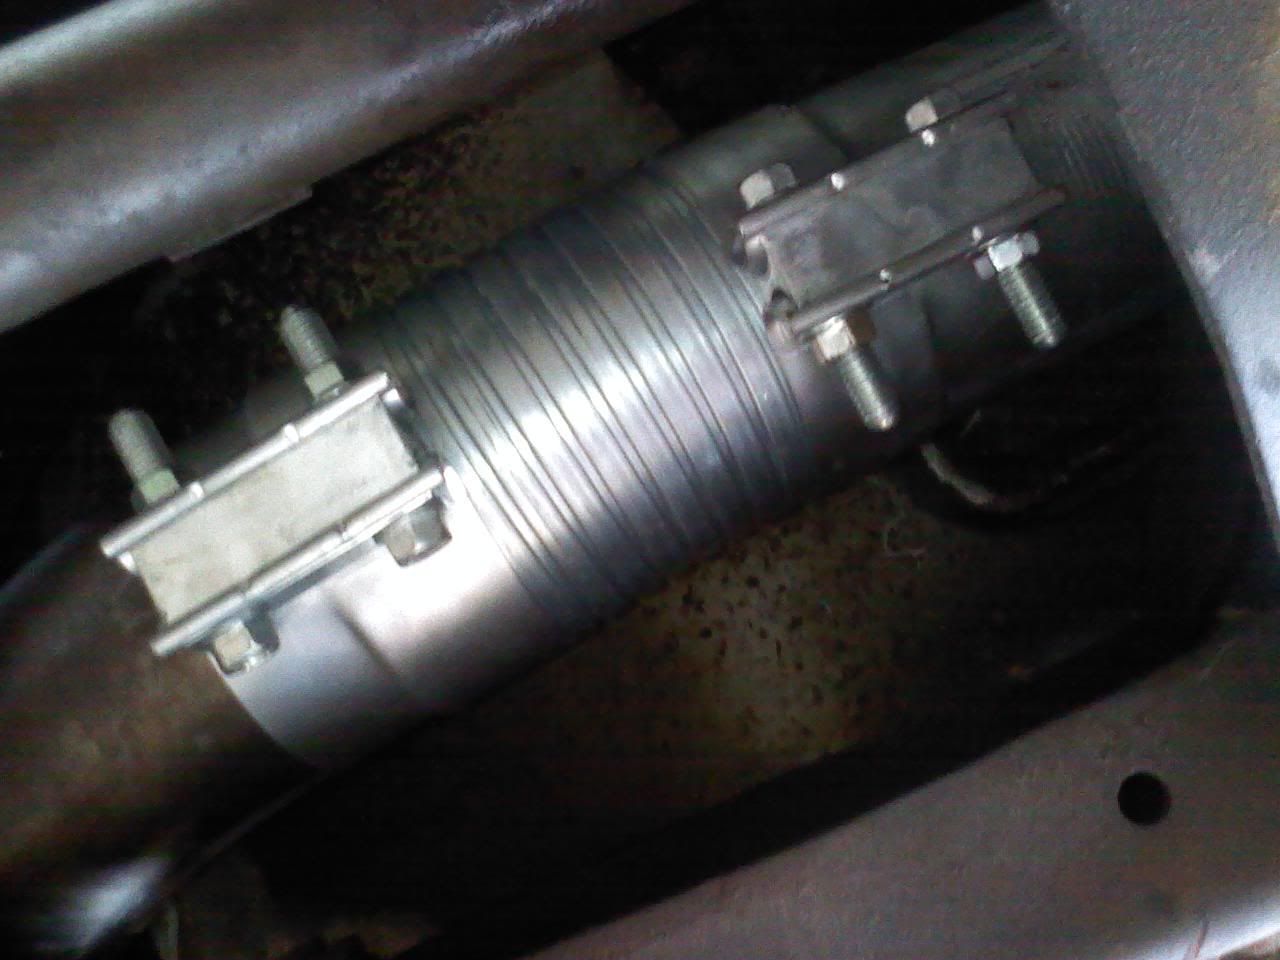
The expandit exhaust I got from Diesel Dawgs has a 3-1/2" Down pipe. Since I used the 4" 2nd gen I cut off the adapter as well as a short piece of the down pipe and joined them with a short piece of flex pipe.

Image
Image

Then it was just a matter of putting the pieces together. The kit went together VERY easy. It fits PERFECT!!!

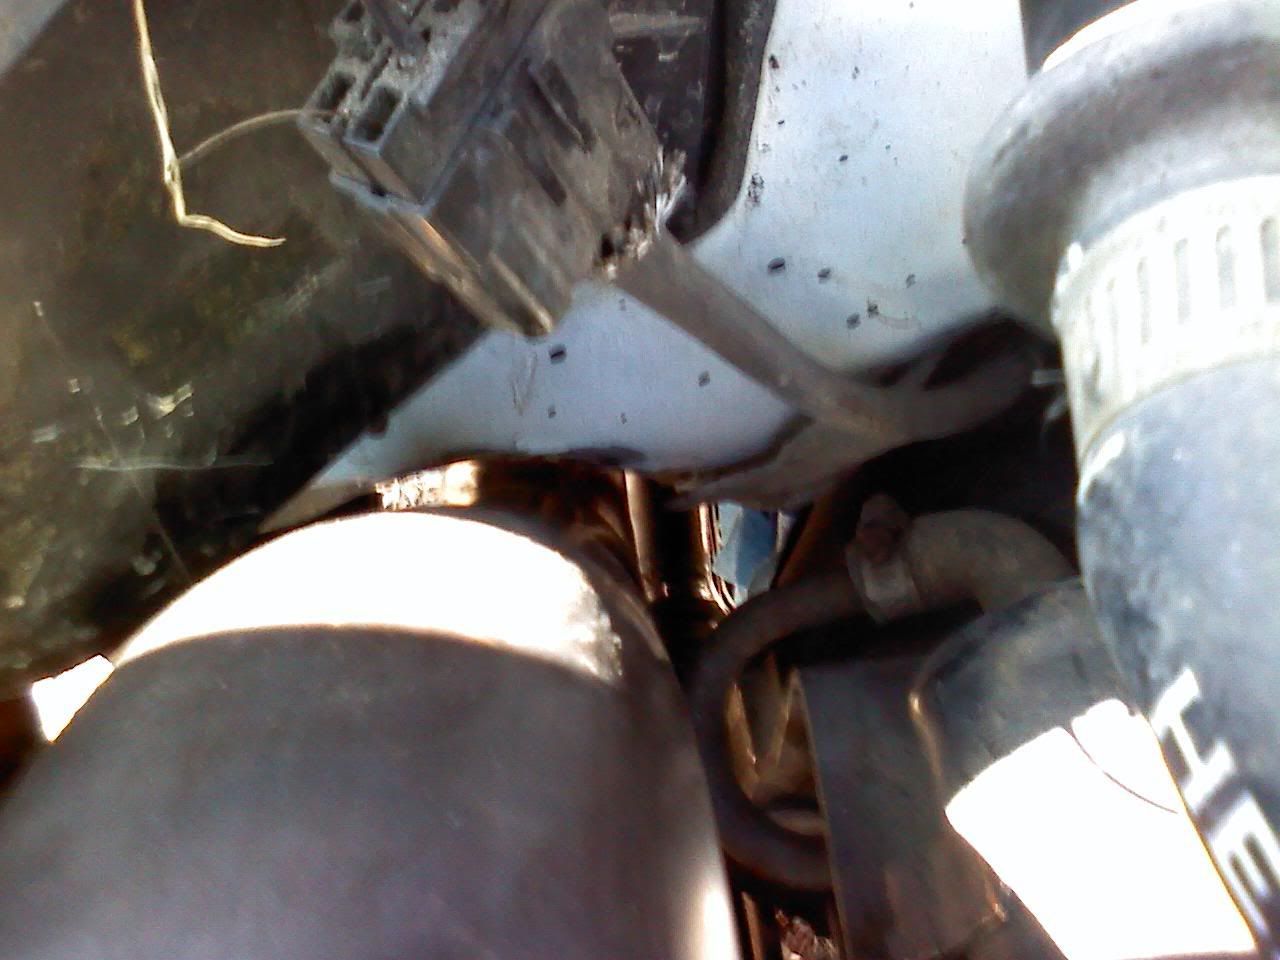
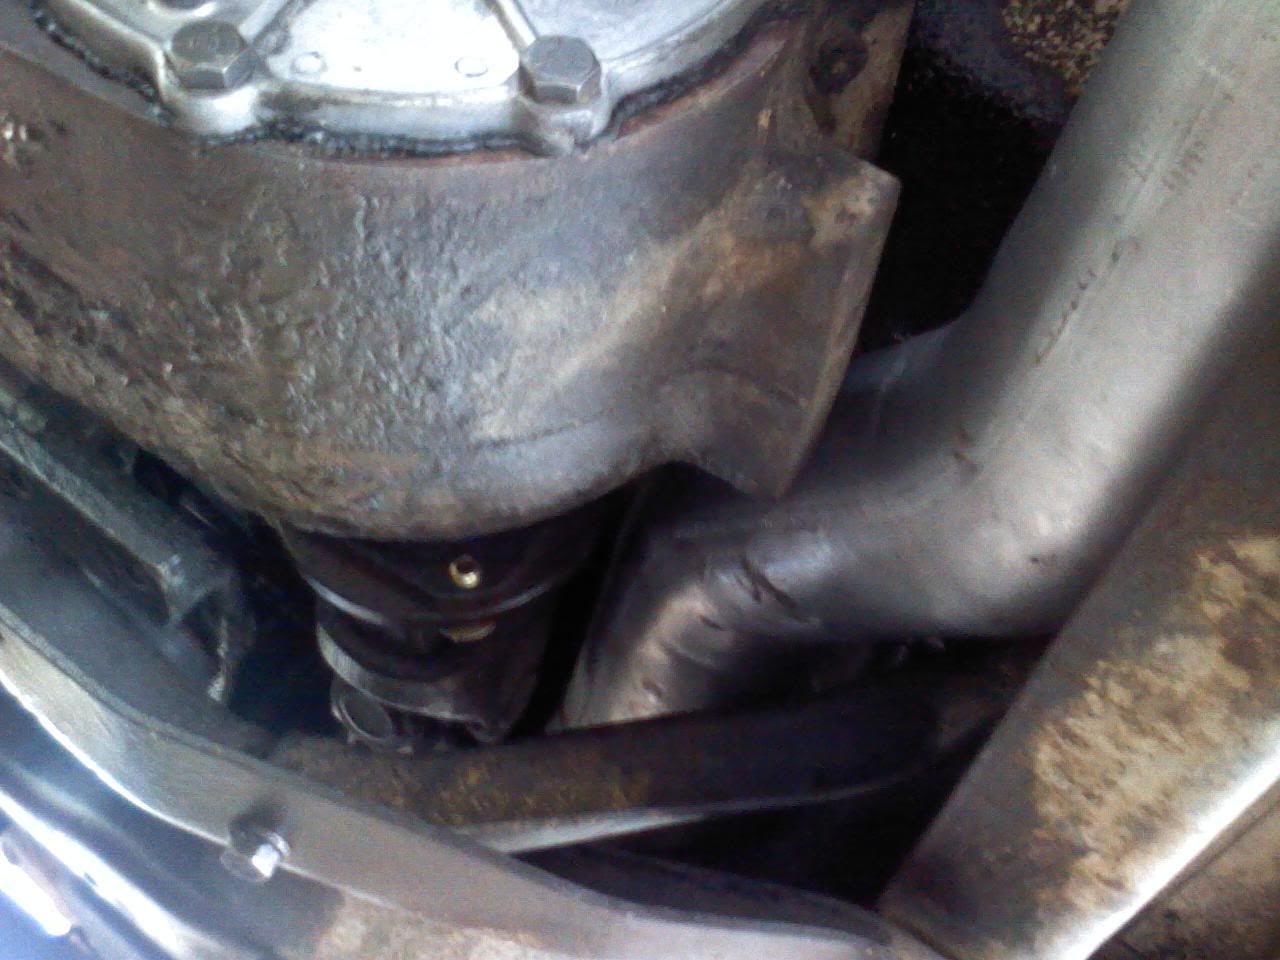
Here is the 4" pipe going past the Transfer Case
Image

I used band clamps (you can see them in the flex pipe pics) instead of the U-Bolt clamps that come with it. this will make it easier to take apart in the future. I used the u-bolt clamps that came with it for the hangers.

Image

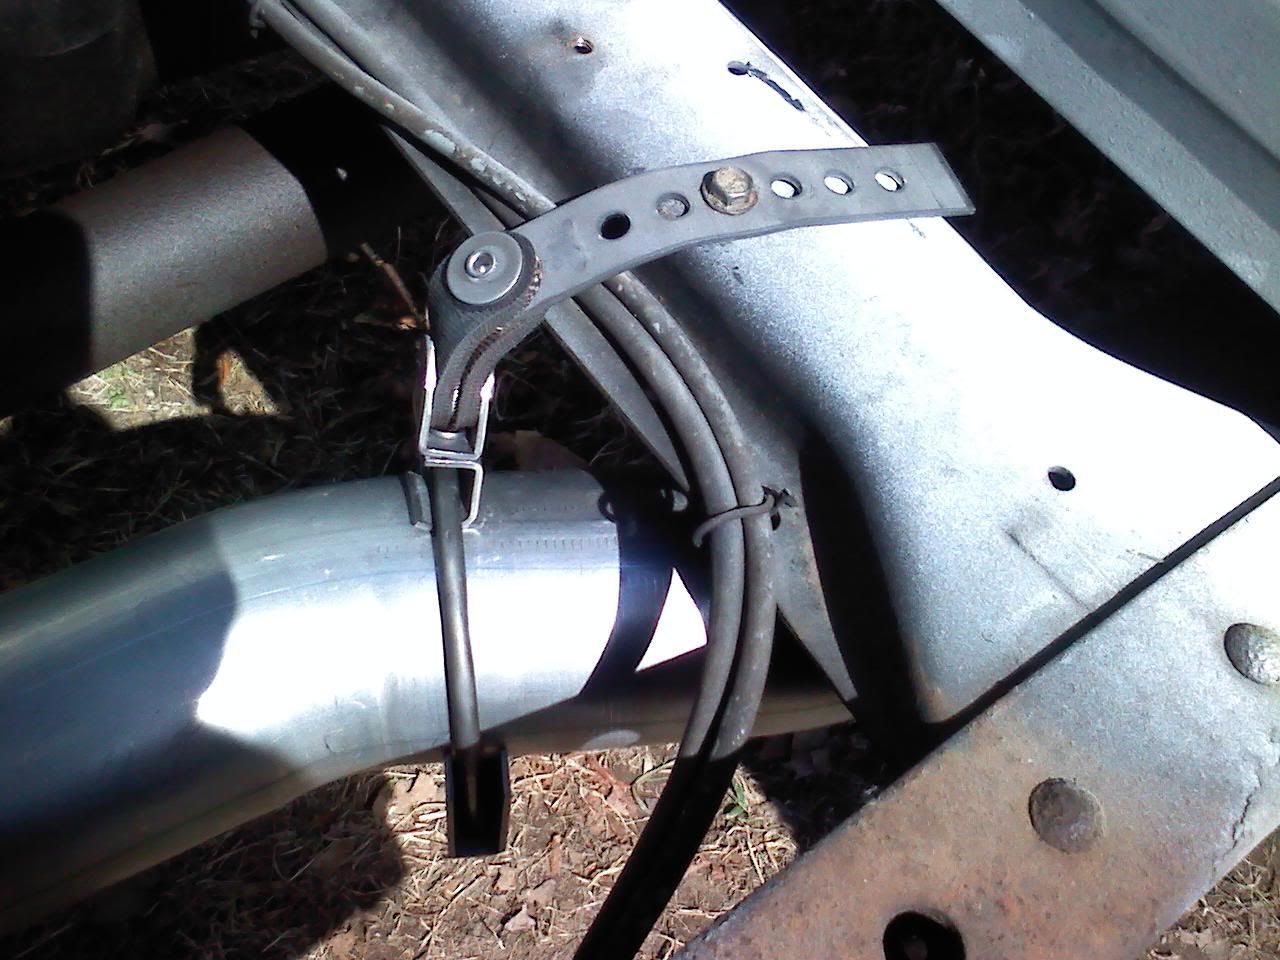
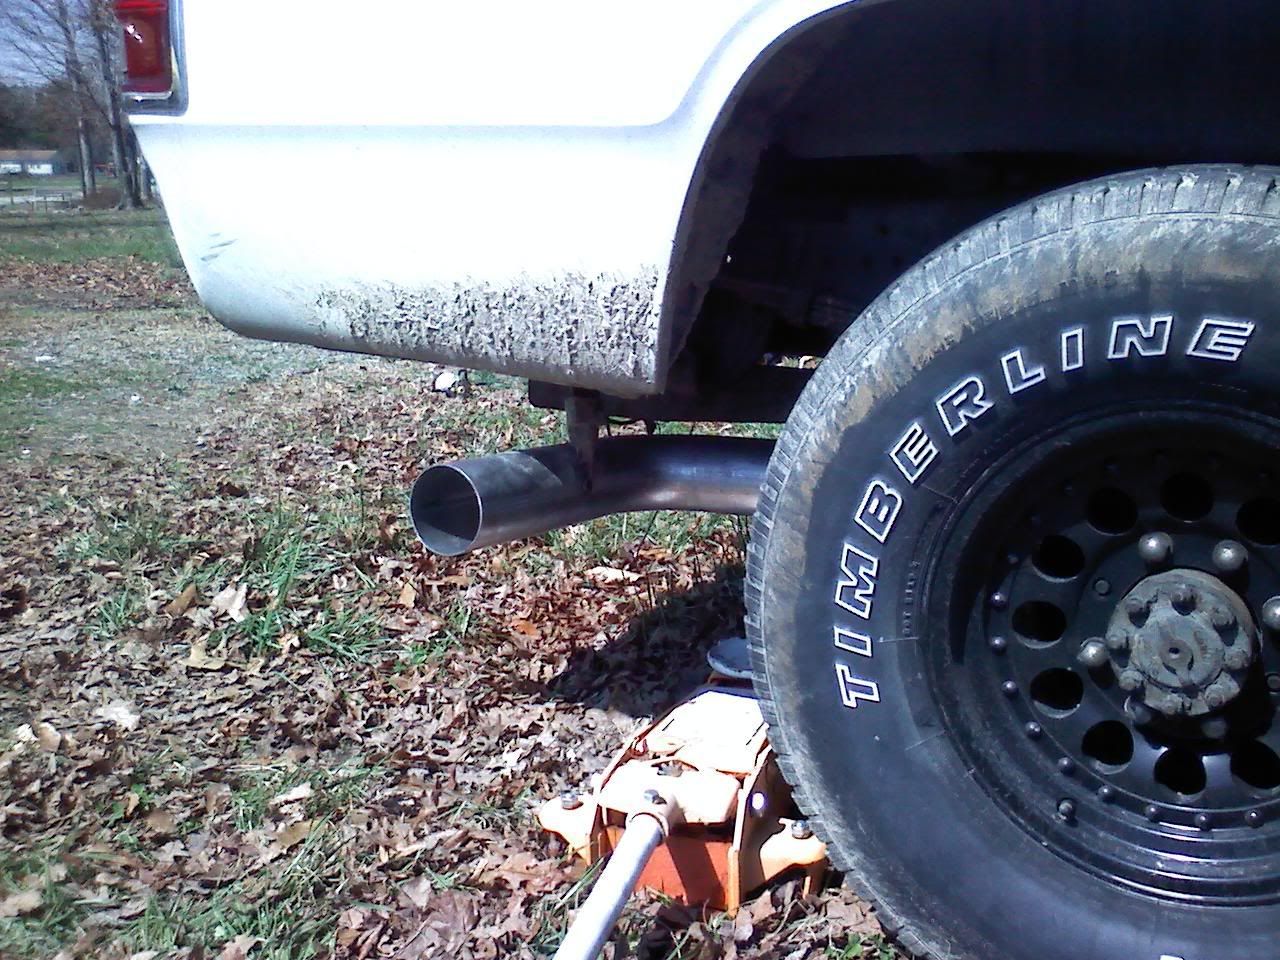
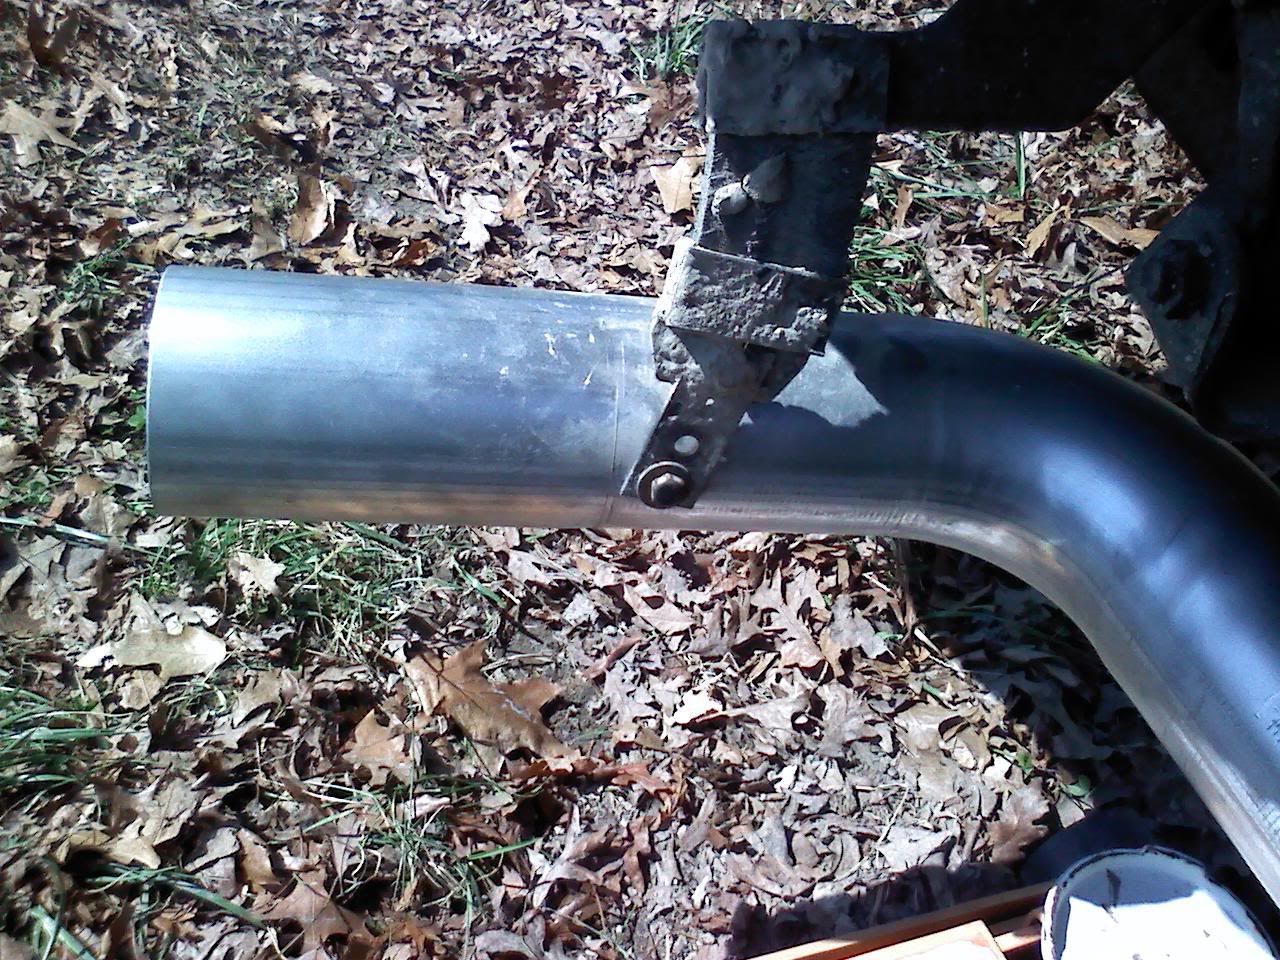
I used the stock hanger for the tail pipe. I just drilled a hole in the pipe and put the bolt through.

Image

Again... VERY smooth install!

I would HIGHLY recommend this system to anyone who wants a better exhaust for there truck! Even If you have a stock turbo I would still get this kit. I really feel the 3.5" Downpipe wont hold you back anymore then the stock turbo will. Then when you buy your s300 or HX40 turbo they usually come with a 4" downpipe or you can do like me a get a used one for under $100.

Image
Image
User avatar
RSWORDS
14mm rotor
 
Posts: 820
Joined: Fri Feb 29, 2008 8:00 pm

Postby RSWORDS » Sat Mar 21, 2009 3:40 pm

Heres a link to were I got mine from.

http://dieseldawgs.com/index.php?osCsid ... 1255c09713
User avatar
RSWORDS
14mm rotor
 
Posts: 820
Joined: Fri Feb 29, 2008 8:00 pm

Postby MMiller » Tue Mar 24, 2009 4:54 am

I would put a clamp around the tail pipe for the rear hanger. I feel over time(not that much) the bolt through the pipe will crack the pipe or pull out.

Other then that, it looks good. My father and brother both have epandit kits on thier second gens and the excursion. Good stuff.

Michael
1993 W250, 3.55, NV5600 , Con O, bosch 185's, 4" exhaust, Super 40, pump tweaks, ground pin, Smokehouse air intake, Hamilton Cam,
1985 D350, Crew Cab, 92 cummins and a 518. 47rh to be built and installed along with 3.55 LS Dana 80
MMiller
fuel screw!!!!
 
Posts: 391
Joined: Mon Jan 08, 2007 6:26 am
Location: Lenox Ia
Top

Postby RSWORDS » Tue Mar 24, 2009 5:37 am

Its got some big ass washers on it. I though about a clamp but they look ugly. I plan I watching it and iff it looks like its gonna pull out I'll weld the mount to the pipe.
User avatar
RSWORDS
14mm rotor
 
Posts: 820
Joined: Fri Feb 29, 2008 8:00 pm
Top

Postby CAROLINA CUMMINS » Wed Mar 25, 2009 5:48 pm

I like how you used the 2nd gen downpipe, you can get those for a pretty good deal sometimes, how good does it fit at the bellhousing?
91 W250 5spd 3.54 SBC 13" ConFE BHAF 5"Mitres Di-Pricol EGT/Boost 16cm 366 Mag-Hytec Borgeson 285/75-16's 233/568 TiM '04 257,000mi
CAROLINA CUMMINS
fuel screw!!!!
 
Posts: 38
Joined: Sun Jan 07, 2007 10:46 am
Location: Lenoir, NC
Top

Postby RSWORDS » Wed Mar 25, 2009 6:33 pm

CAROLINA CUMMINS wrote:I like how you used the 2nd gen downpipe, you can get those for a pretty good deal sometimes, how good does it fit at the bellhousing?


Clears the bellhousing fine. The tranny dipsyick tube is in teh way though. I've heard that you can either bend it or use a 2nd gen one. I cut the ens off of mine and jaoind them with some 5/8" hose so its flexable and tucked it out the way.
User avatar
RSWORDS
14mm rotor
 
Posts: 820
Joined: Fri Feb 29, 2008 8:00 pm
Top

Postby CAROLINA CUMMINS » Wed Mar 25, 2009 6:52 pm

that's cool, mines a 5spd; so I won't have to worry about that!
91 W250 5spd 3.54 SBC 13" ConFE BHAF 5"Mitres Di-Pricol EGT/Boost 16cm 366 Mag-Hytec Borgeson 285/75-16's 233/568 TiM '04 257,000mi
CAROLINA CUMMINS
fuel screw!!!!
 
Posts: 38
Joined: Sun Jan 07, 2007 10:46 am
Location: Lenoir, NC
Top

Postby 89silverbullet » Thu Mar 26, 2009 11:36 pm

that exhaust looks great 8)
1989 d250 muffler delete diaphram turned, fuel screw turned, the lowes special intake
User avatar
89silverbullet
fuel screw!!!!
 
Posts: 130
Joined: Sat Apr 19, 2008 4:51 pm
Location: san antonio, TX
Top

Postby SNOOT » Fri Mar 27, 2009 3:01 pm

Just for your viewing pleasure this is one of stans downpipes @ $200-$250.00
It fits like a glove with lots of room all around the down pipe.

Image
1993 W350
User avatar
SNOOT
14mm rotor
 
Posts: 609
Joined: Tue Mar 11, 2008 8:05 pm
Location: Seattle, WA.
Top

Postby RSWORDS » Wed Apr 01, 2009 8:26 am

I like that stans pipe... I just could not see spending almost $700 when I have only $350 in this one... Half the price and I also am lucky enough that I have no problem taking a sledge hammer to my truck to make room for things. :D I have installed some Stans kits though and they are very nice also.
User avatar
RSWORDS
14mm rotor
 
Posts: 820
Joined: Fri Feb 29, 2008 8:00 pm
Top

Postby DoWhat? » Thu Jul 02, 2009 4:56 pm

I hate to resurrect a dead thread, but...

I just re-worked my Expandit exhaust yesterday. If you have access to a welder and grinder, you can do like me. I cut the tab off where the stock pipe bolts to the hanger and welded it to the new pipe. I didn't really like how low it hang (plus it contacted my 4" lift springs when I hit bumps) so I cut 2" out from the hanger where it bolts to the frame, effectively raising the exhaust about 2".

I know this is hard to follow, I have pics on my phone. If anyone is interested, I could send the pics to their email and maybe they could put them up here. In the end it made a real clean, factory looking install.
-91 W250 day cab 5 speed
strait pipe, monkey pump, big tires
-96 Ford F-250 PSD
strait pipe, big injectors, tunes
User avatar
DoWhat?
fuel screw!!!!
 
Posts: 62
Joined: Sun Jan 25, 2009 1:11 pm
Top

Postby RSWORDS » Thu Jul 02, 2009 5:01 pm

if you send a picture message to your e-mail address you can upload it.
Image
User avatar
RSWORDS
14mm rotor
 
Posts: 820
Joined: Fri Feb 29, 2008 8:00 pm
Top

Postby DoWhat? » Thu Jul 02, 2009 5:15 pm

Image

Image

Image

I think it made for a pretty clean install, and I like how it tucked the pipe up closer to the body. With basic welding skills and a jackstand, Joe First-Genner could have it done in half an hour. I painted the bracked weld with black rustoleum, then I hit the weld on the pipe with some cold galvanize compound. I don't know how the heat will affect it, but it should keep it from rusting where i ground the aluminized coating off.
-91 W250 day cab 5 speed
strait pipe, monkey pump, big tires
-96 Ford F-250 PSD
strait pipe, big injectors, tunes
User avatar
DoWhat?
fuel screw!!!!
 
Posts: 62
Joined: Sun Jan 25, 2009 1:11 pm
Top

Postby RSWORDS » Fri Jul 03, 2009 8:39 am

Looks Good! nice and clean, I like it!
Image
User avatar
RSWORDS
14mm rotor
 
Posts: 820
Joined: Fri Feb 29, 2008 8:00 pm
Top


Return to The good stuff

Who is online

Users browsing this forum: No registered users and 19 guests