Ok so now we're going back together
First thing for me is loctite on the front seal,better safe than sorry.
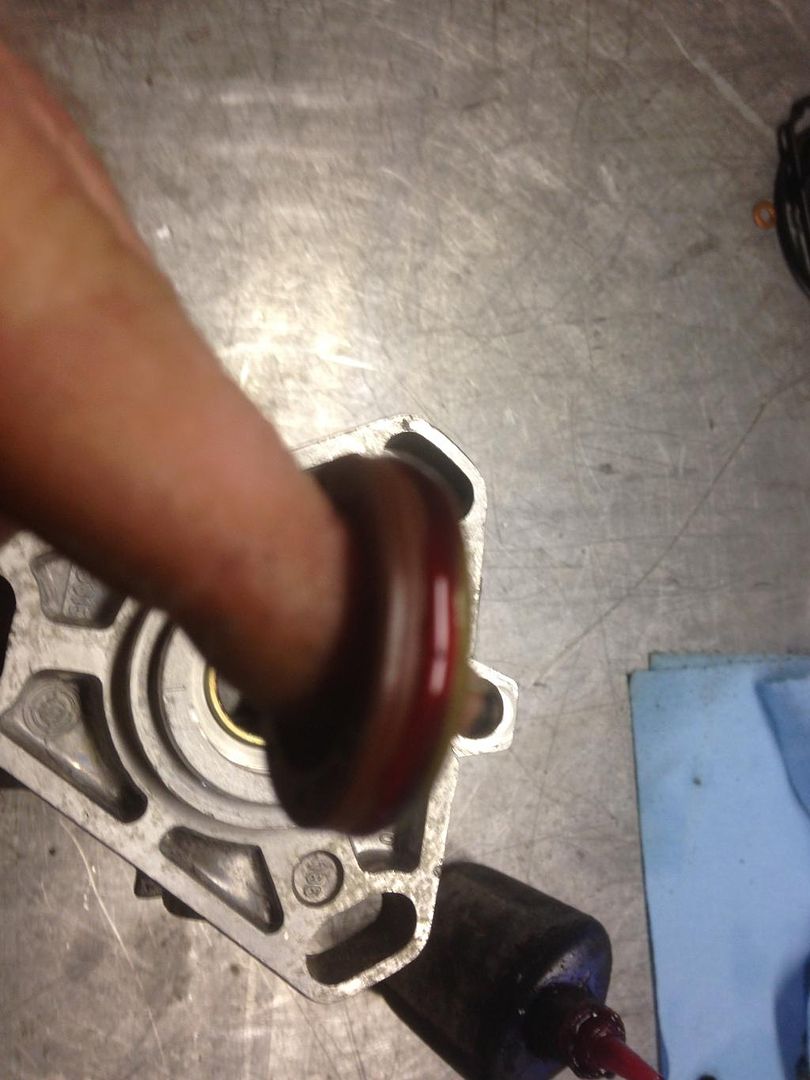
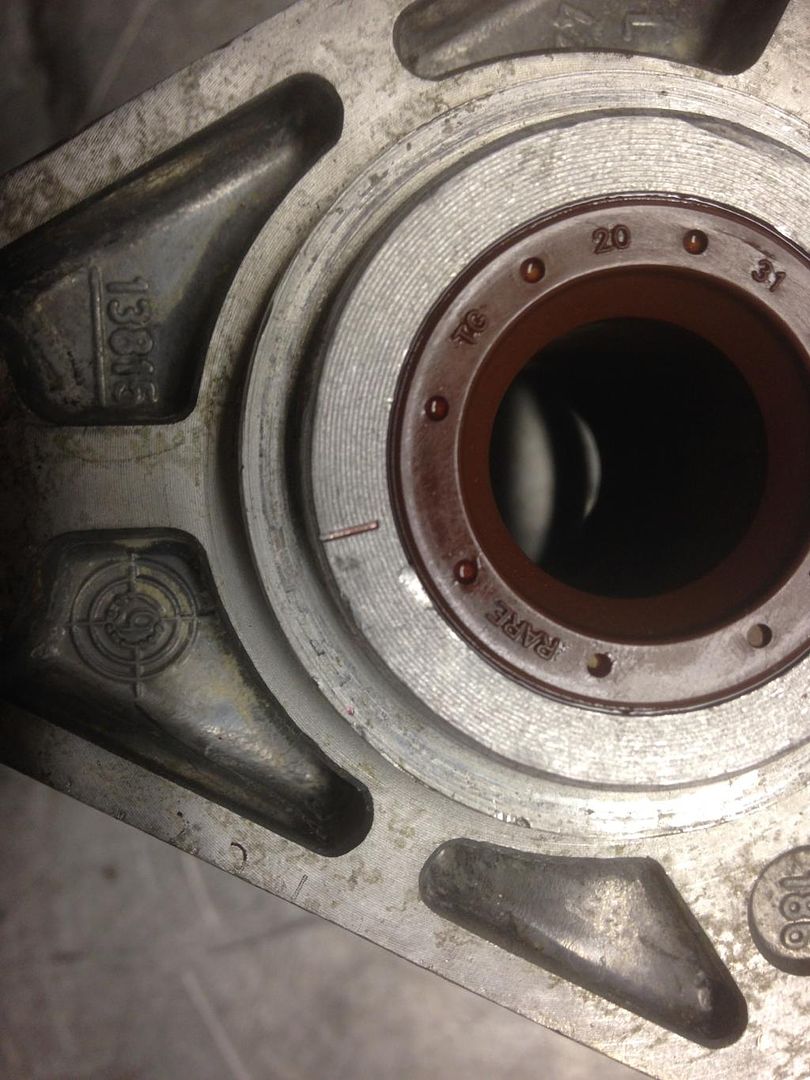
And installed with the excess wiped off. Notice the little mark on the seal land..? That's where the keyway in the pump shaft lines up,and magically it's on número uno.....I never new that until now.

After that I have bolted the pump case in my fwd trans fixture (yes homemade) and get the guts of the vain pump greased and ready to assemble,notice the divot in the pump paddle,it goes toward the center of the rotor.
I found out the hard way that ic and non ic pumps ( between the two I have) are different thicknesses....I'm actually using the vain pump from another pump in this one because the original was rusted in spots,well I tryed to use the paddles from the non ic pump in the ic pump outer ring and rotor. It locked up. Don't do that.

Once you get the vain pump situated it's time for the input shaft,shaft washer,and key. That keyway can be a pita to make stay....even greased. Take a center punch and put a pucker in the side of it to make it stay put.

In the hole,greased

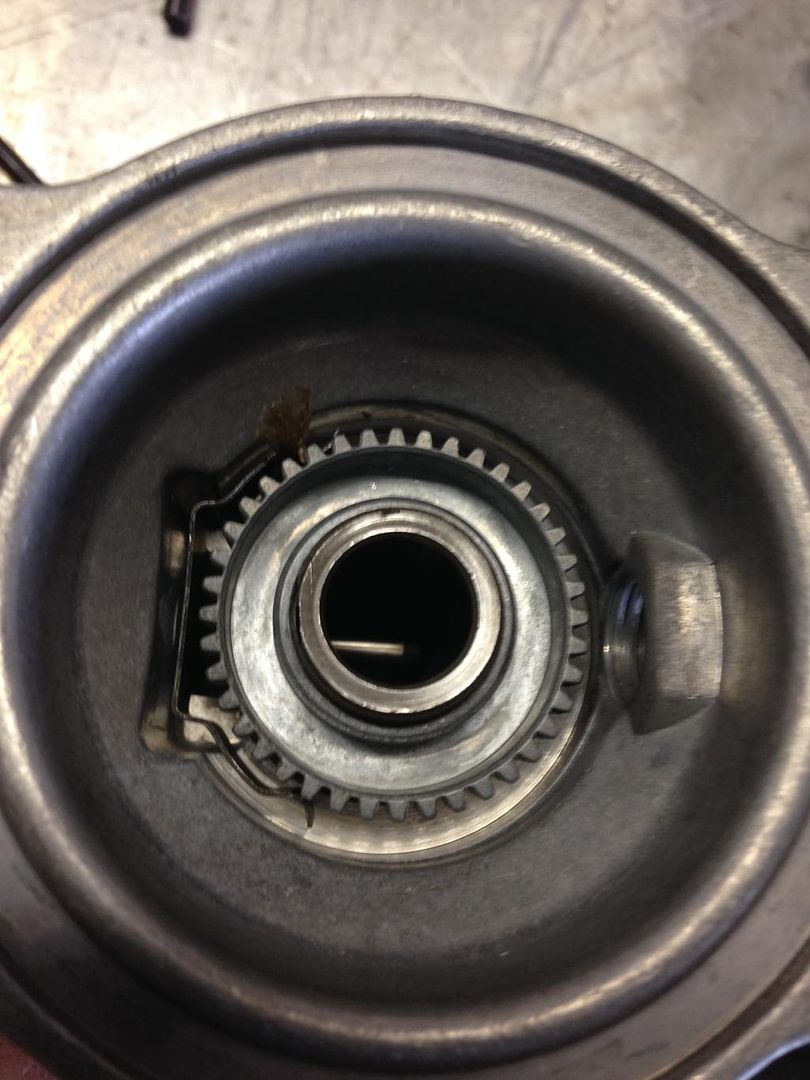
Next up the roller ring,big pin and small pin with keeper. You also need to have the timing piston in place.

Now for the rollers ,coupler and cam plate.

Notice the tab,dowel sticking up....line it up with the keyway in the pump shaft.
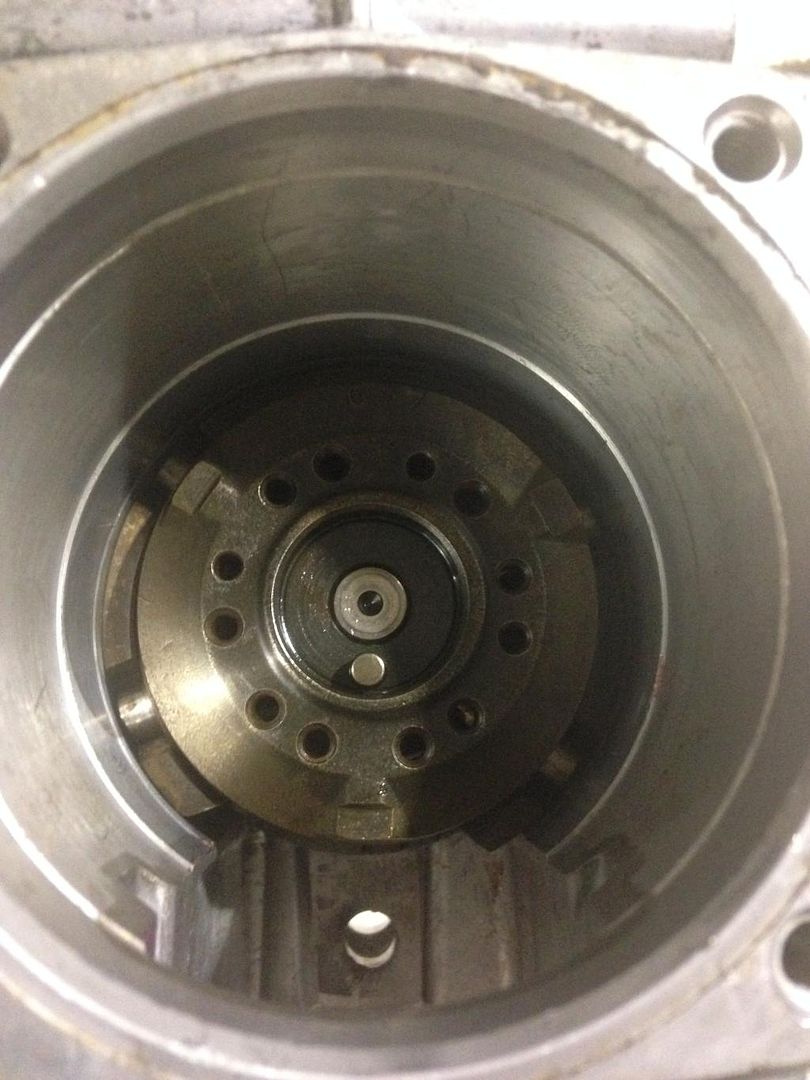
That tab indexes the rotor shaft,get it wrong and it's out of time. There's is some sort of thrust washer in between as well. I have it greased into the rotor shaft.
Now is the time to install the gov lever assembly and slide on the collar that's on the rotor shaft. Placing the pin on the lever inside the collars hole for it.

Now to the gov shaft and jam nut. I just put it back like I found it on disassembly. I don't have a clue why or how to adjust it or if you even need to worry over it.
No pic of the whole thing assembled,guess I didn't take it.
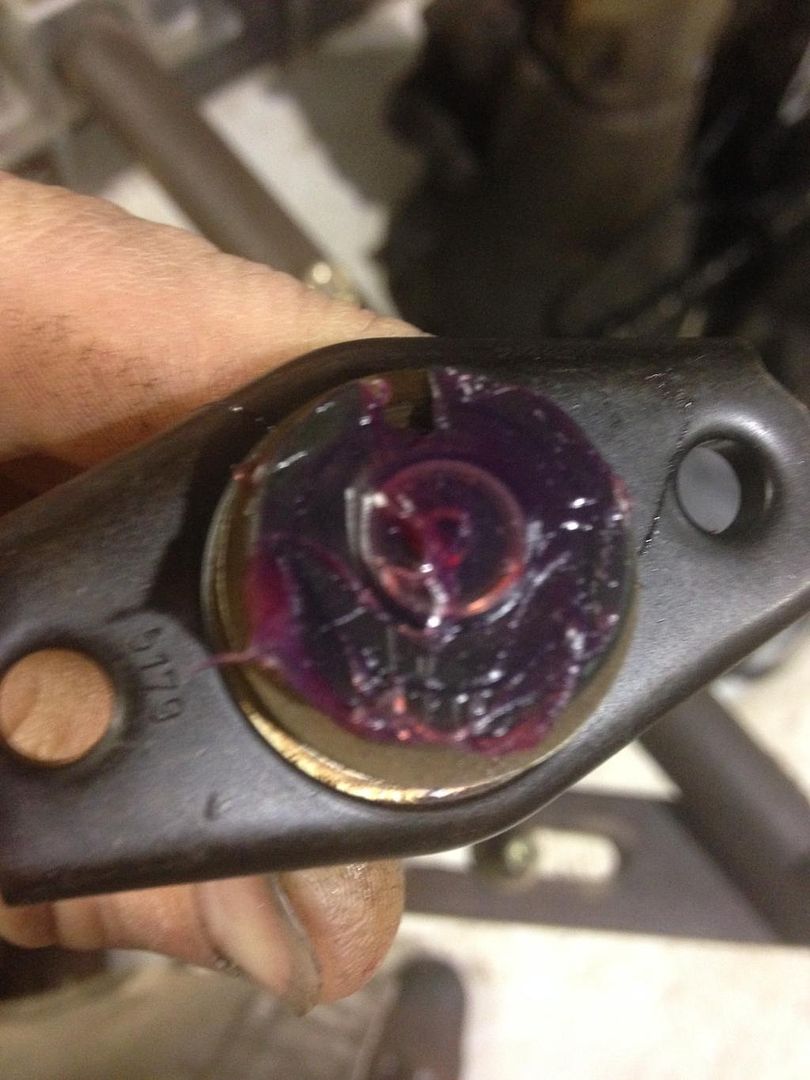
Now for the part I was dreading,assembling the head and feeding it down onto the pump. Turns out the grease helps a whole lot. You'll need to grease the hell out of each and ever piece to make them stay. I got it on the third try.
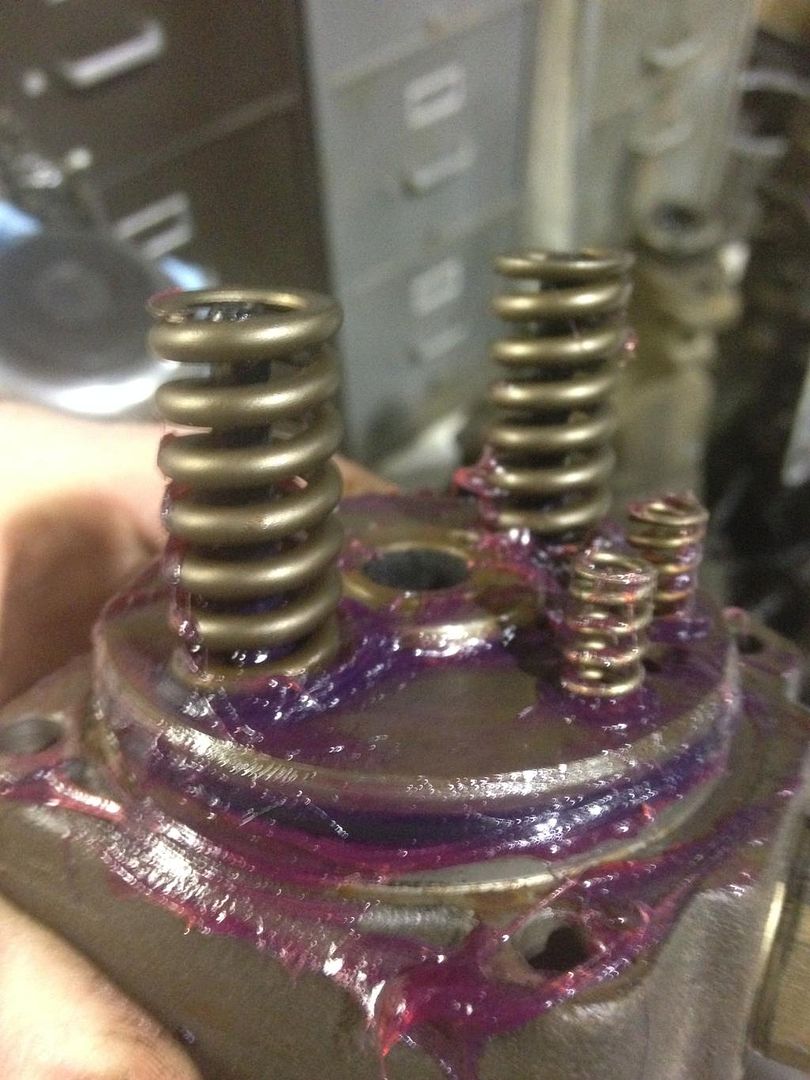
Now as I pushed down on the head I was sure to keep tabs on where those big springs were and how close those two pins (inside the big springs) where in relation to those two ears on the rotor shaft. I started two head bolts and only used my fingers to tighten them....ever so slowly.

The pins and springs I'm watching

And one of the pins poking thru as I turn the input some.

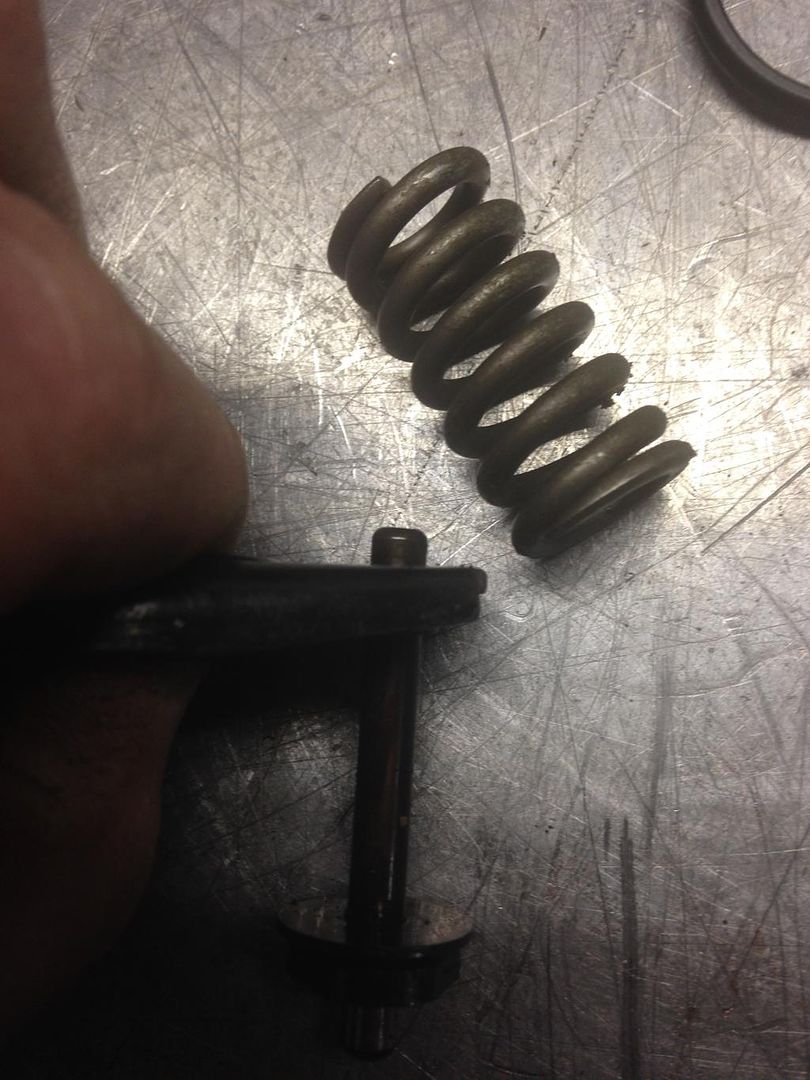
Spare parts just so we're on the same page here. Pin springs...holes to watch.
Once those pins are thru the holes,bolt that head down your in the clear.
On to the pump top.
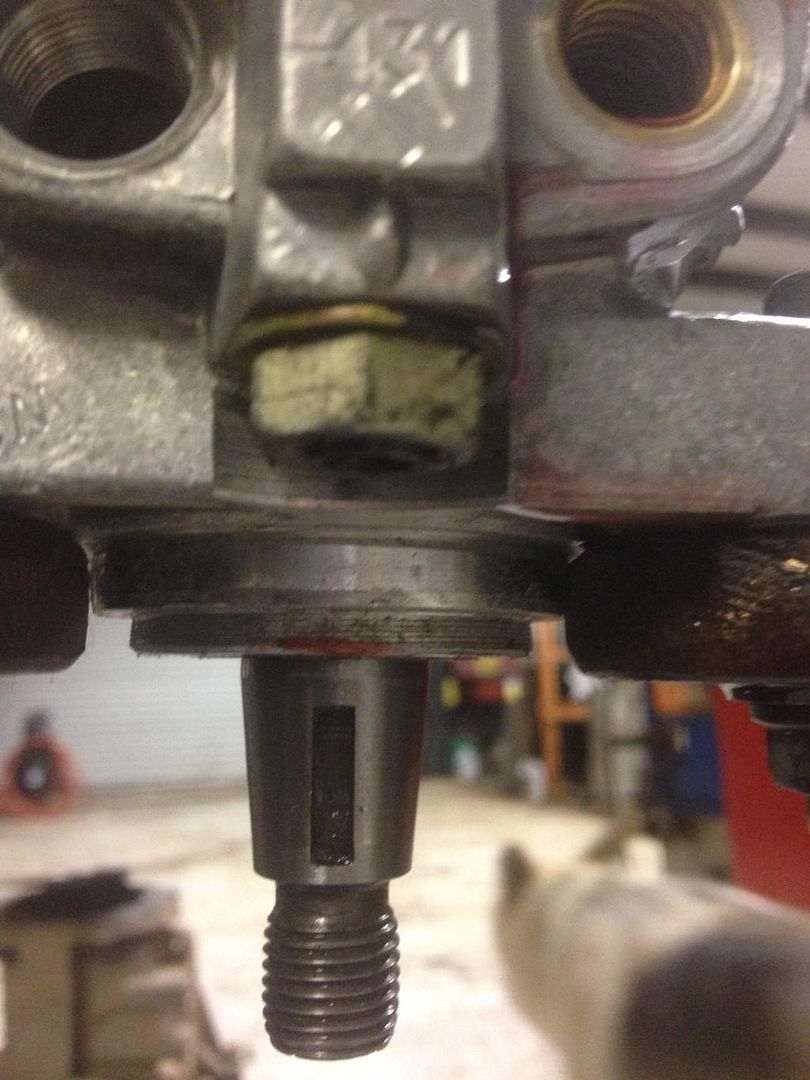
Install the metal sleeve for the afc guide pin down this hole,with the oring greased in it.
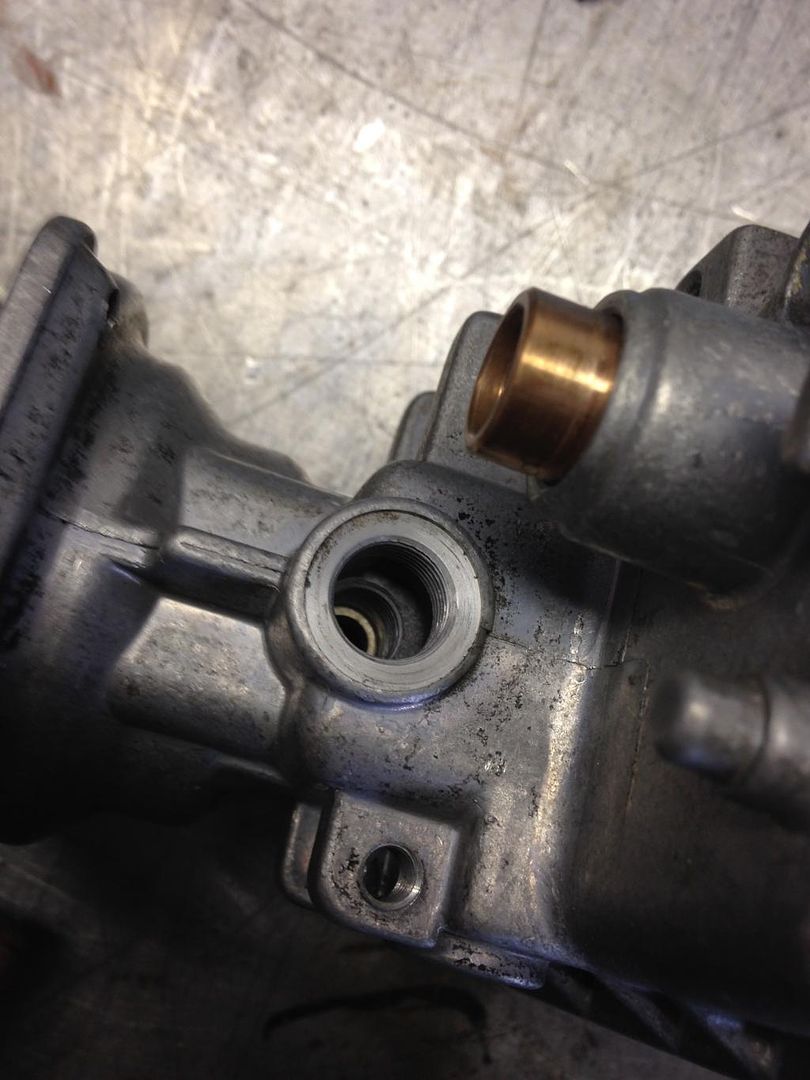


Then the retainer

Pic of it with the guide pin in and greased

I moved it back and forth several times to make sure there's no binding,you want no drag. If there's any drag it will not let the pump supply fuel evenly and make the guide pin loose contact with the fuel pin. It would make for erratic fueling
There's a bunch of junk you have to do before you get to installing the pump top on the pump. It's all striaght forward and without any voodoo anyone needs to know....as long as you install the manual kill shaft/lever before you install the afc lever your in the clear.
One thing that I did was to follow some advice our very own resident senior citizen PToombs gave me and that was to thread the afc lever shaft holes,so I could use a screw to seal the holes instead of the balls. It sounds like a good idea and may fend off future leaks.
This is what I did,threaded the hole and used a set screw to seal it with loctite.

You can see how I had the loctite mash out and surrounded the set screw

That's also how I install the gov spring and tophat. It's kind of a pita to do it like this but I can see everything that's going on. You can just hang the spring on the gov lever assembly thru the tophat and hang the other end thru the throttle lever. Then just slide the throttle lever shaft up inside the pump top when your ready.
Pics of me doing it my way


I apologize for the pics. My brother look them for me.
Anyhow hope this helps folks take the plung off into fixing one.
93 D250 ,5 speed,4.11s,k&n autometer tach pyro trans boost guages,GDS 60mm h1c 14cm,honed 5x10,hplp/reg,1/8 timing,M+H M2 fuel pin, tims cooler tubz


